![]()
Split-testing is a standard activity in marketing, used to poll potential customers on their preferences regarding images, copy and even product design, often done in advance of launching a new product to market. The goal is to identify the marketing images and copy that will lead to the highest number of sales.
Traditionally, Amazon sellers have used their live listings to test the appeal of their images and copy. On a new listing, they may use image one as the primary image for a couple of weeks, record sales, then switch to image two for a couple of weeks, record those sales, and then switch to image three for a couple of weeks, and record those sales. When the analysis shows more sales for one image over the others, they establish that as their primary image.
The problem with this tactic is that sales may not be consistent during the six weeks of testing due to other factors, and even if the image is the deciding factor, the seller has now lost out on sales during the four weeks they were testing the other two images.
Audience allows sellers to test their images and copy before the listing even goes live, helping them create the most effective listing possible. In just a few steps, you can set up and run a poll testing your images, title or copy with potential buyers. Setting up a poll is quick and easy.
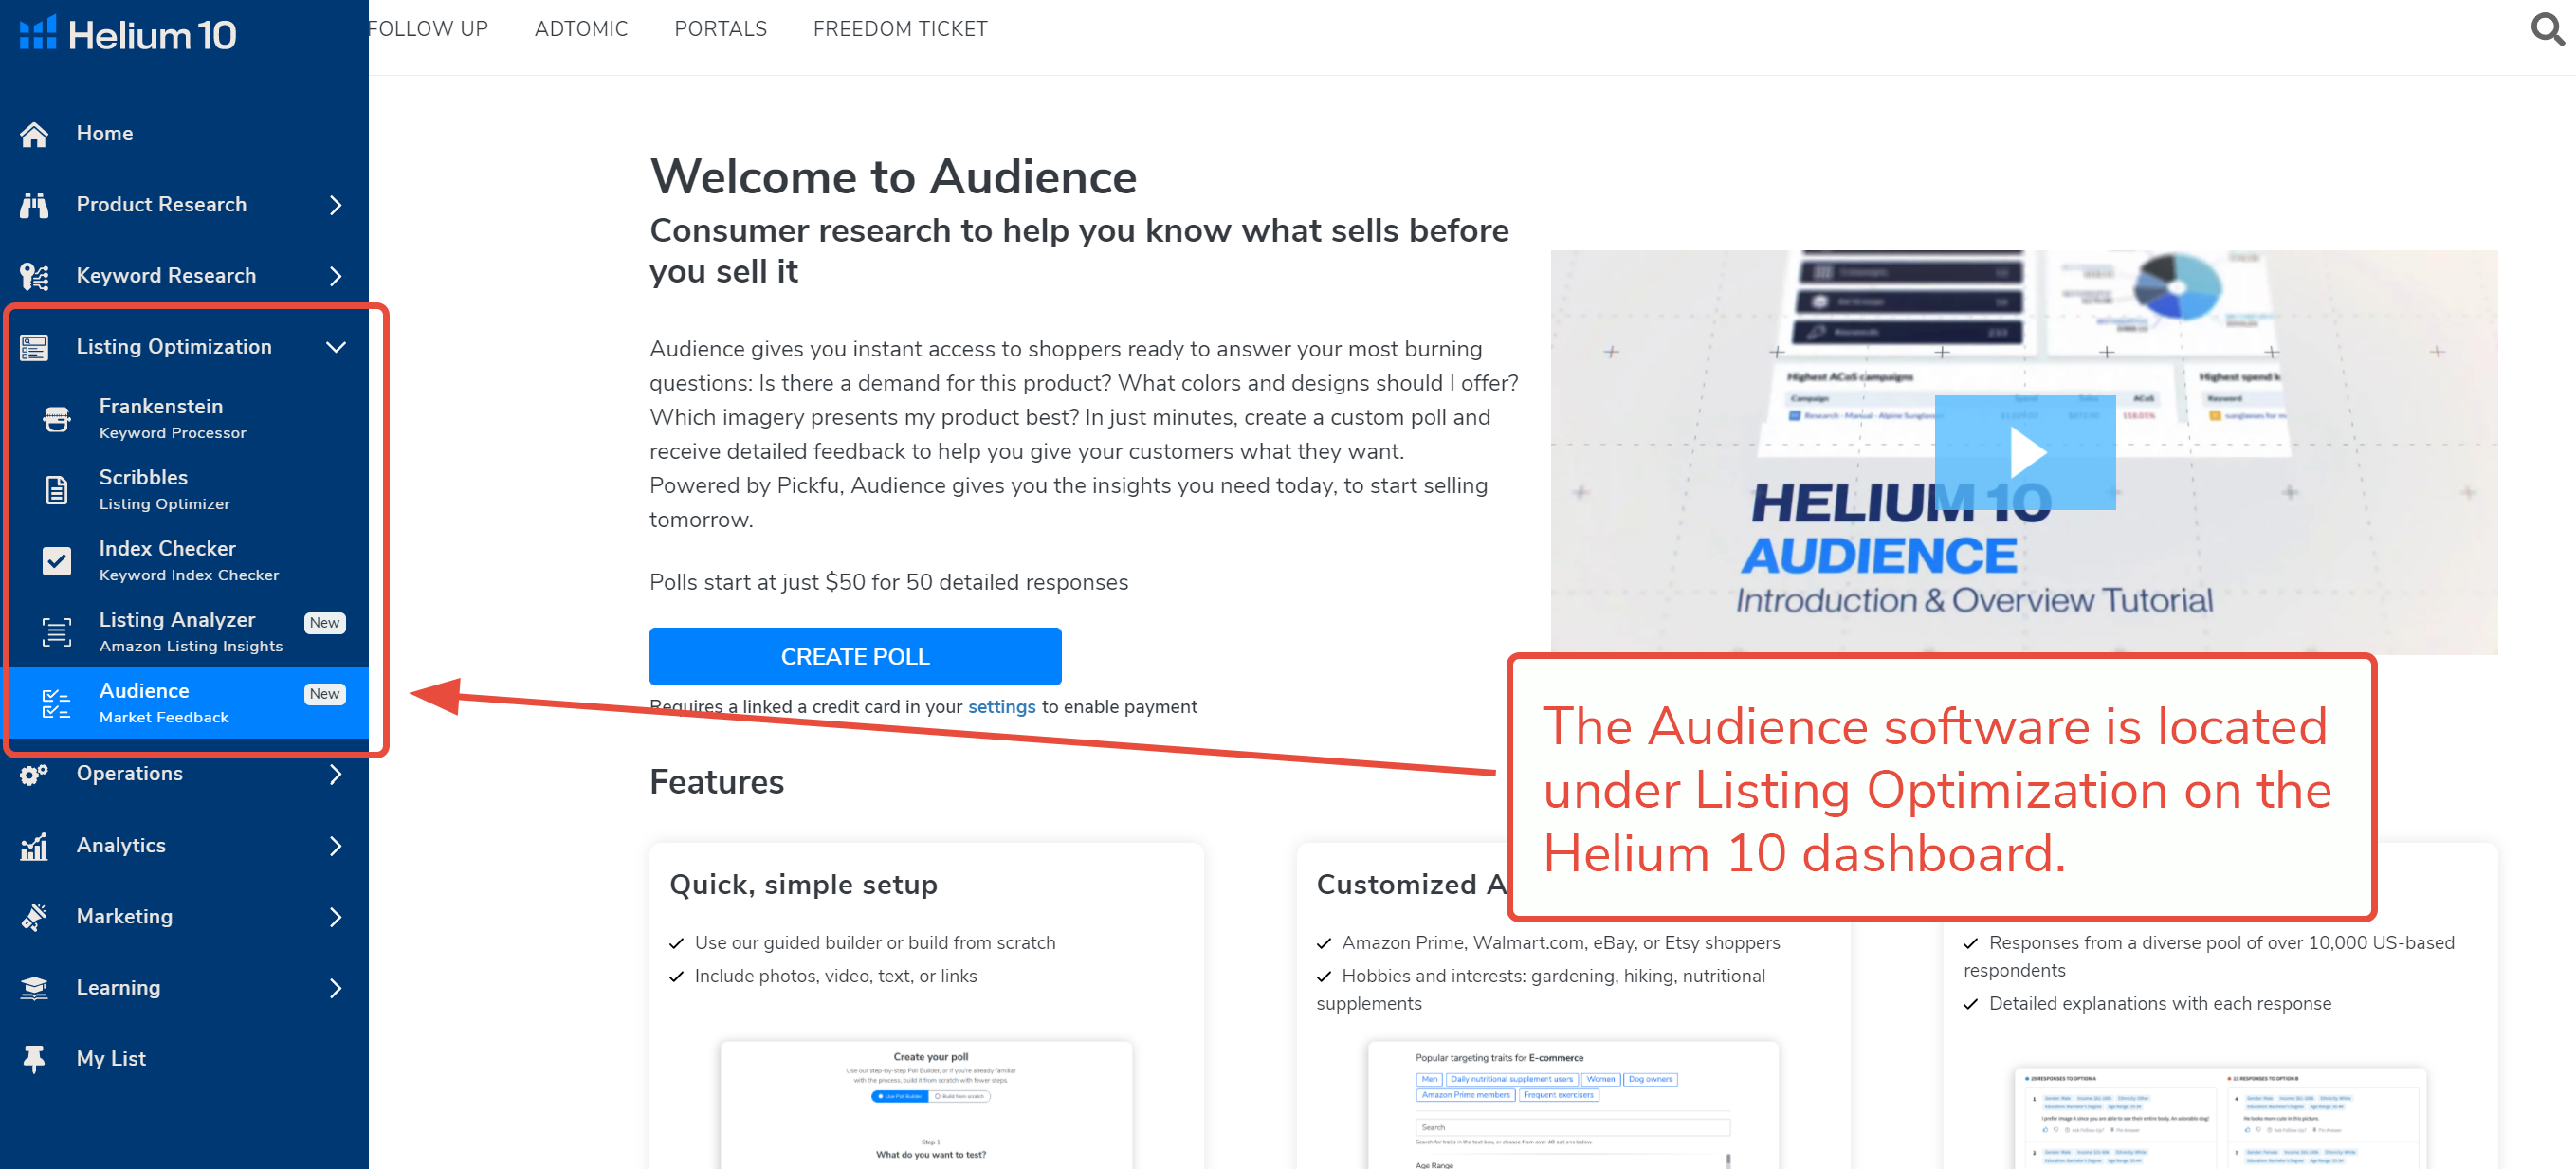
1. Log into your Helium 10 account and find the Audience tool on the dashboard, located under Listing Optimization in the left side menu.
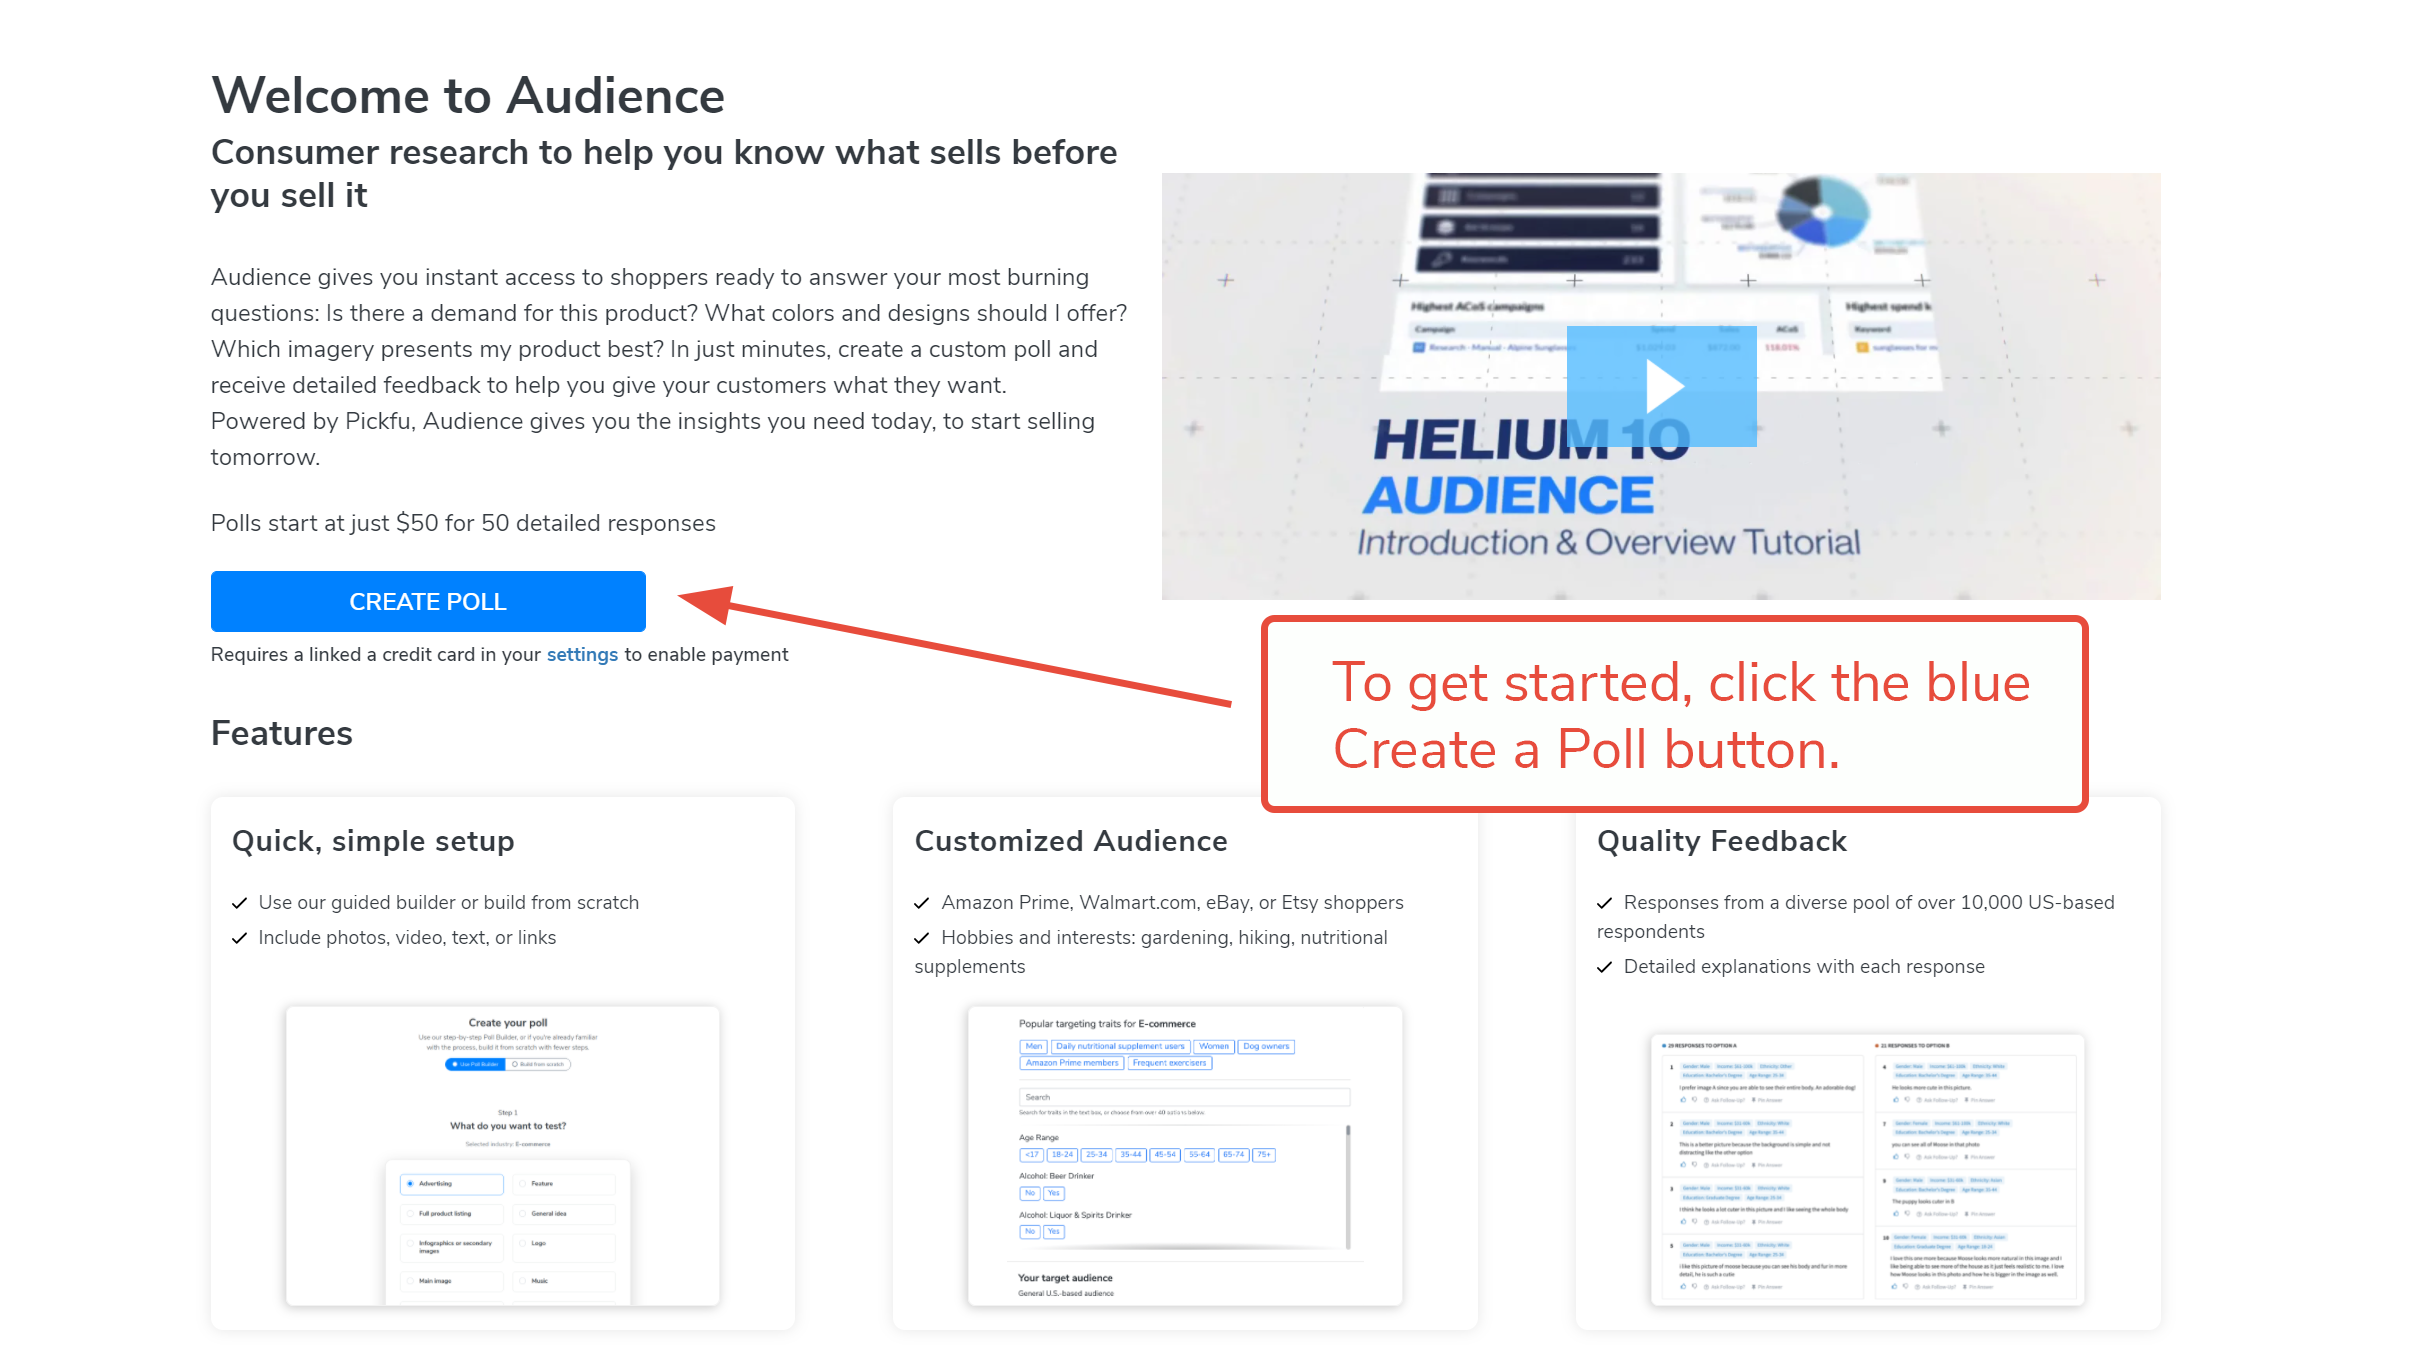
2. The first time you open Audience, you’ll see a welcome message and the video that appears in this article. Note that using Audience requires you to have a valid Credit Card on file with Helium 10, because each poll is a separate charge. (If you do not have a credit card on file, use the convenient Settings link on the dashboard to open the appropriate location under your account where you can enter one.) Click the blue Create Poll button to initiate the process.
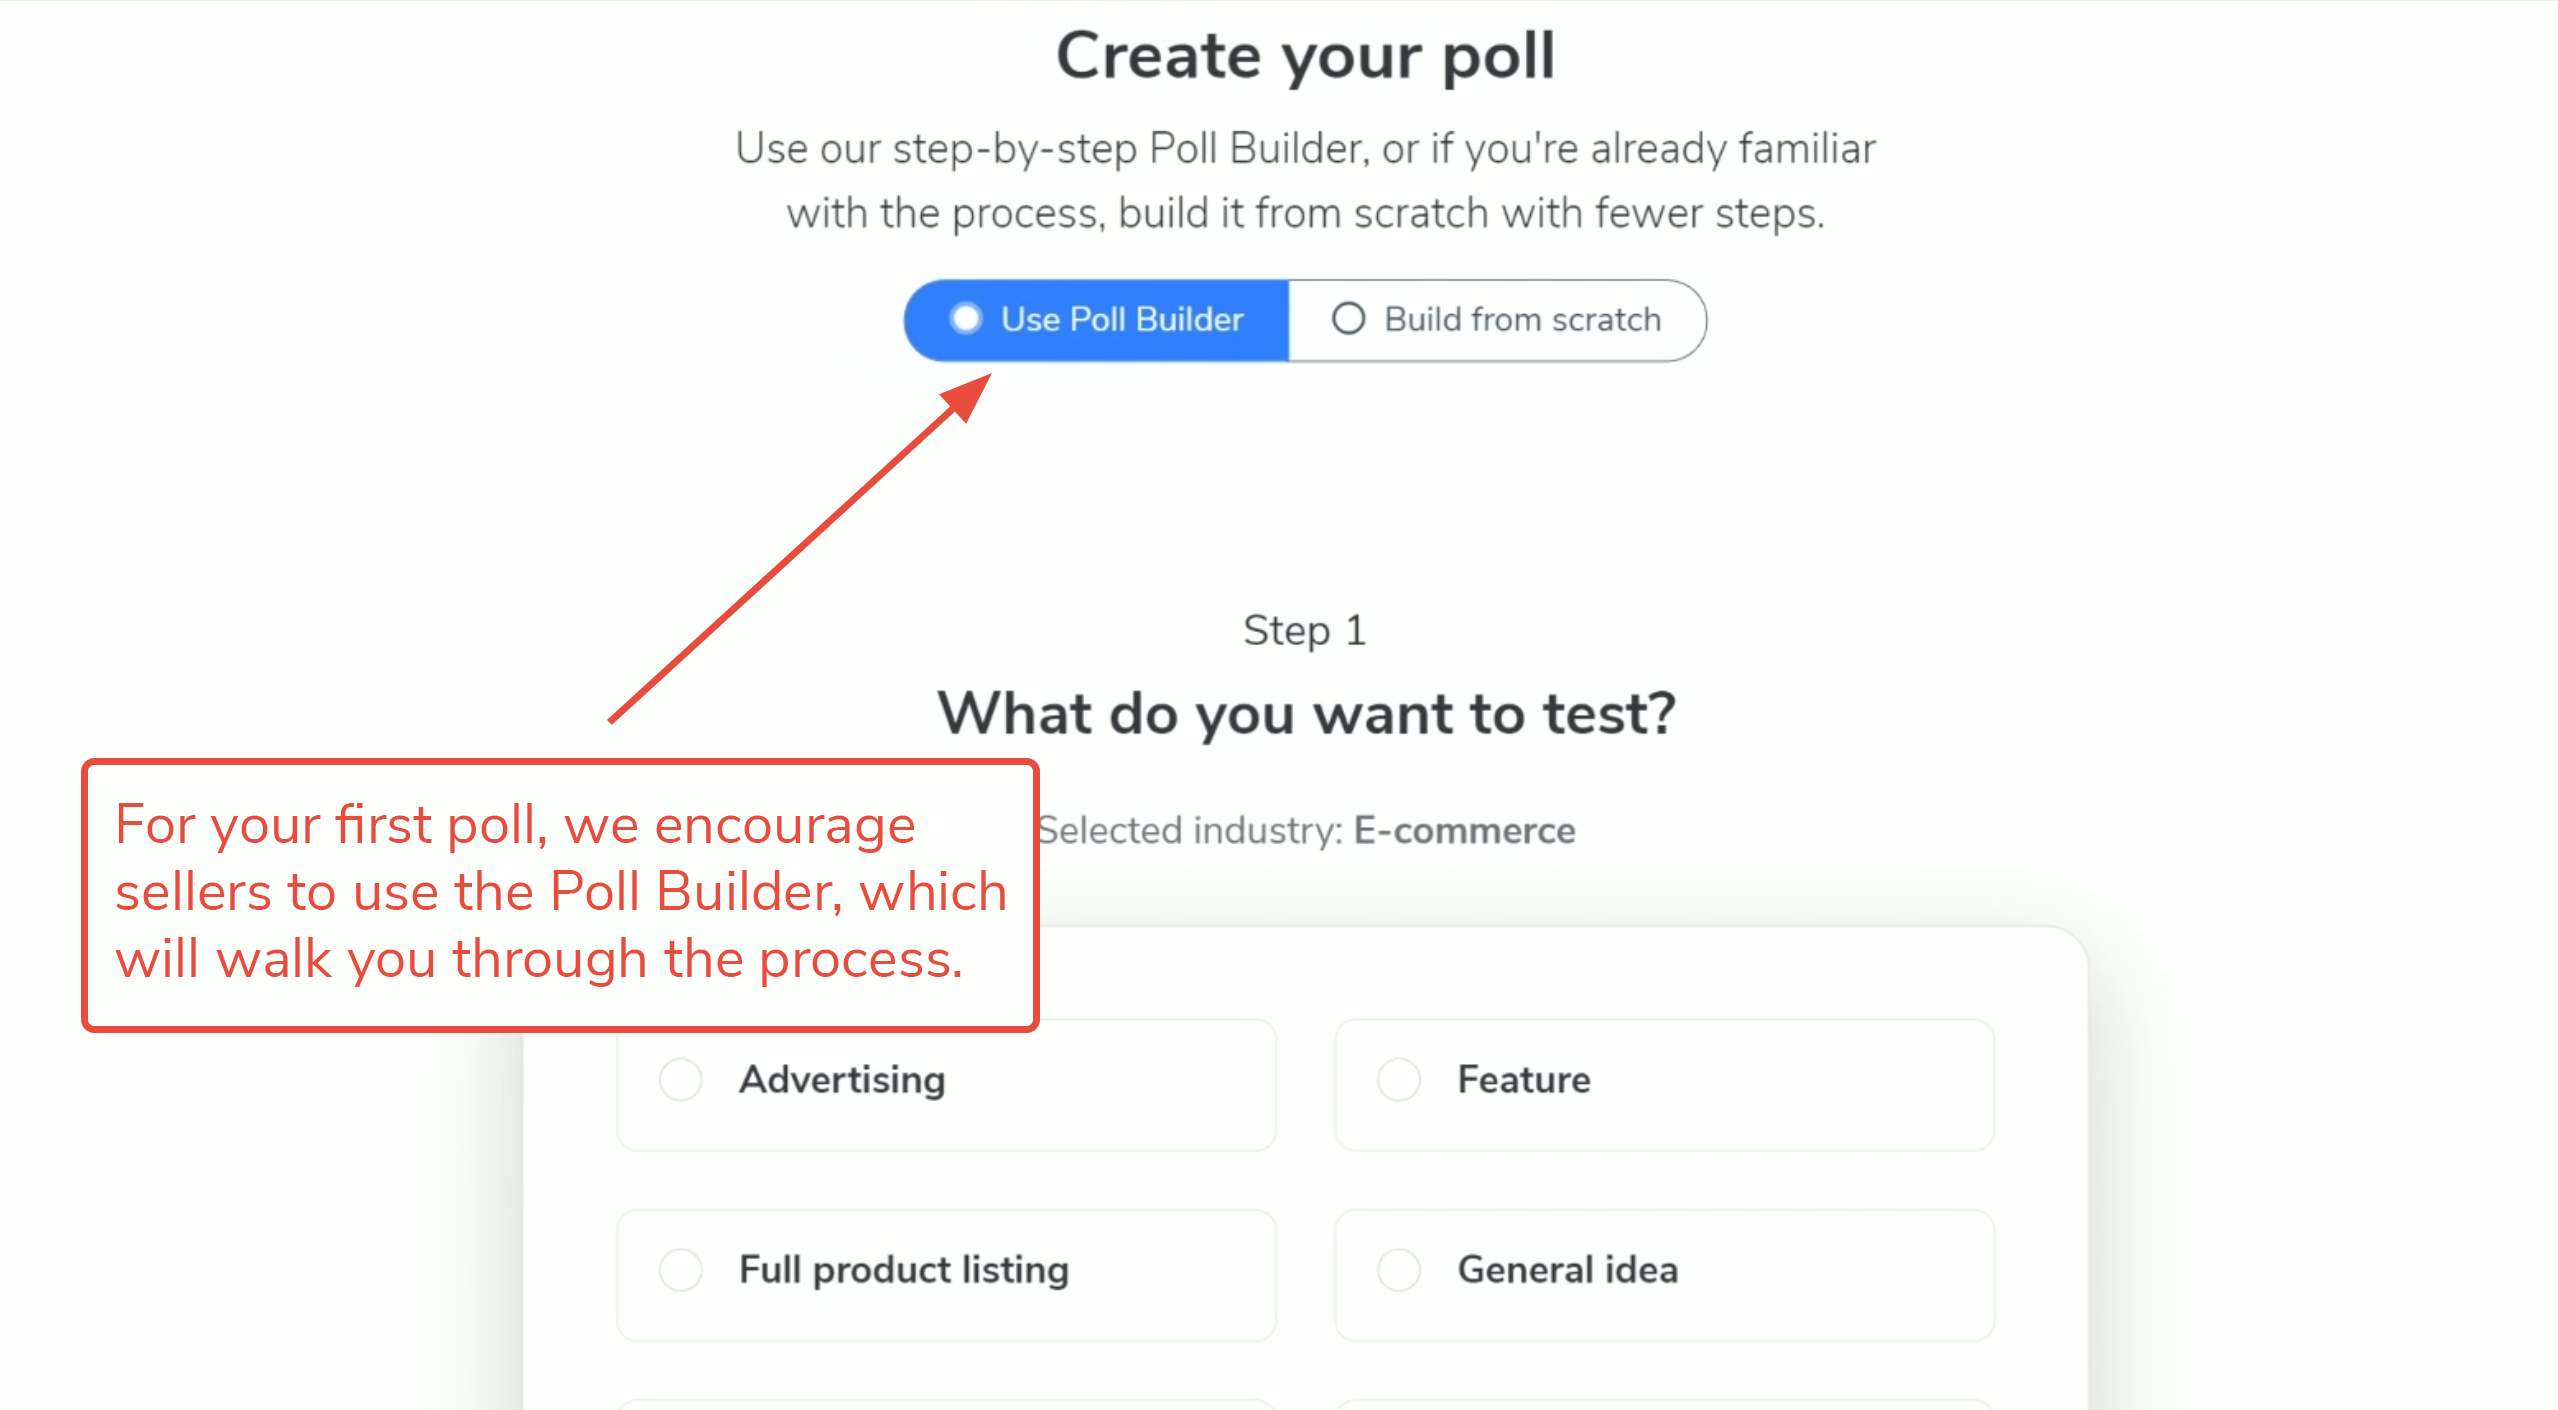
3. Audience gives you two routes to building a poll. You can build it without the guide, especially if you are experienced in creating polls like this, or you can choose to use the guided Poll Builder. Build from scratch has fewer steps, with no suggestions to help frame your question or choose your audience. If this is your first attempt to build a poll, we recommend using the builder, and for this tutorial, we will use the guided process. Click the blue Use Poll Builder button.
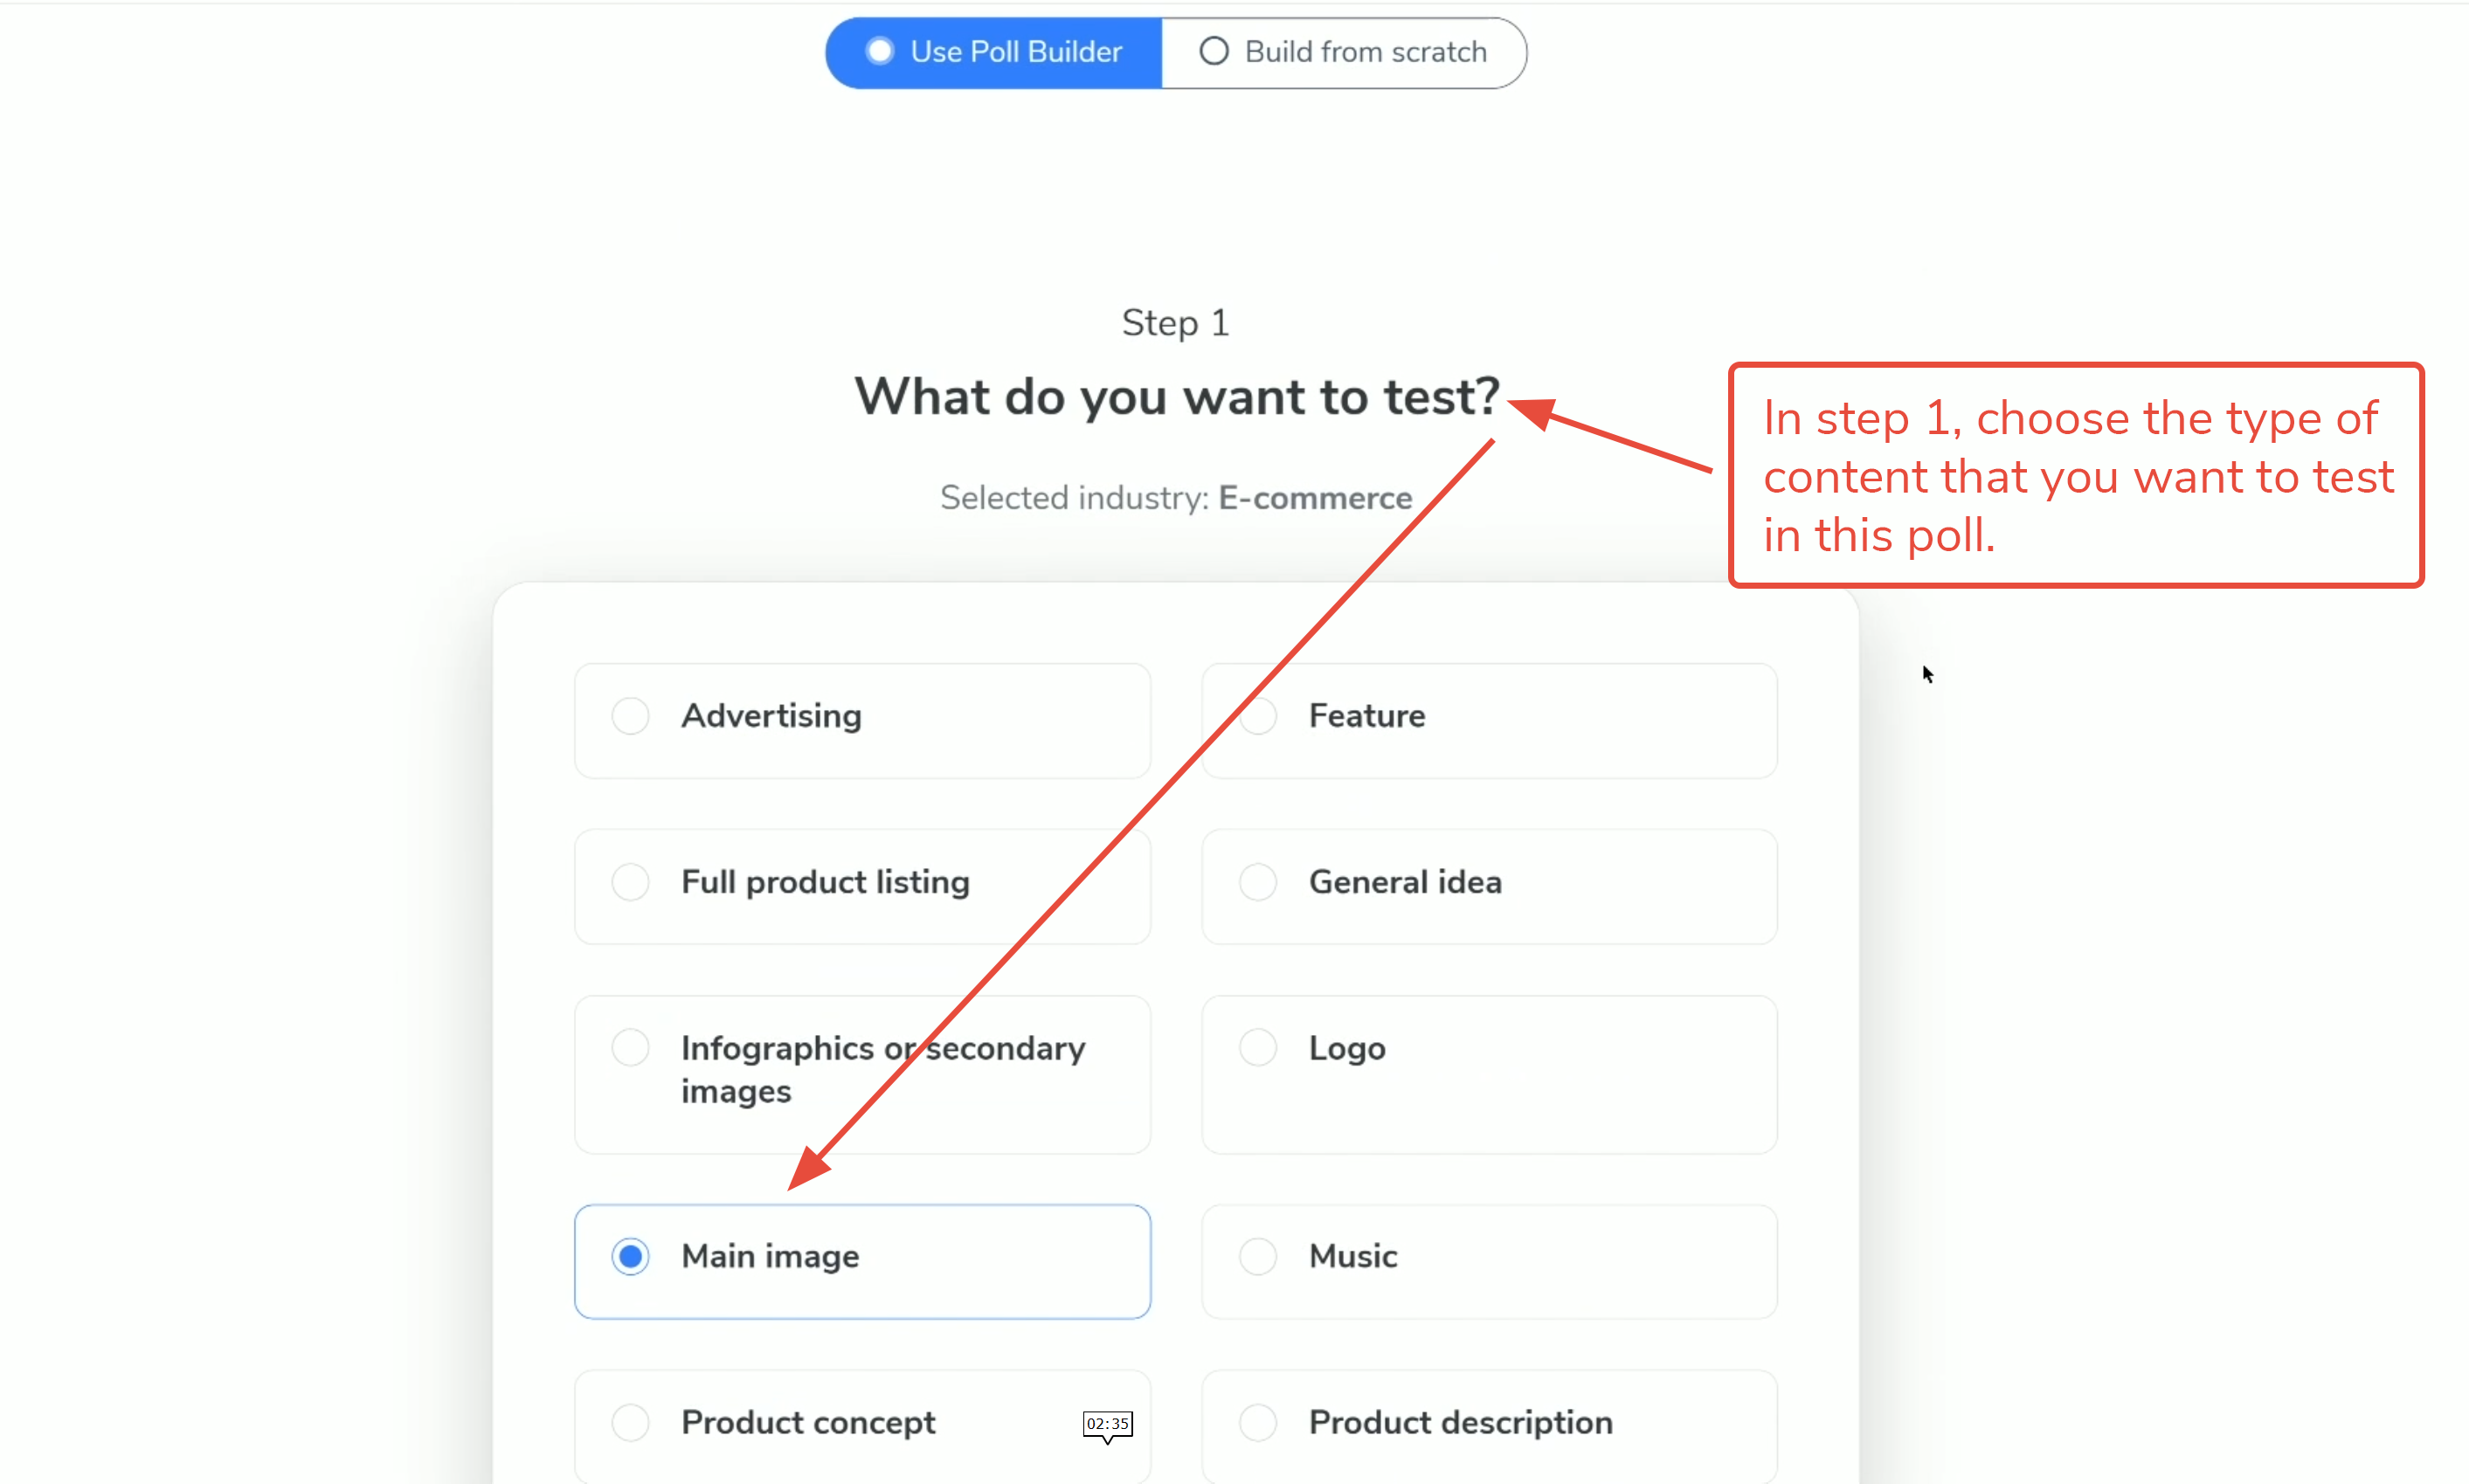
4. The first of seven steps asks you to select the type of poll you want to create. Helium 10 has designed the software to identify the most common reasons a seller would create a poll. Let’s click the Main Image option here, and scroll down to the next step.
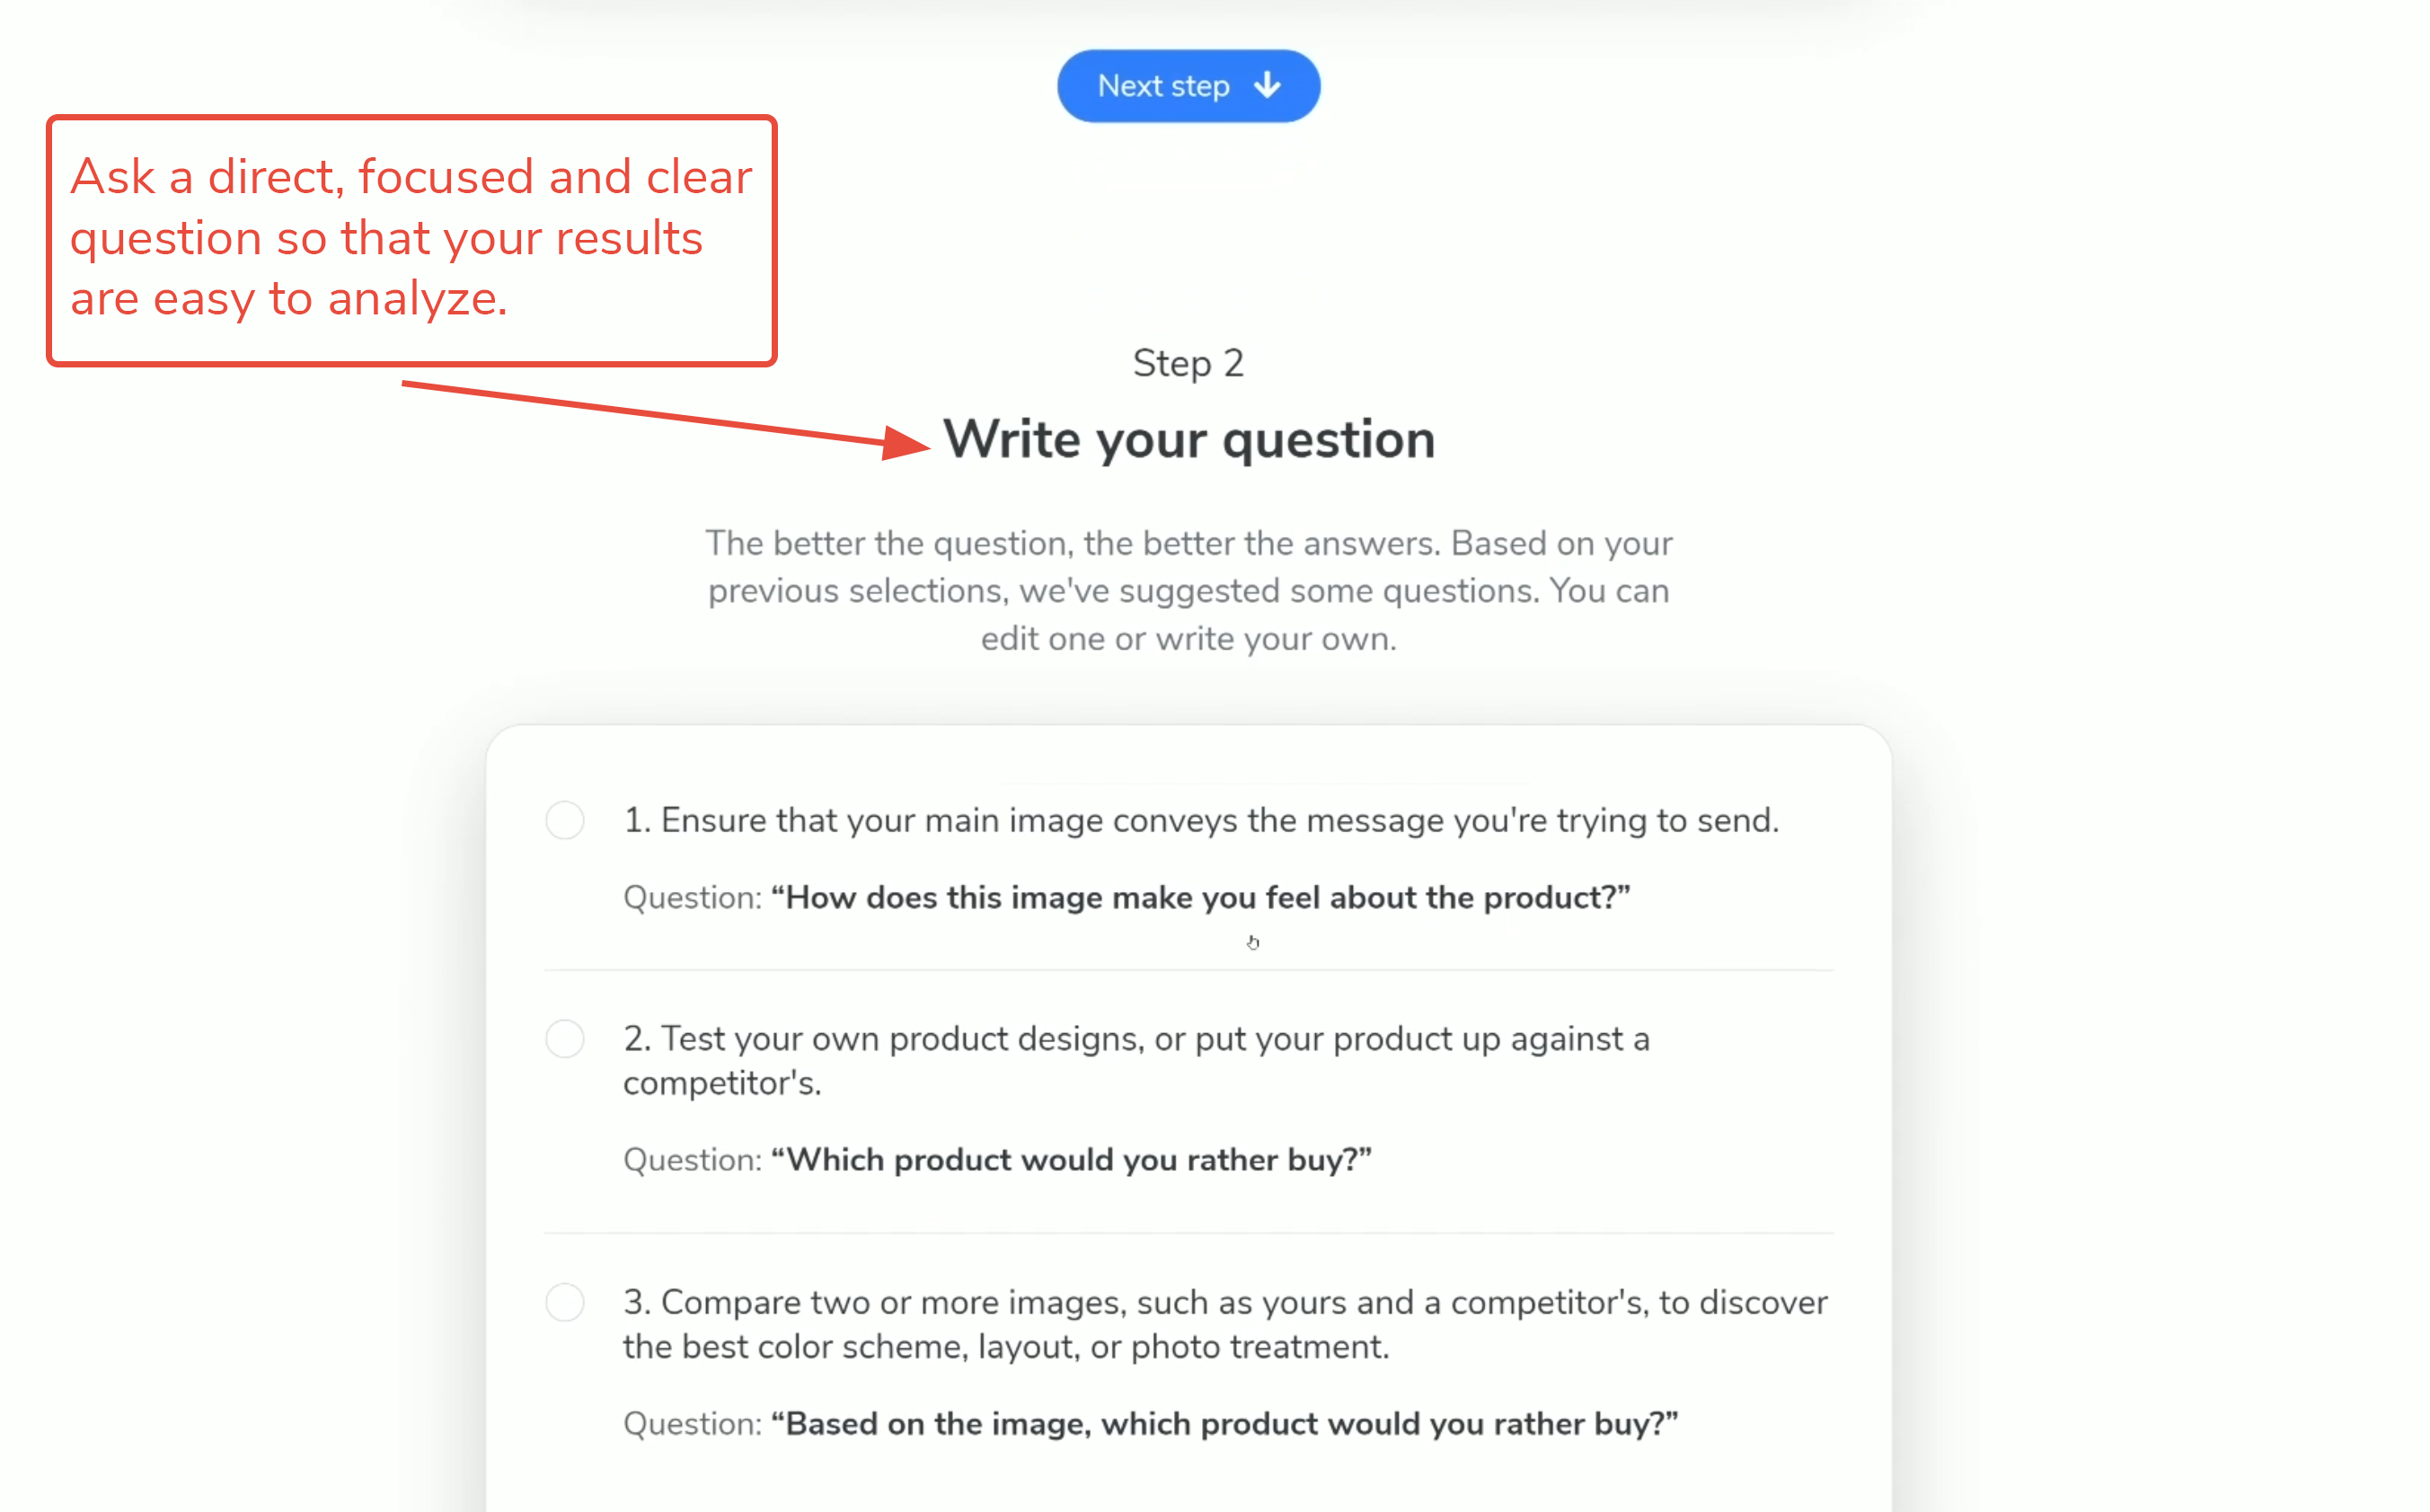
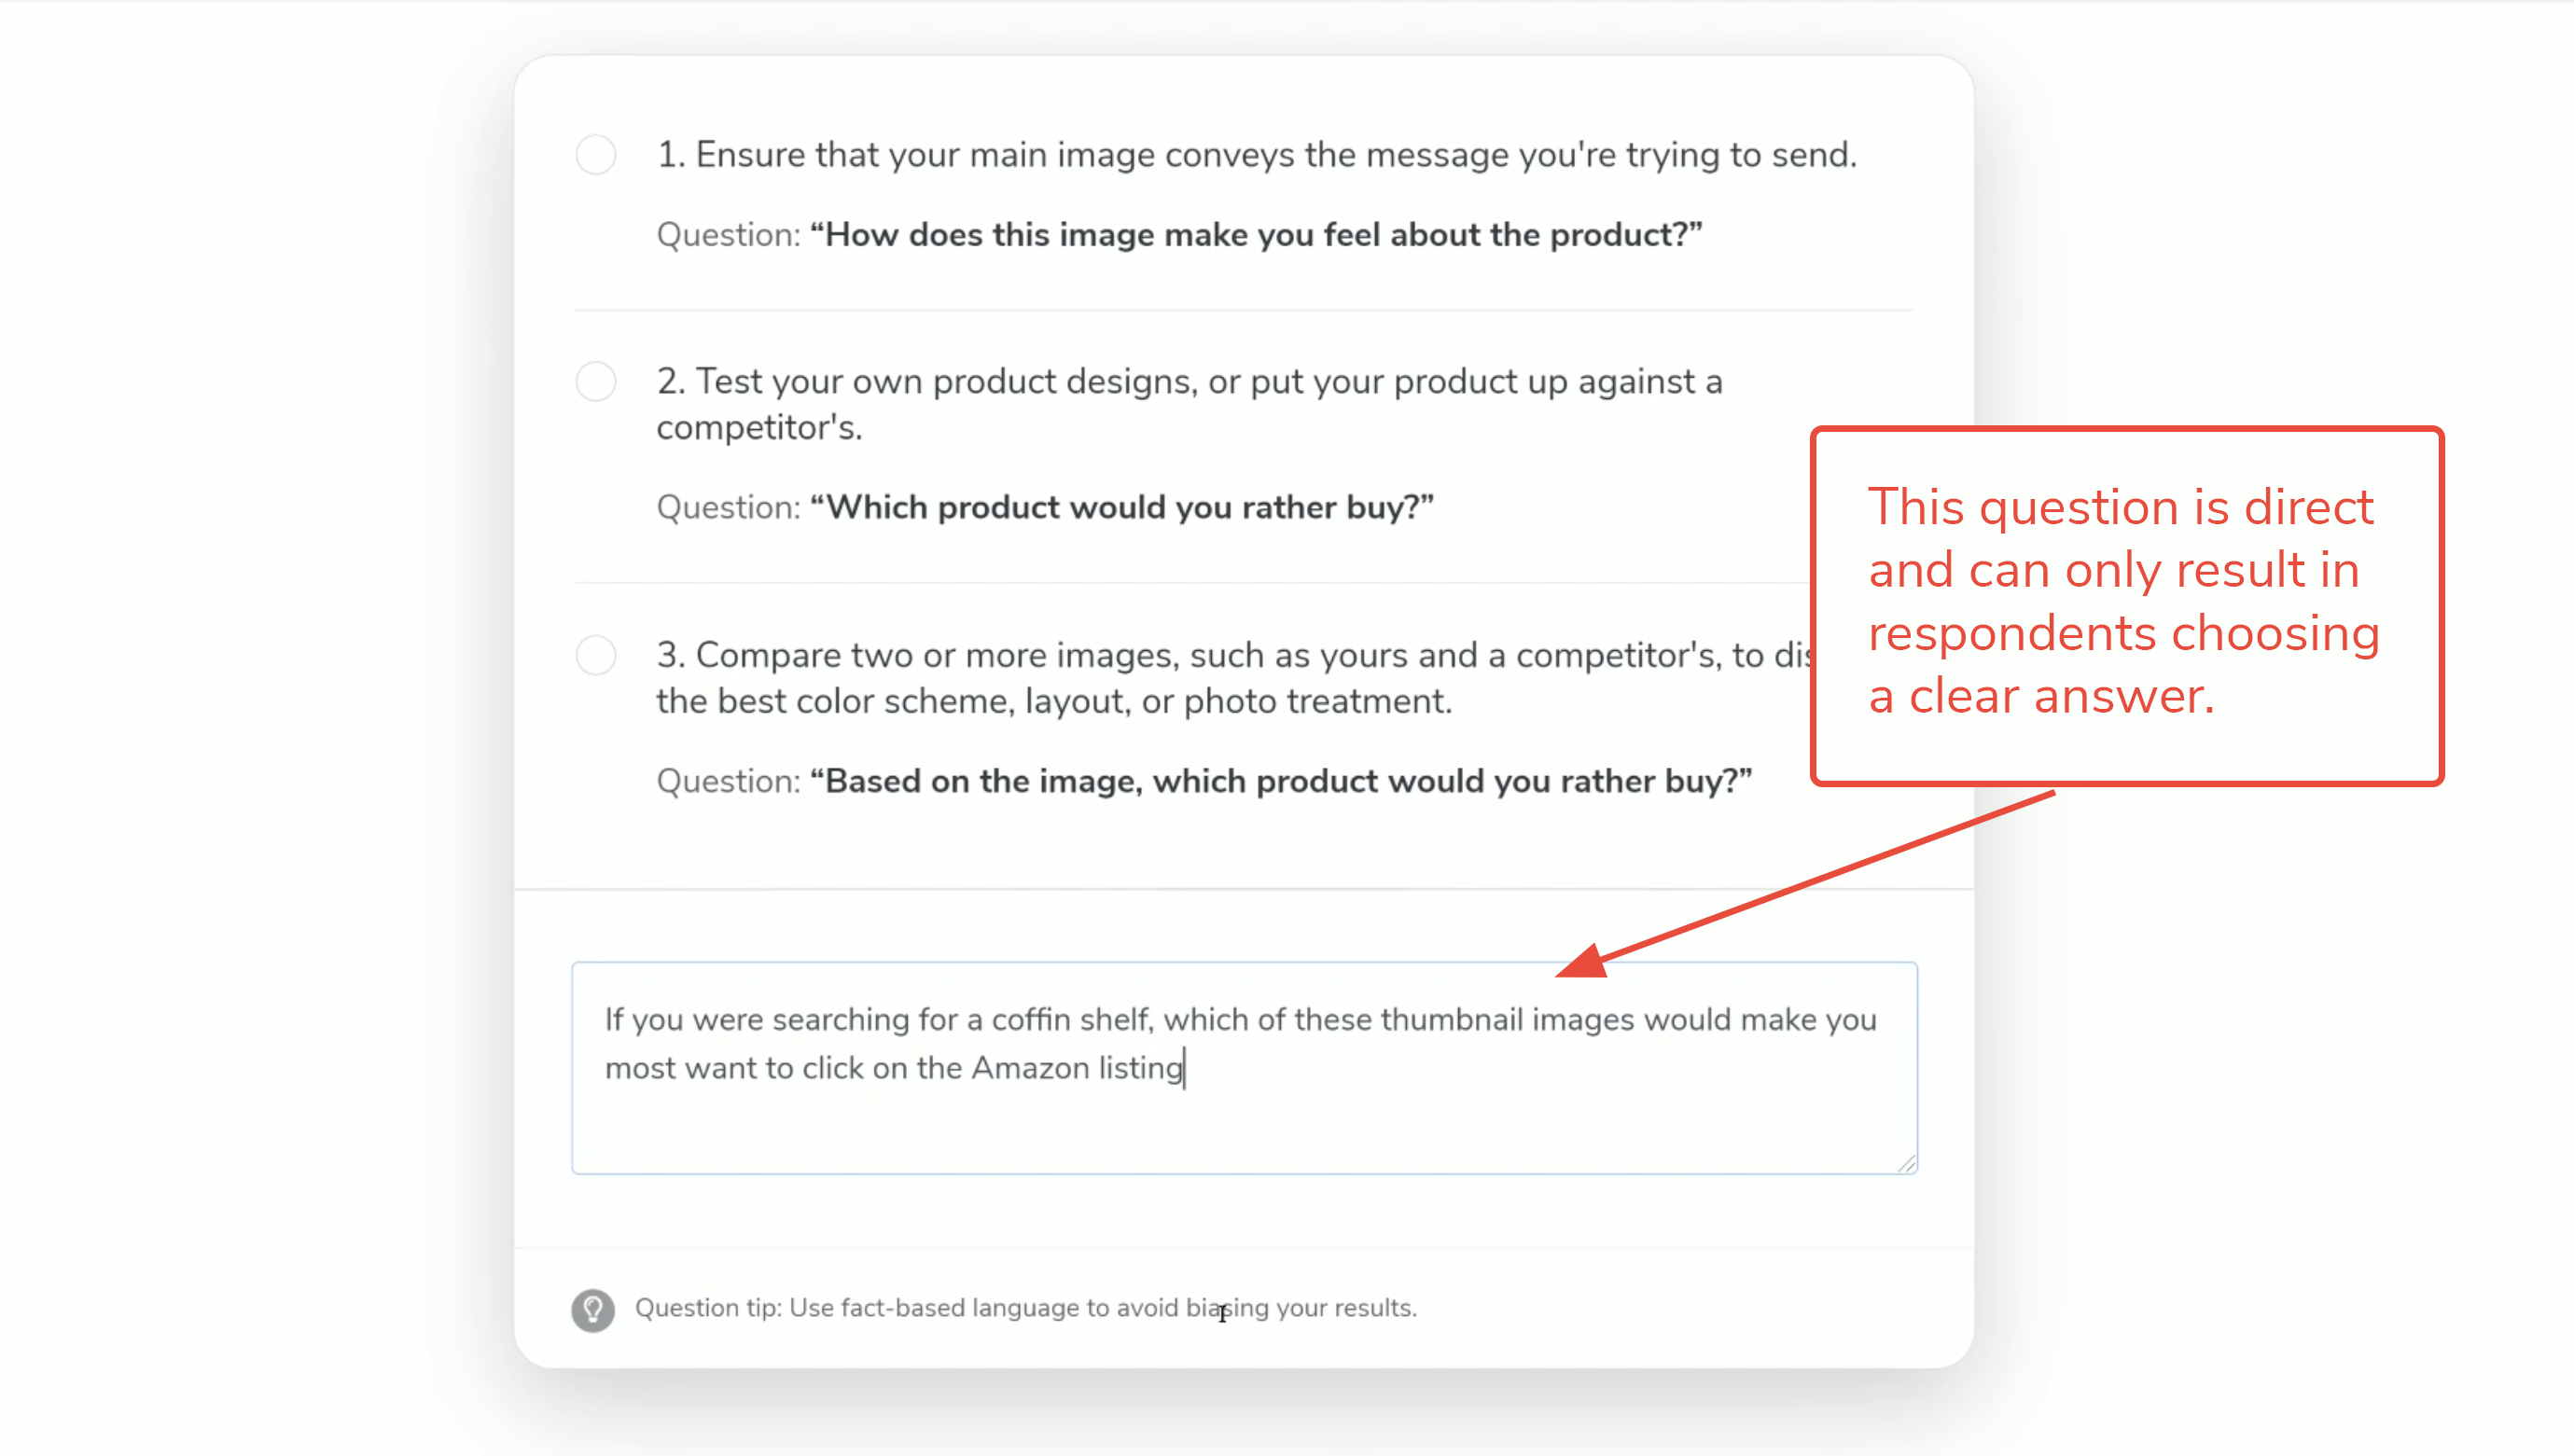
5. Thoughtfully completing the second step matters here. For tips on asking good questions check out the article “How Do I Ensure Good Data from My Polls?” The guided builder will offer some suggested questions, but you want to think carefully about the purpose of the poll, and then write a clean, easy-to-understand prompt that will solicit answers concerning your exact purpose.
Type your question in the field.
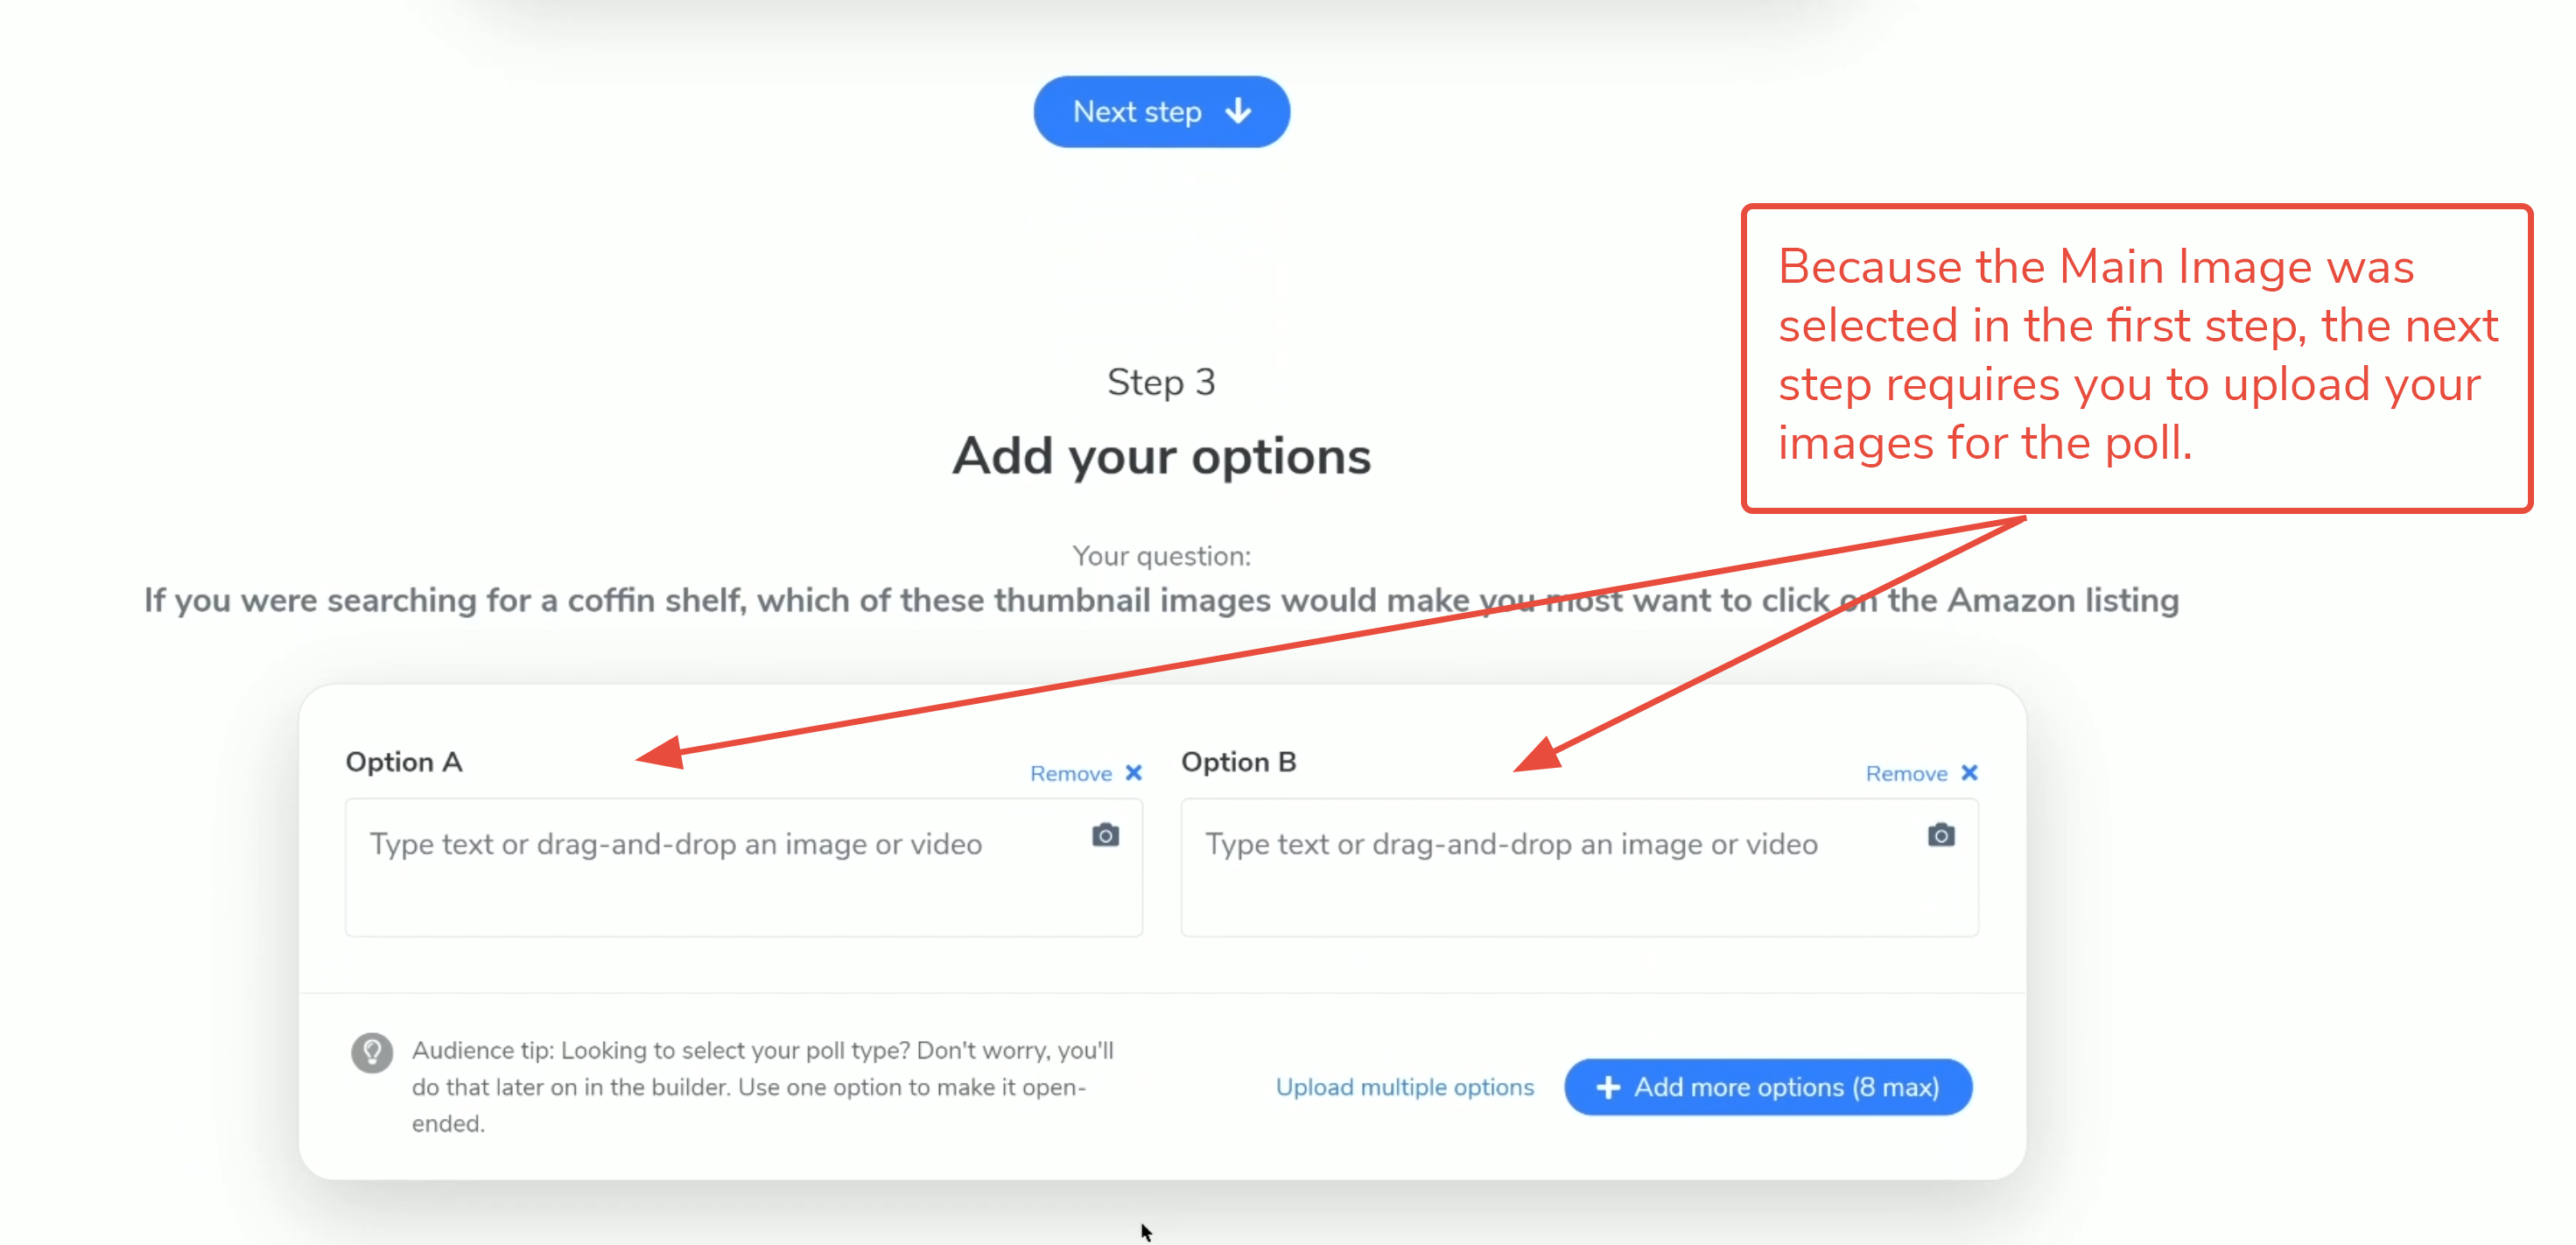
6. The next step will be determined by the choice you made in the first step. Since this tutorial selected the Main Image option, here you are asked to upload your images. If you had chosen other options, the instructions here would be slightly different. To make sure your images are comparable, read the recommendations in point number two in the article “How Do I Ensure Good Data from My Polls?” Upload your images.
7. Before you move onto the next step, review your choices and content. If you realize the question is not quite right, or you do not have the correct images, you may want to go back and revise the poll now. If you need to add more answers, click the blue +Add more options button. You are allowed to add up to eight options, but the more options you include, the more complex the respondents’ task. Too many choices may dilute the quality of the data.
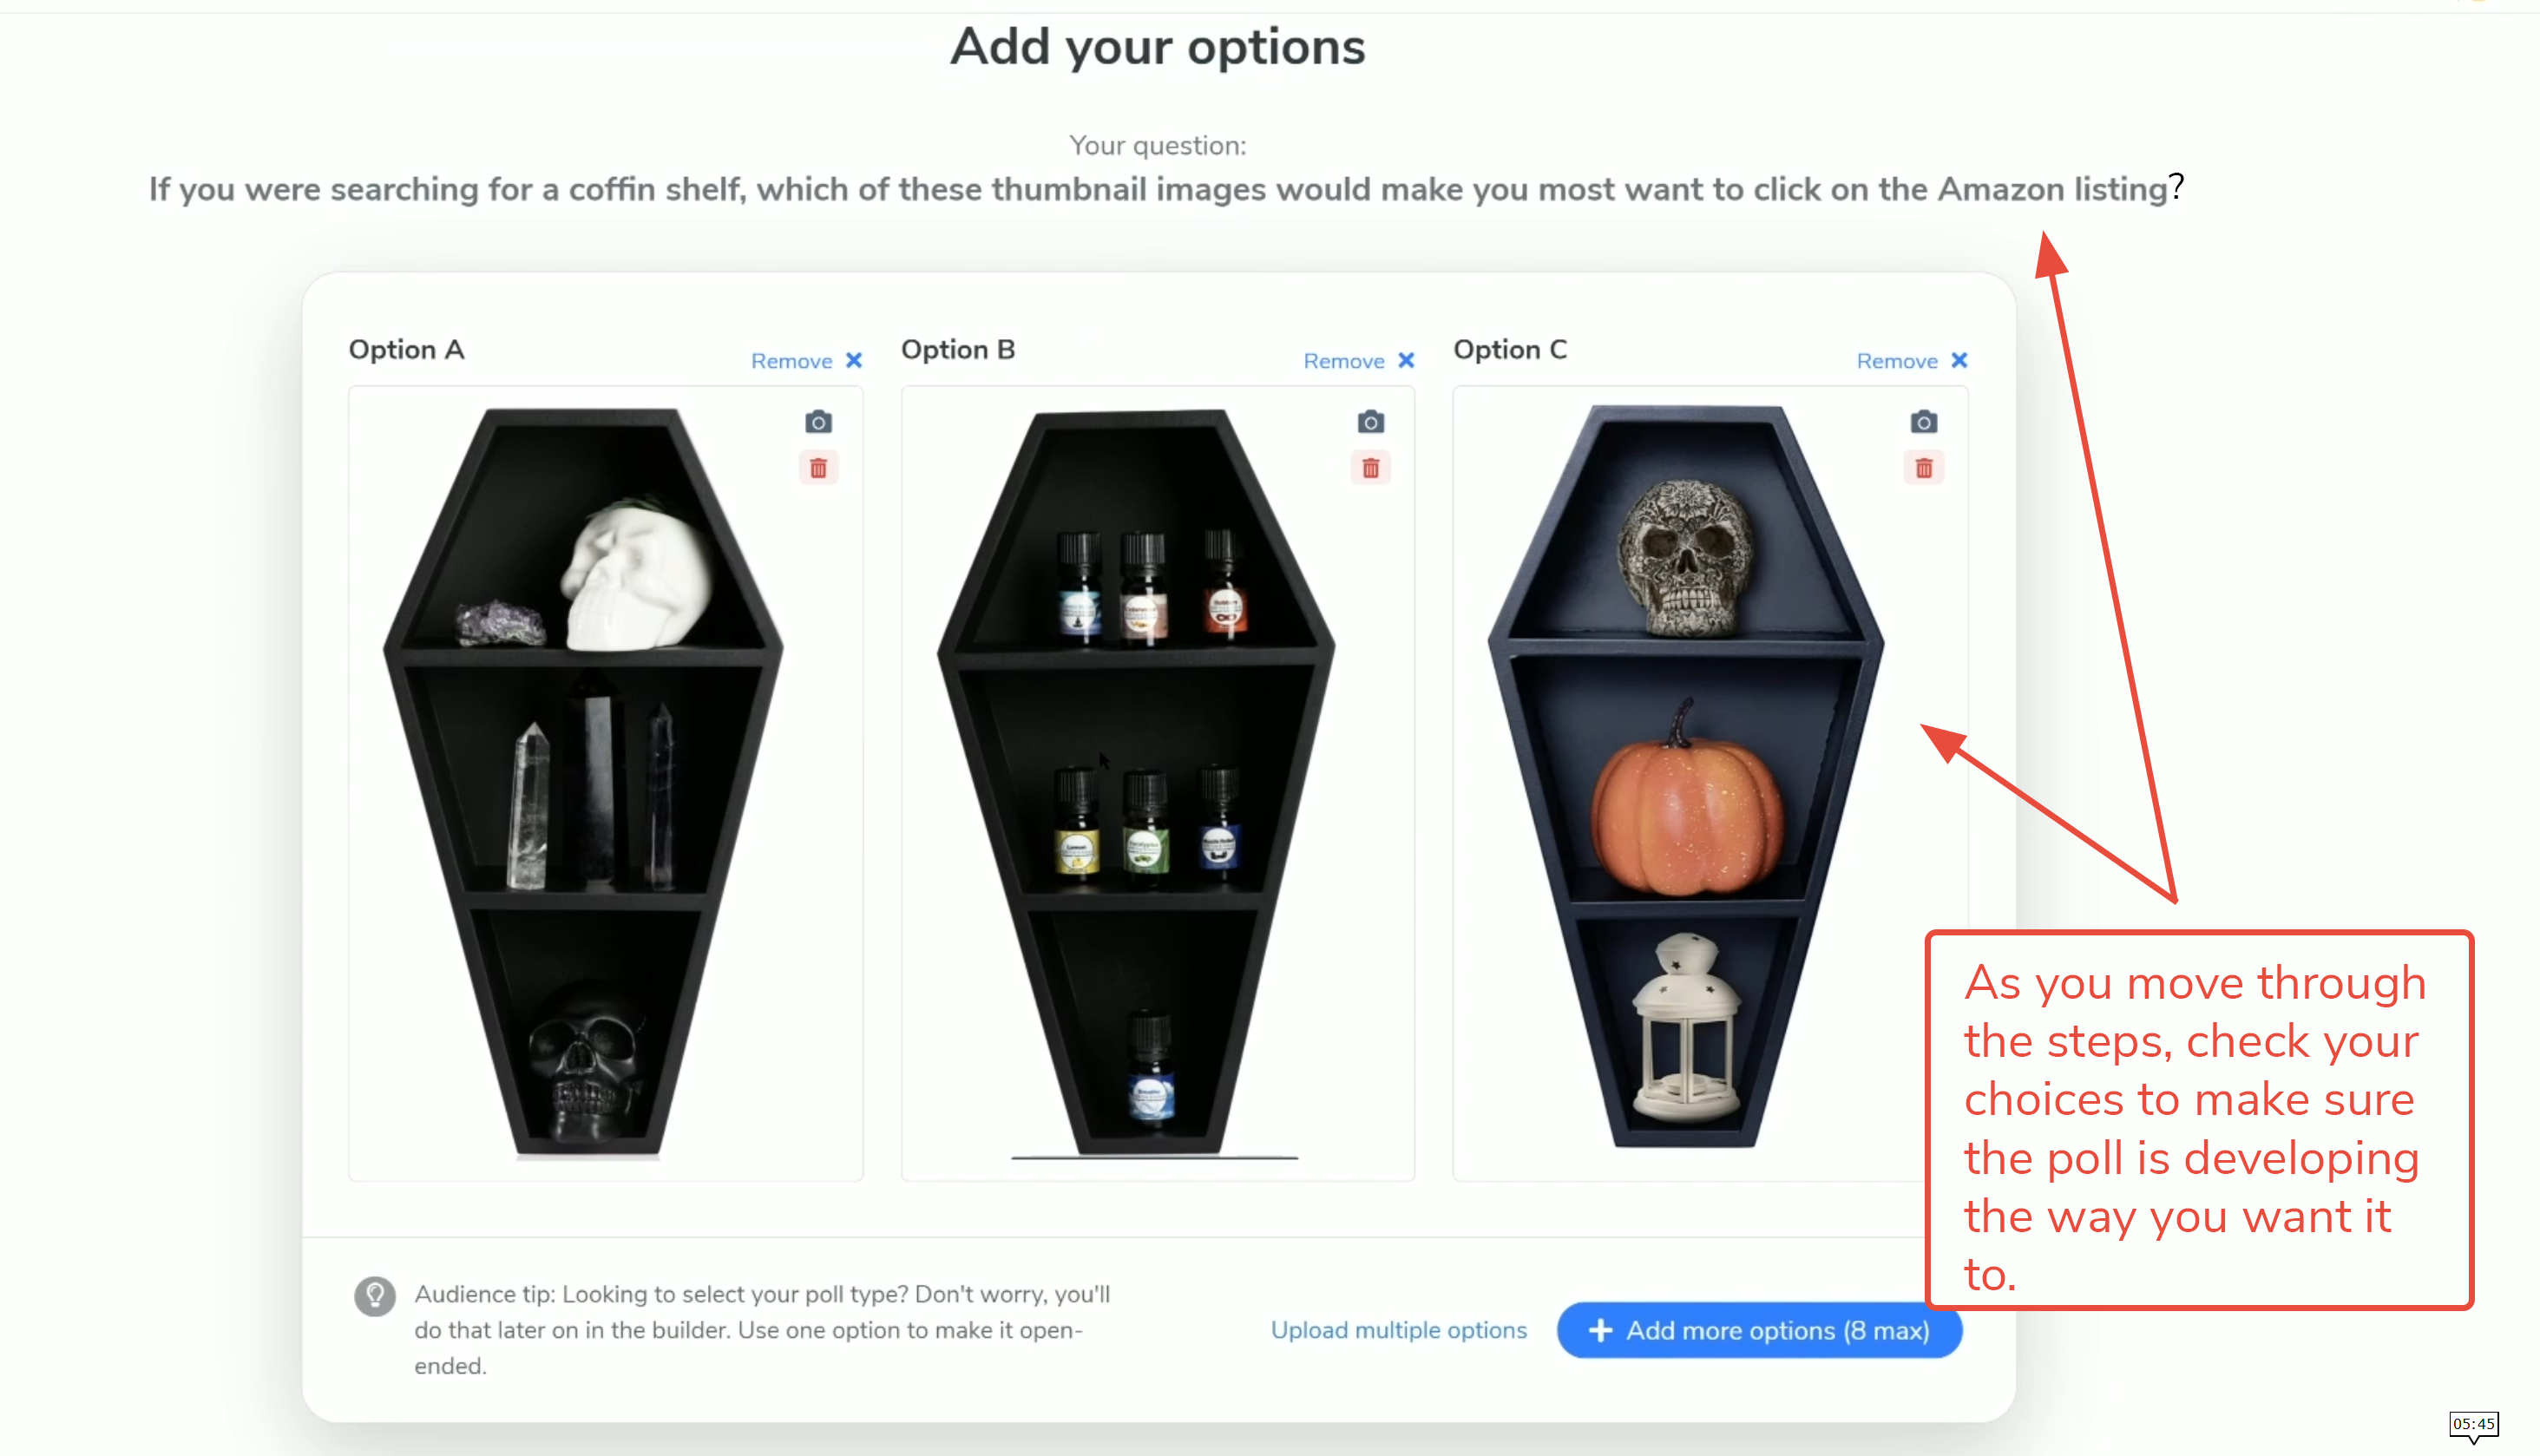
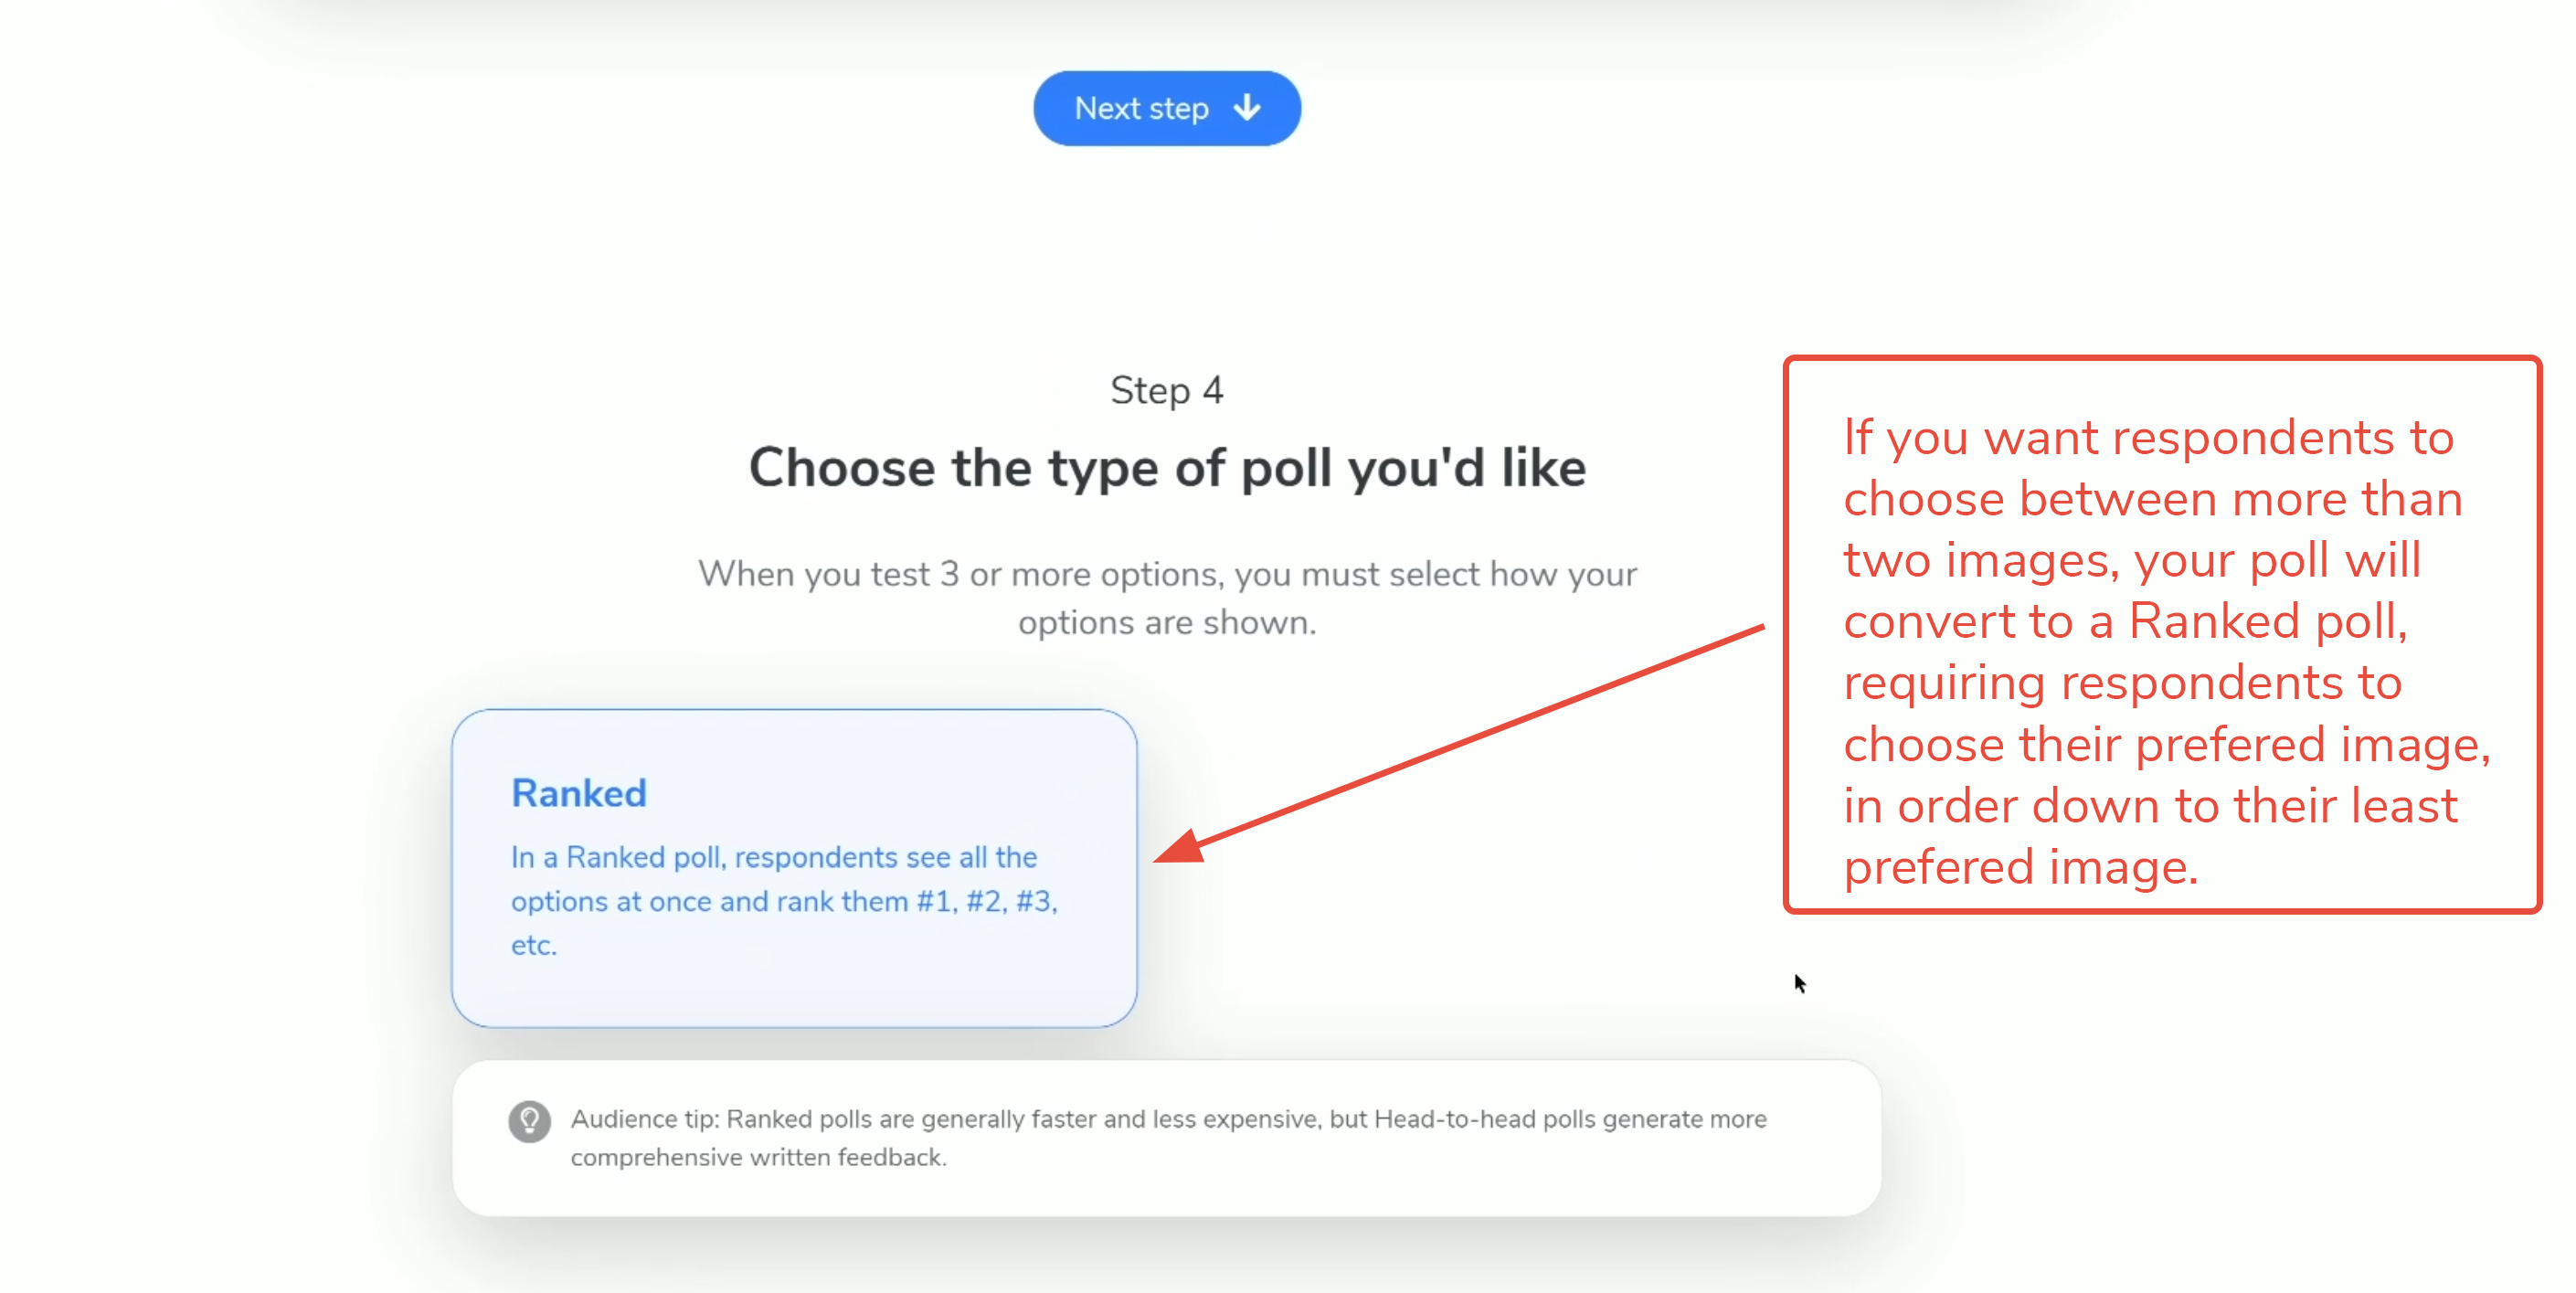
8. As you move through the steps, your options will change slightly, depending on the choices you make. For example, when you add a third image, the poll automatically becomes a ranked poll, requiring the respondents to order their preferences.
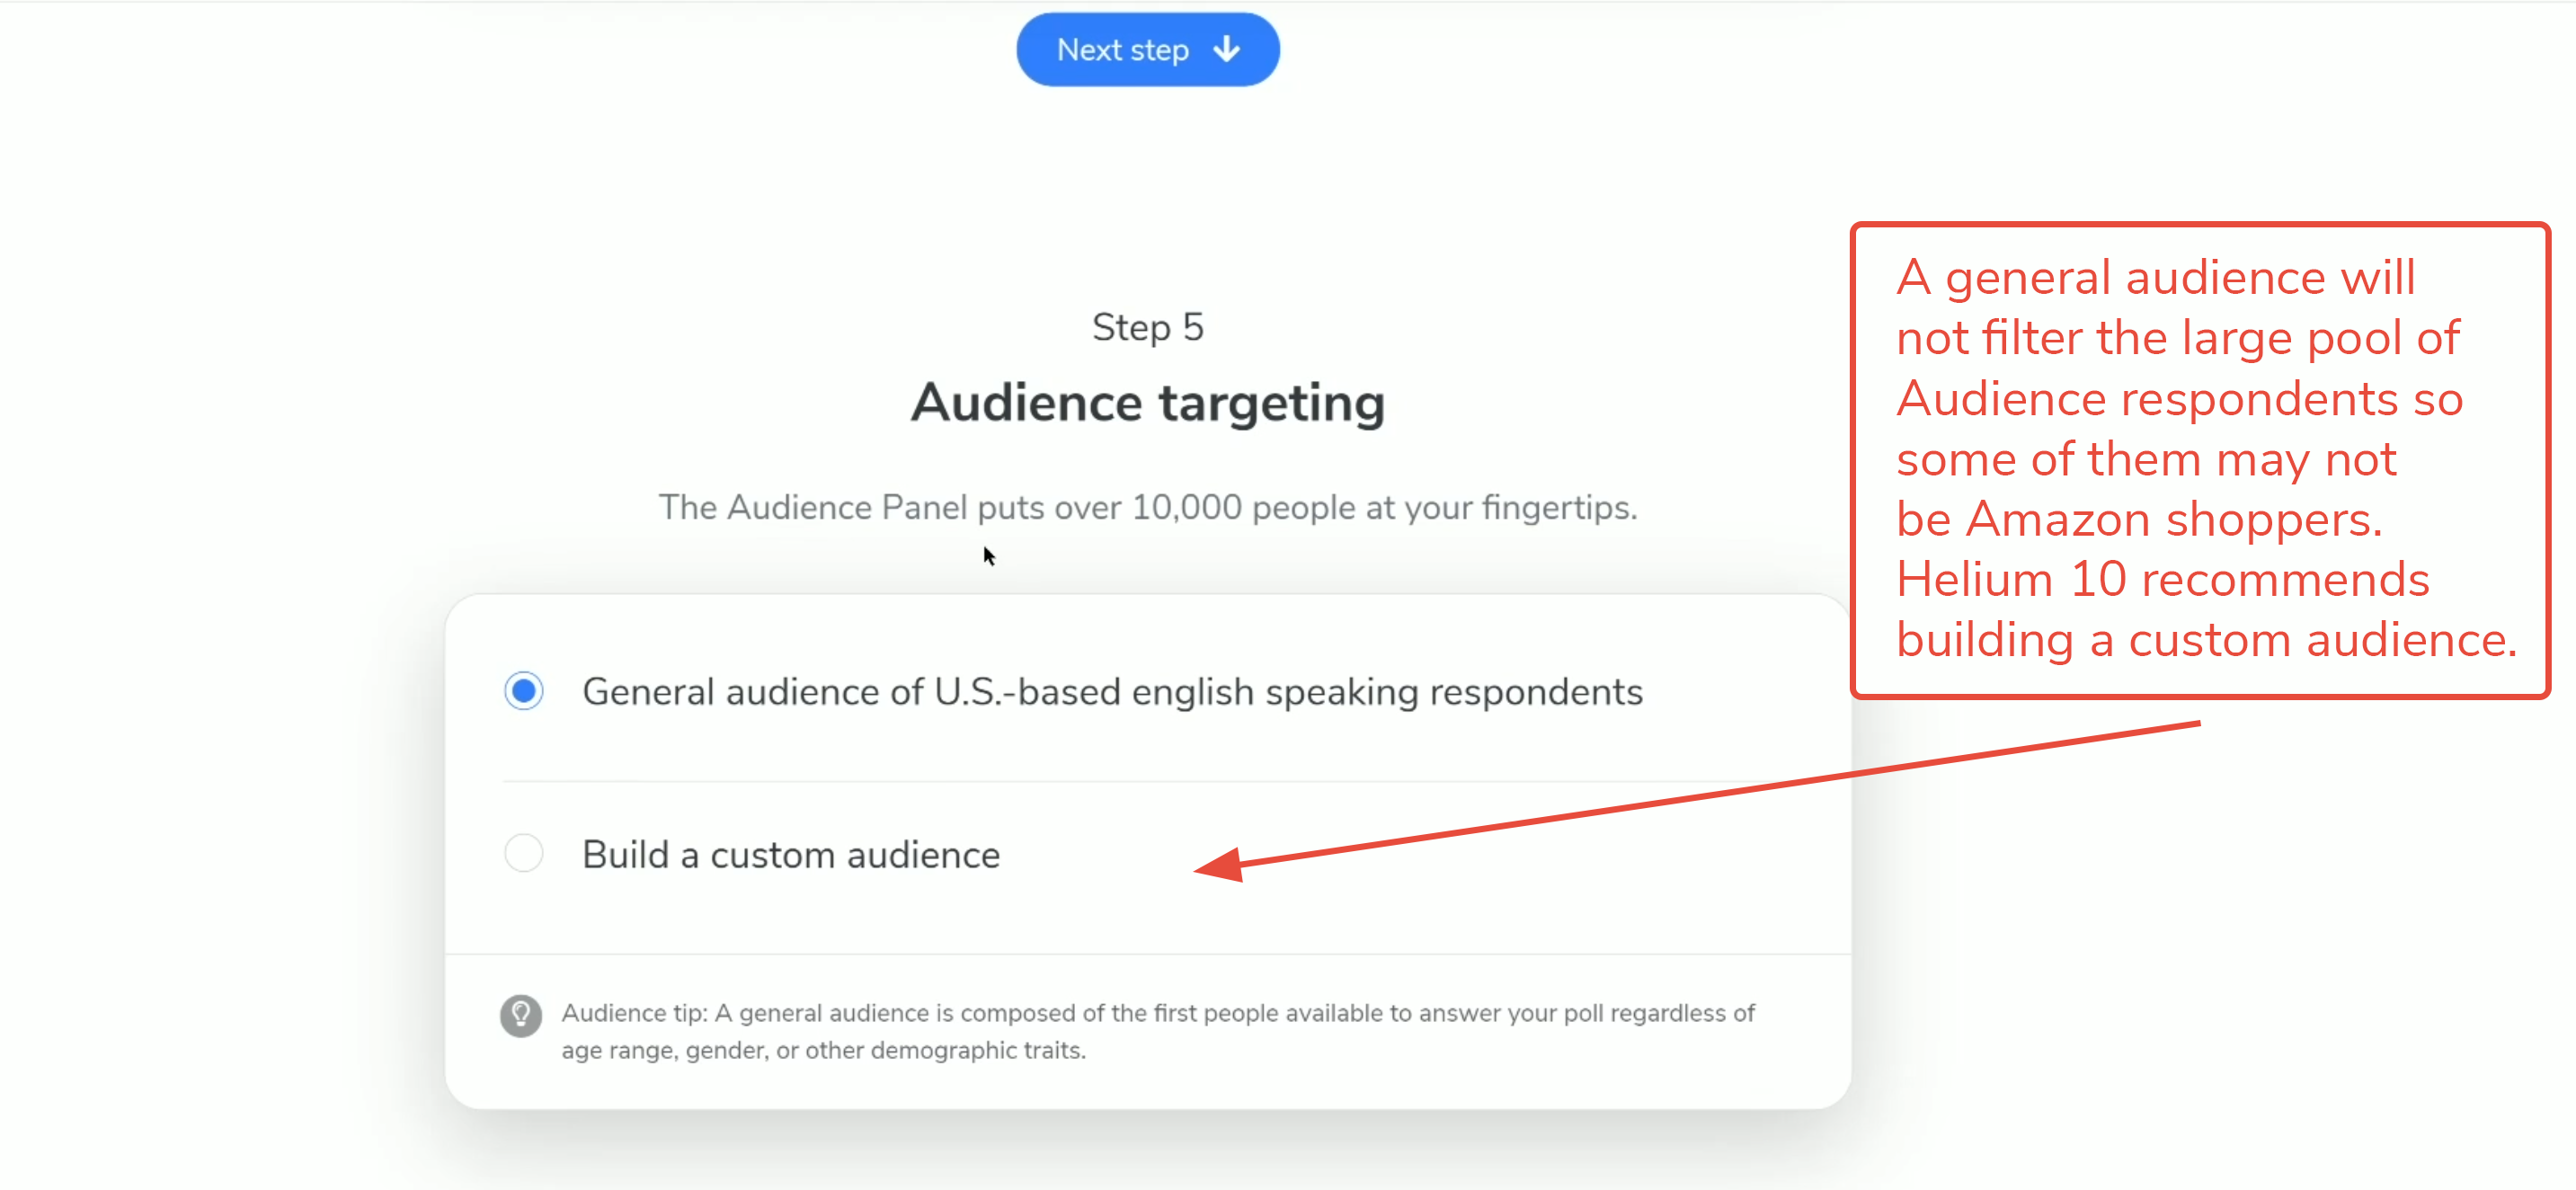
9. Once your poll is drafted, now it’s time to choose the type of respondents you want to answer it. Audience offers you a wide range of options to narrow your audience. If you are developing a poll for Amazon shoppers specifically, you will probably want to Build a custom audience.
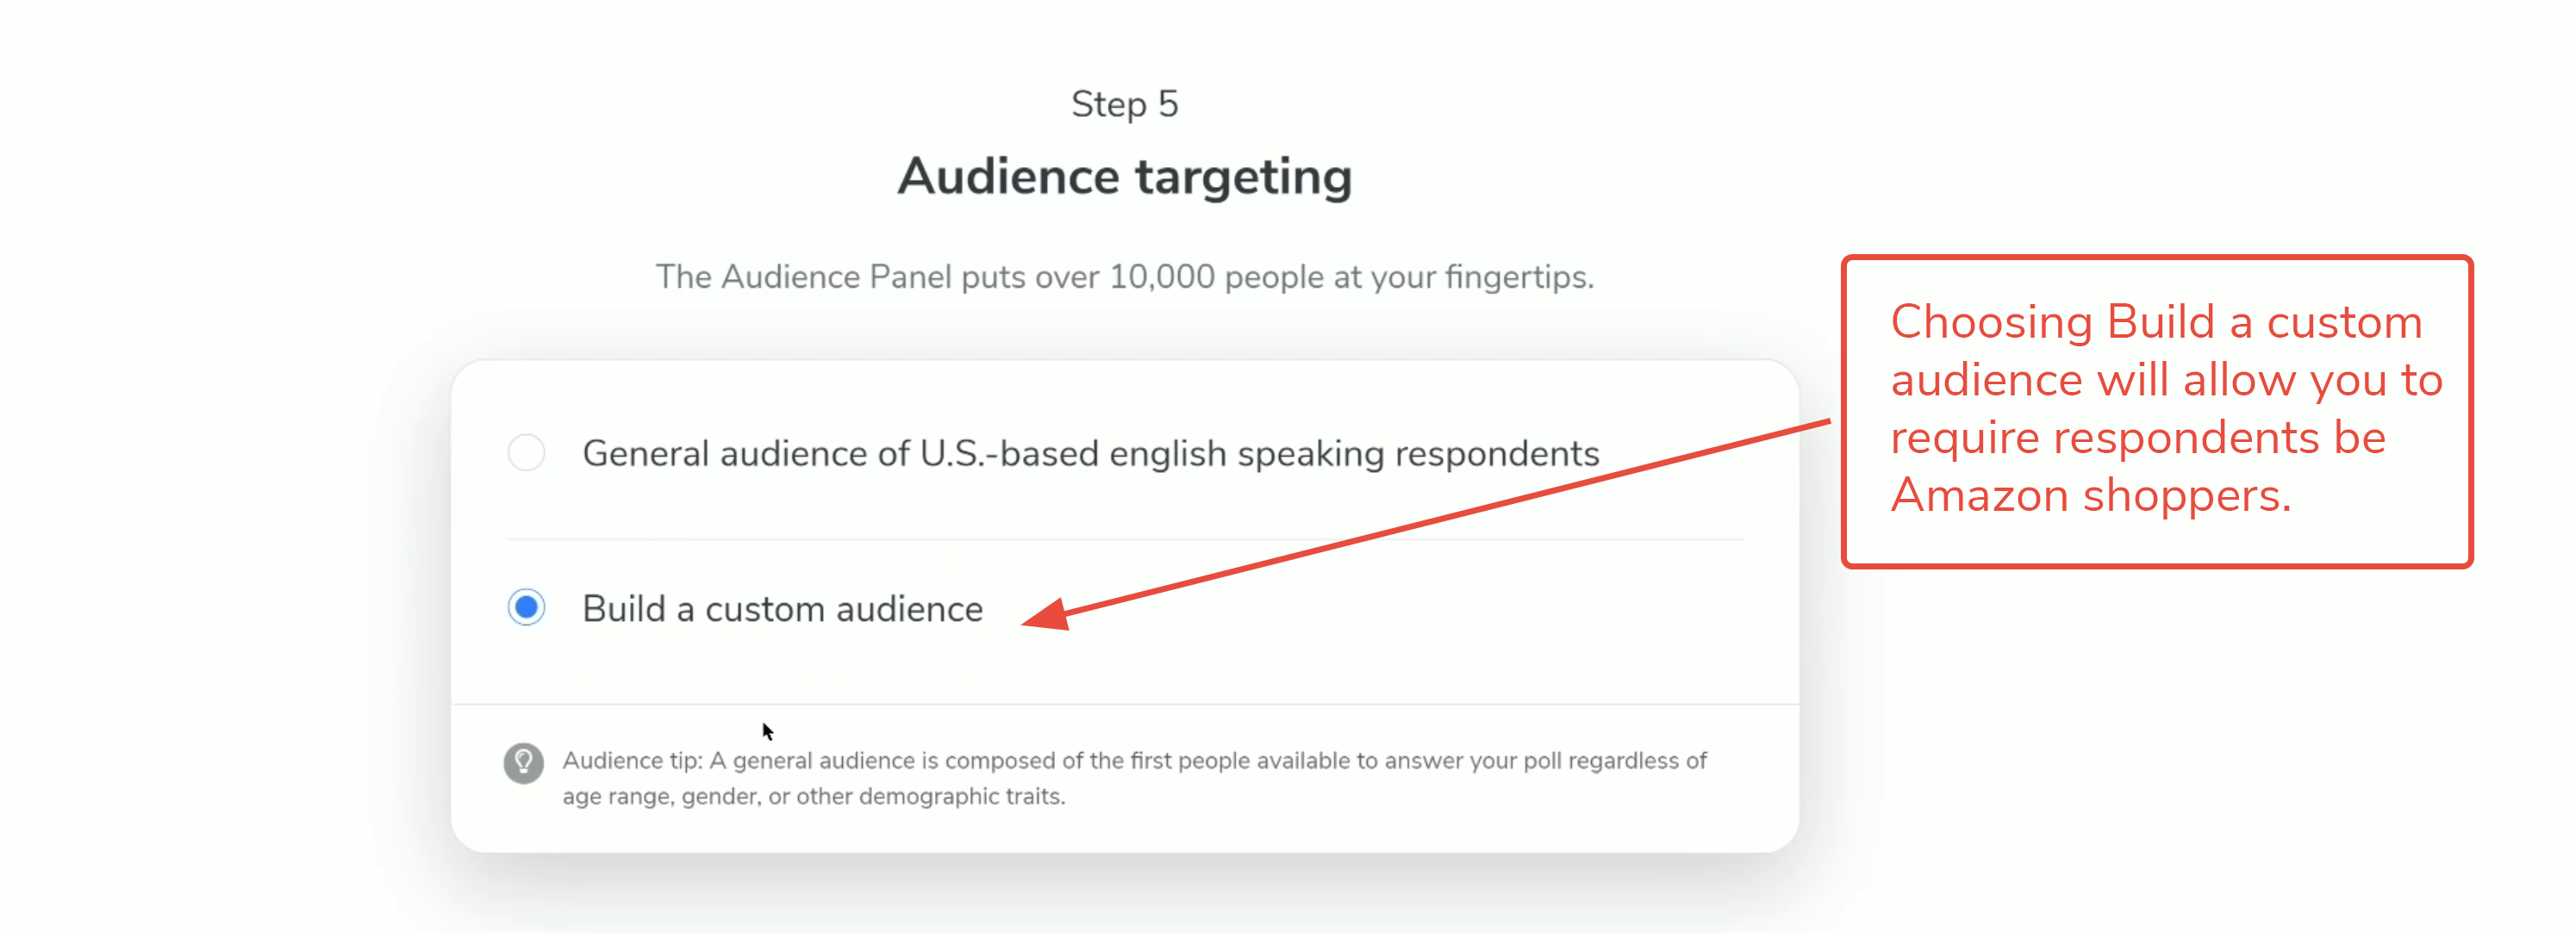
If you want your poll to survey only Amazon shoppers, you will want to choose the Build a custom audience option.
10. When you choose Build a custom audience, you can set up the conditions that direct which respondents are eligible to answer your poll. If your poll is about content you are putting on Amazon, you may want to require respondents be Amazon shoppers.
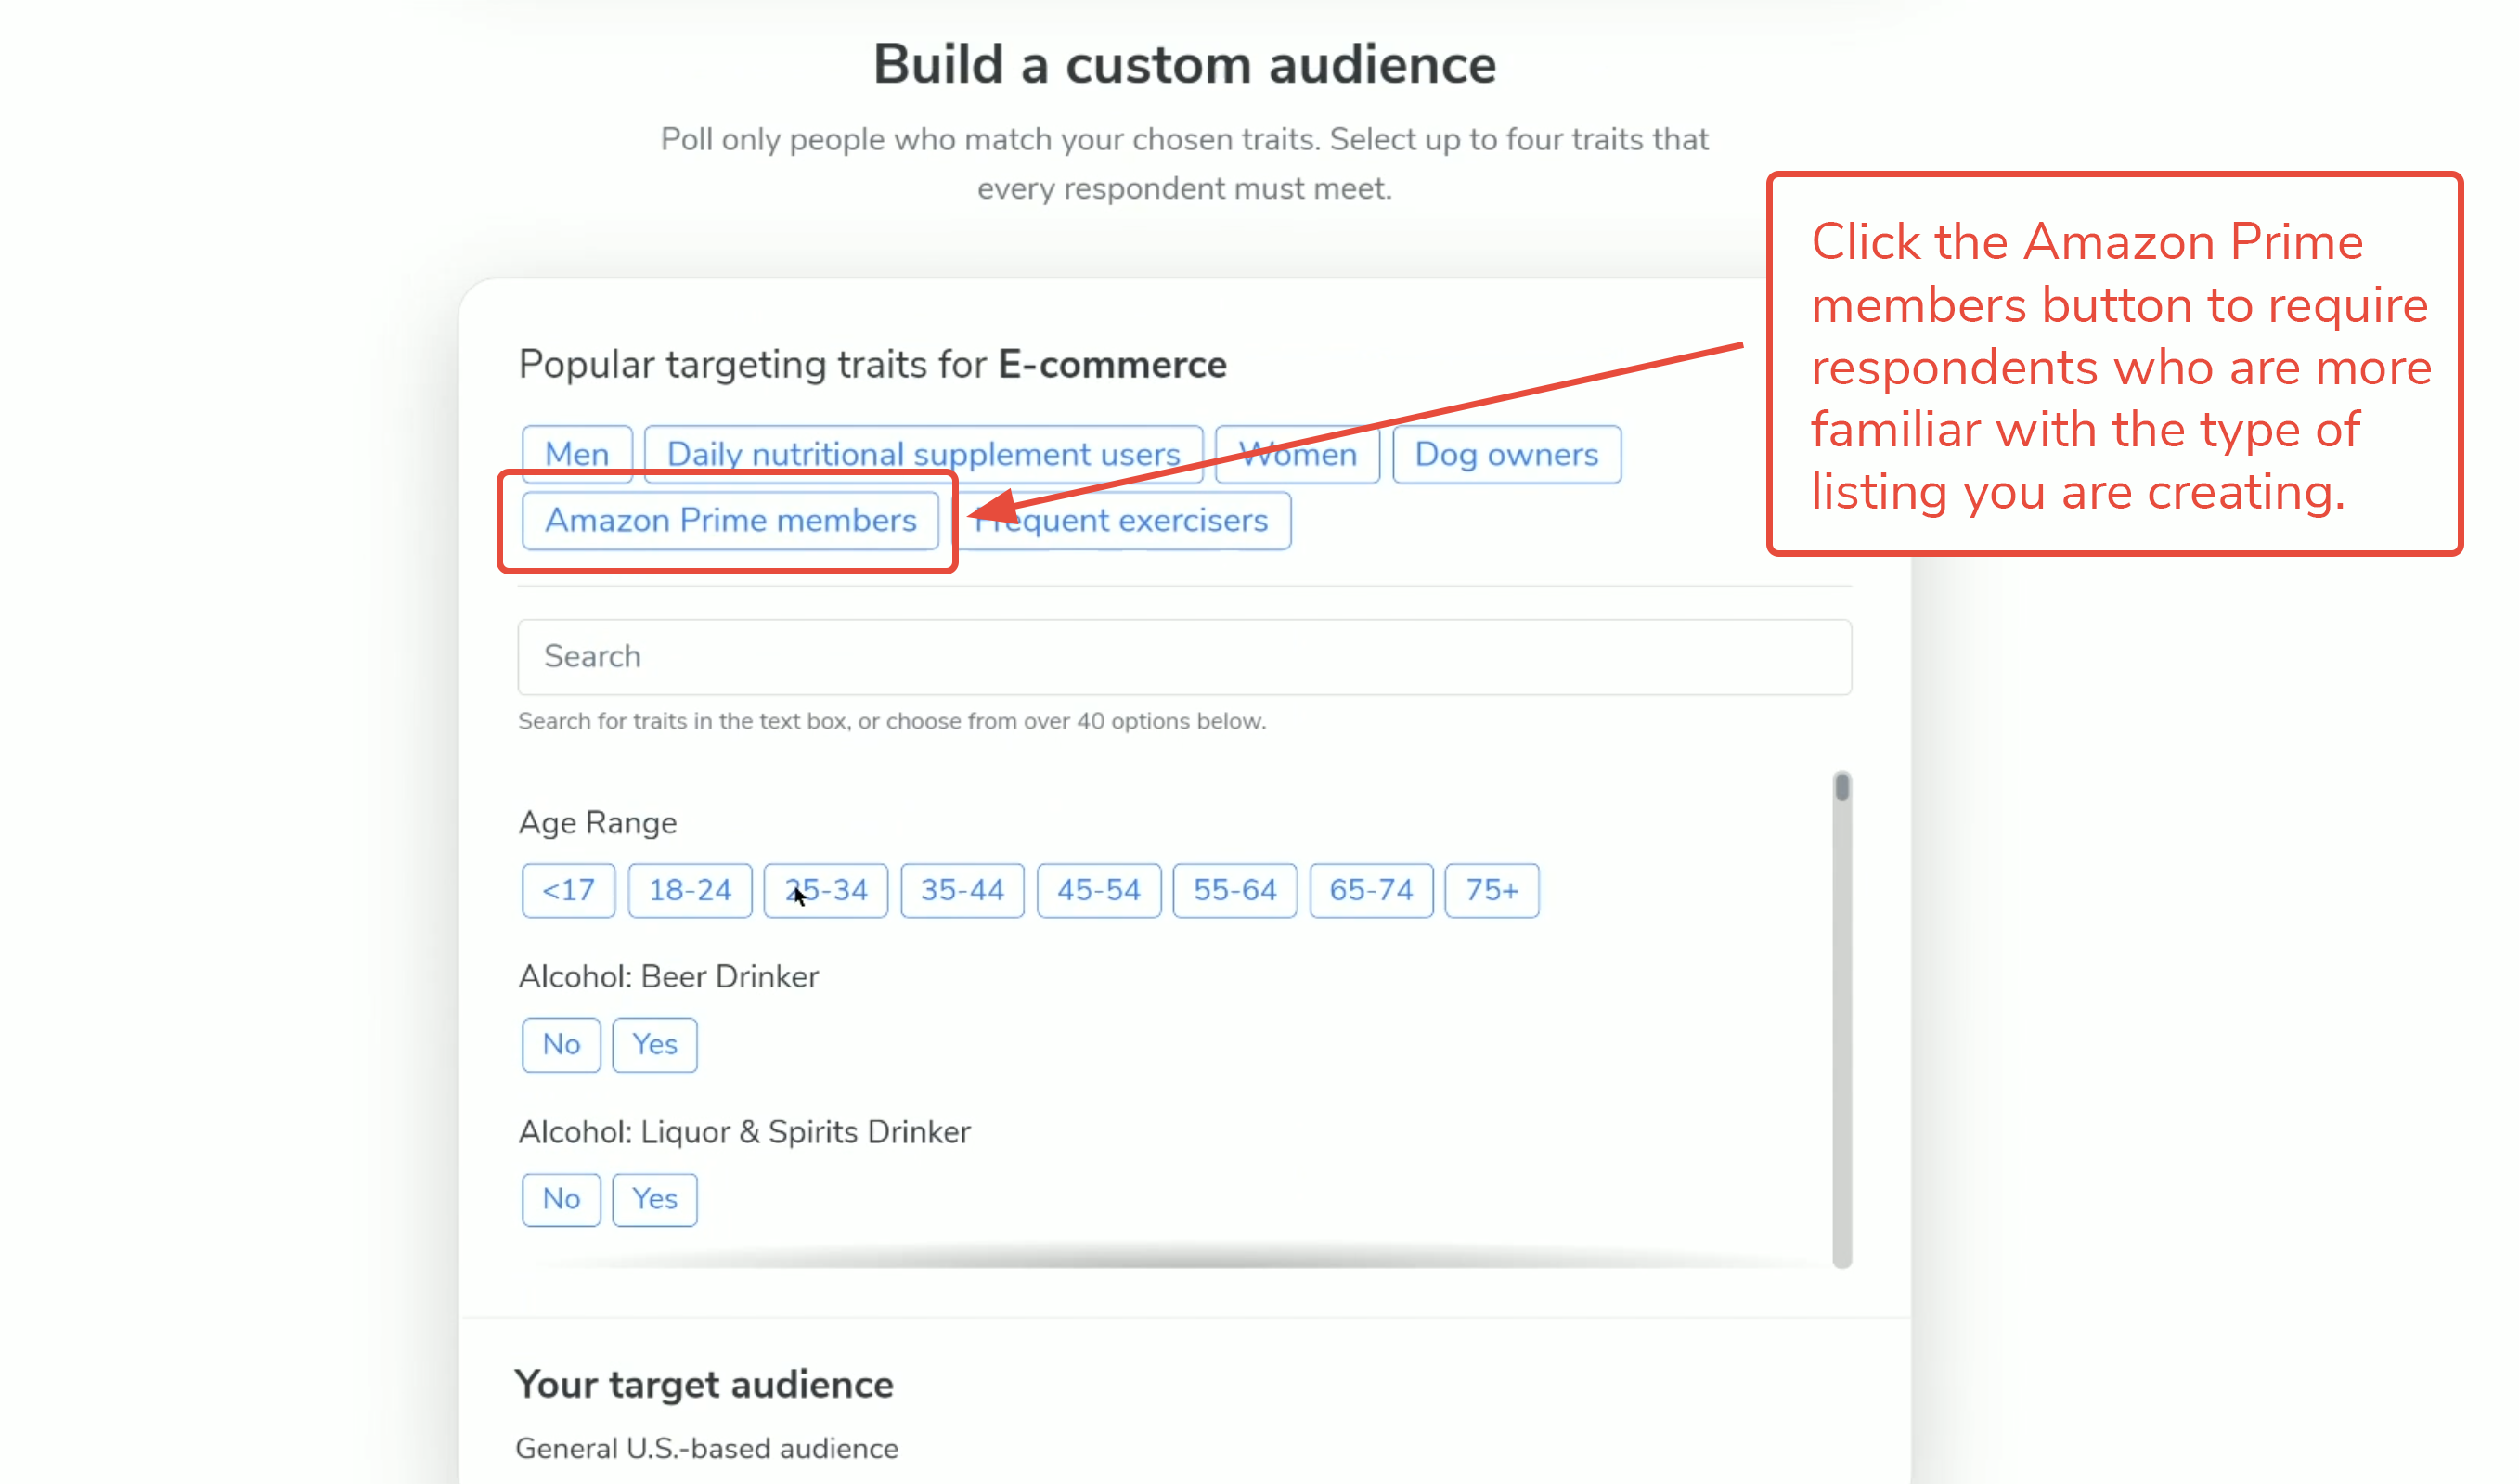
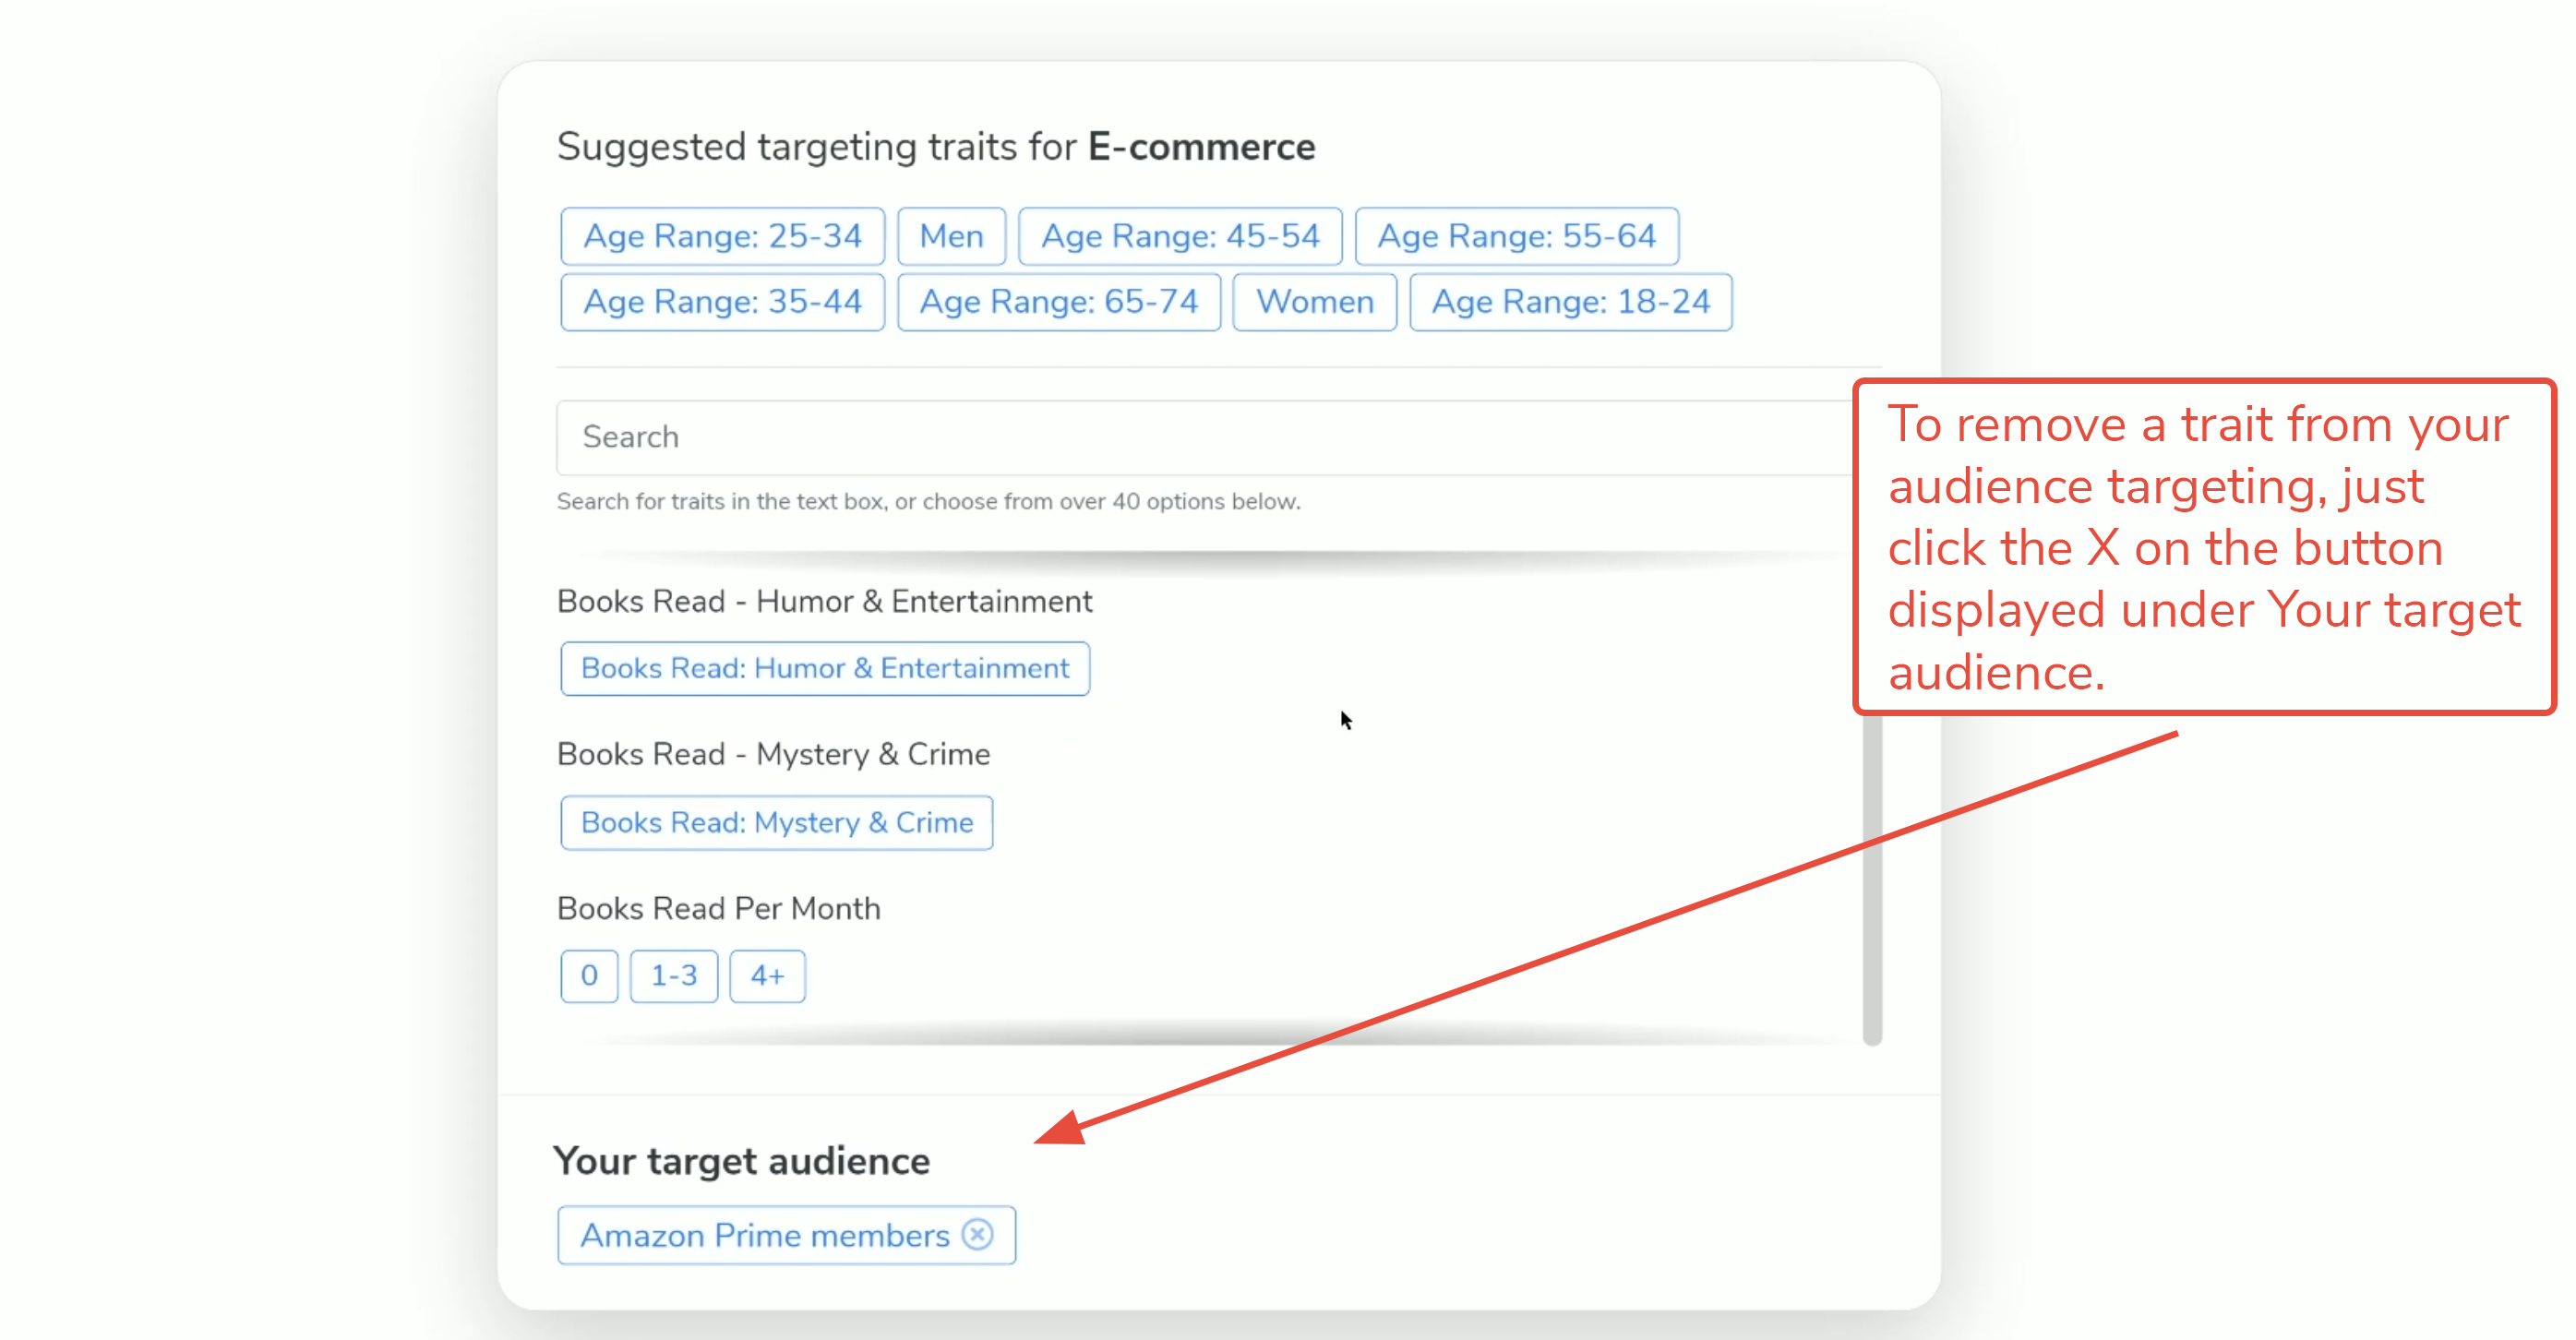
Click the Amazon Prime members button. When the button is highlighted blue, that means it is added as a condition on the audience. You can also track the conditions you’ve added by looking at the buttons posted under Your target audience.

11. You can also search for additional, more specific conditions, or use the scroll bar to scan through the available options for shaping your audience. Each condition you add will increase the price of the poll, though. You can monitor price changes at the bottom of the window. easily adding and removing options if the price rises over your budget.
![]()
The options include age ranges, relationship status, gender identity, income levels, hobbies, and geographical locations (within the U.S.) among other characteristics.The more conditions you apply, the higher the cost of the poll, and the longer it will take to reach 100% completion of the poll. Nonetheless, these options exist to allow you to target your ideal buyer.
To remove a condition, click the circled X in the box.
12. In the next step, choose the size of your audience. The minimum number is set at 50, but you can increase that number by clicking on the button showing the number of respondents you desire. The cost of the poll is dependent both on the number of respondents and the number of conditions. Choosing to poll 100 versus 50 people does cost more, but it will result in more information. If this is your first poll, you may want to stick to the minimum number.

13. Audience defaults to automatically collect some of the respondents’ basic information, including age range, ethnicity, and gender, but you can collect more information, if you want, by checking the boxes on the options available in the Know more about respondents section in step seven.

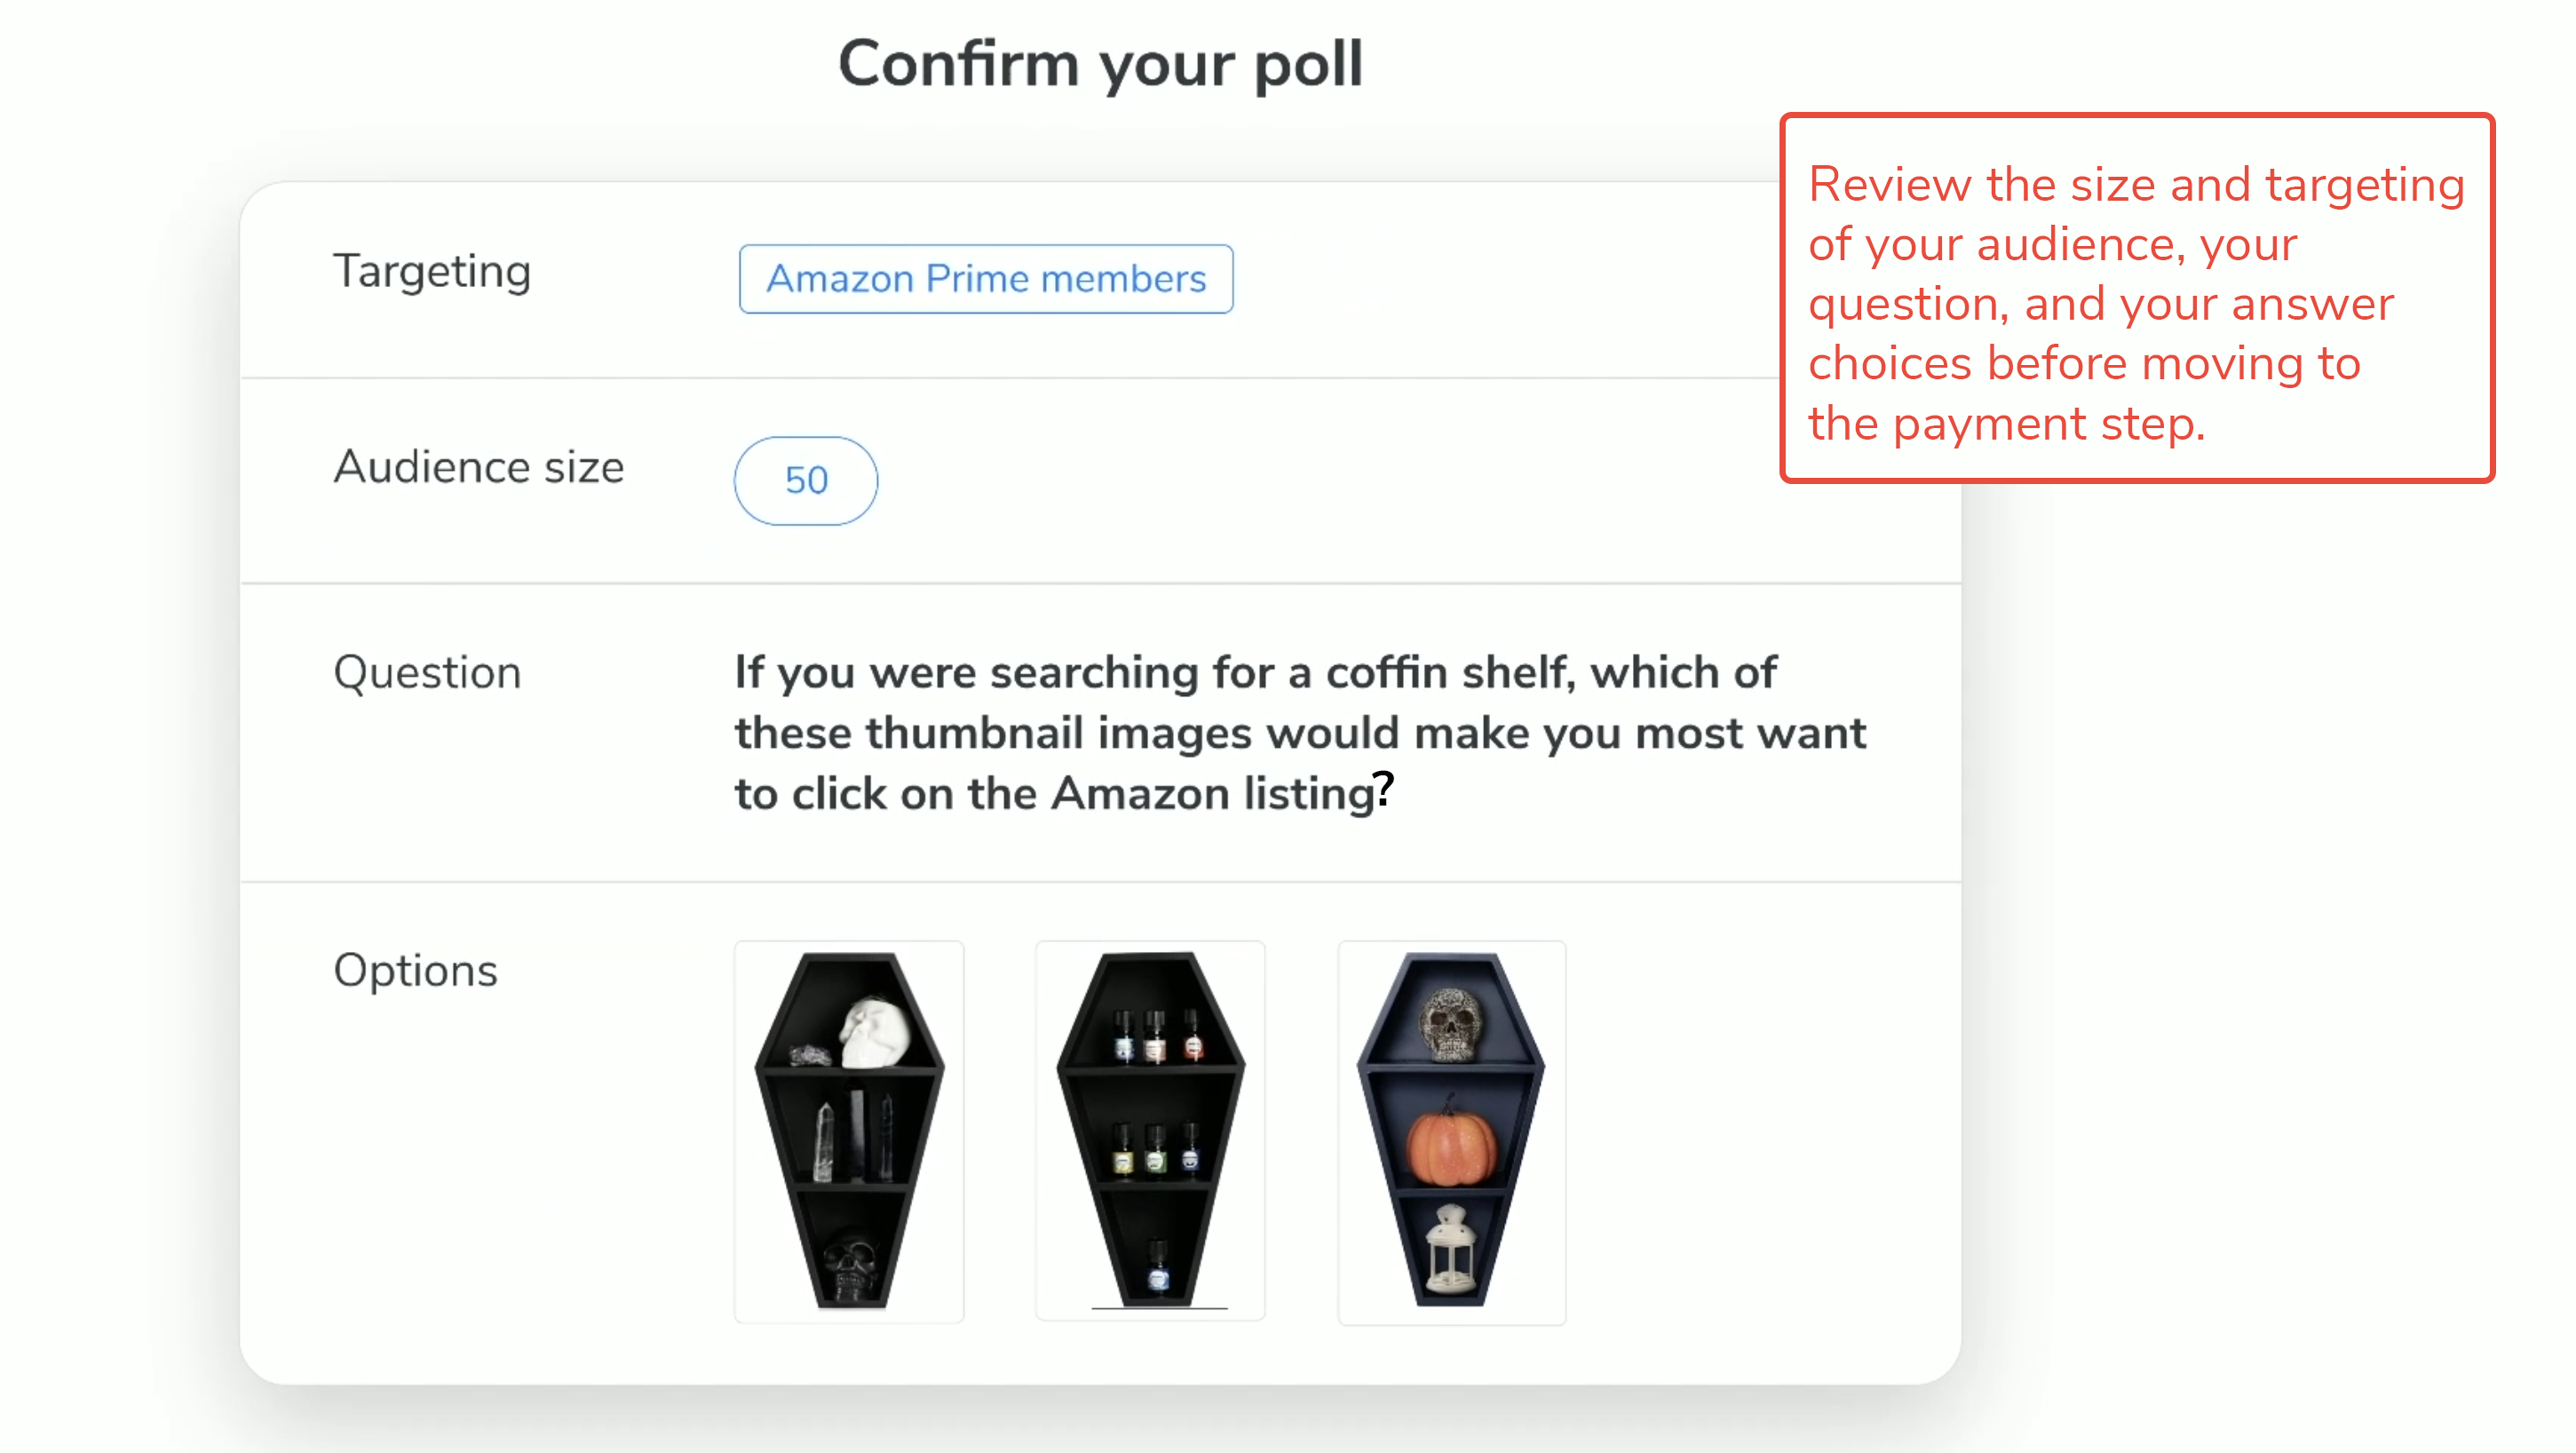
14. Under Confirm your poll, you will want to carefully review the conditions of your poll. The final steps will be to confirm payment, so you’ll want to make sure that everything looks exactly the way you want it to in your published poll.
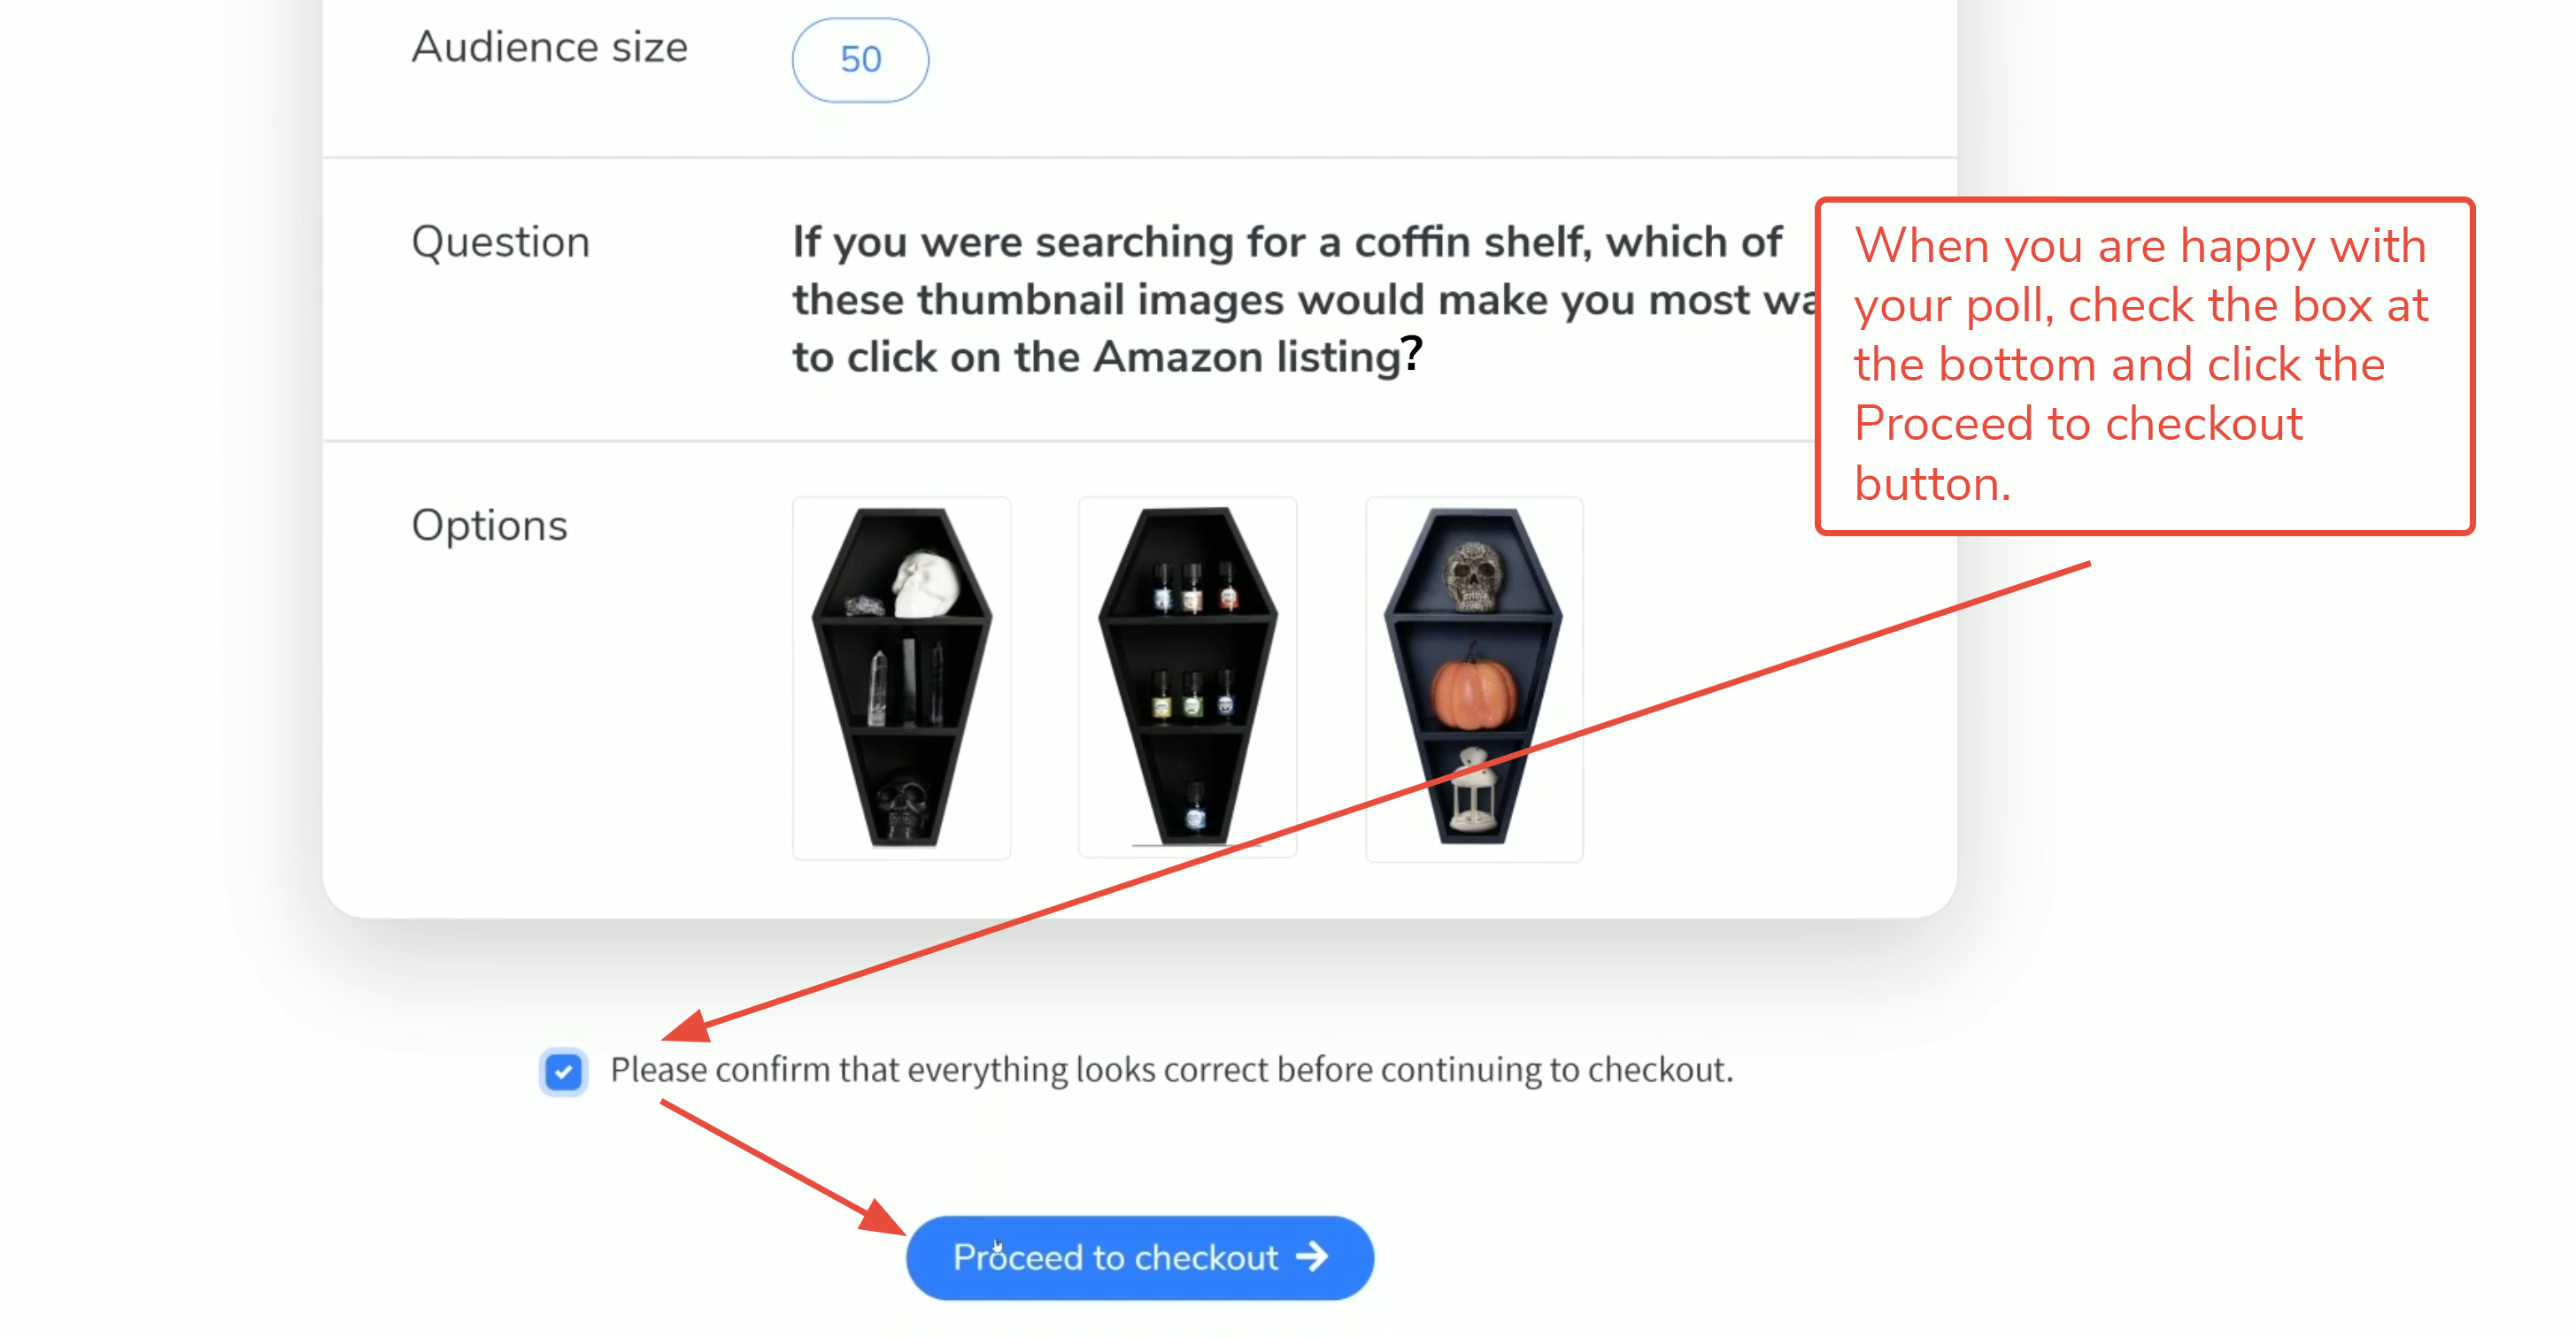
15. When you are certain that the poll is exactly as you desire, and the price posted at the bottom of the screen is acceptable, check the box for “Please confirm that everything looks correct before continuing to checkout” and then click the blue Proceed to checkout button. You will not be able to revise the poll after you have completed your payment.
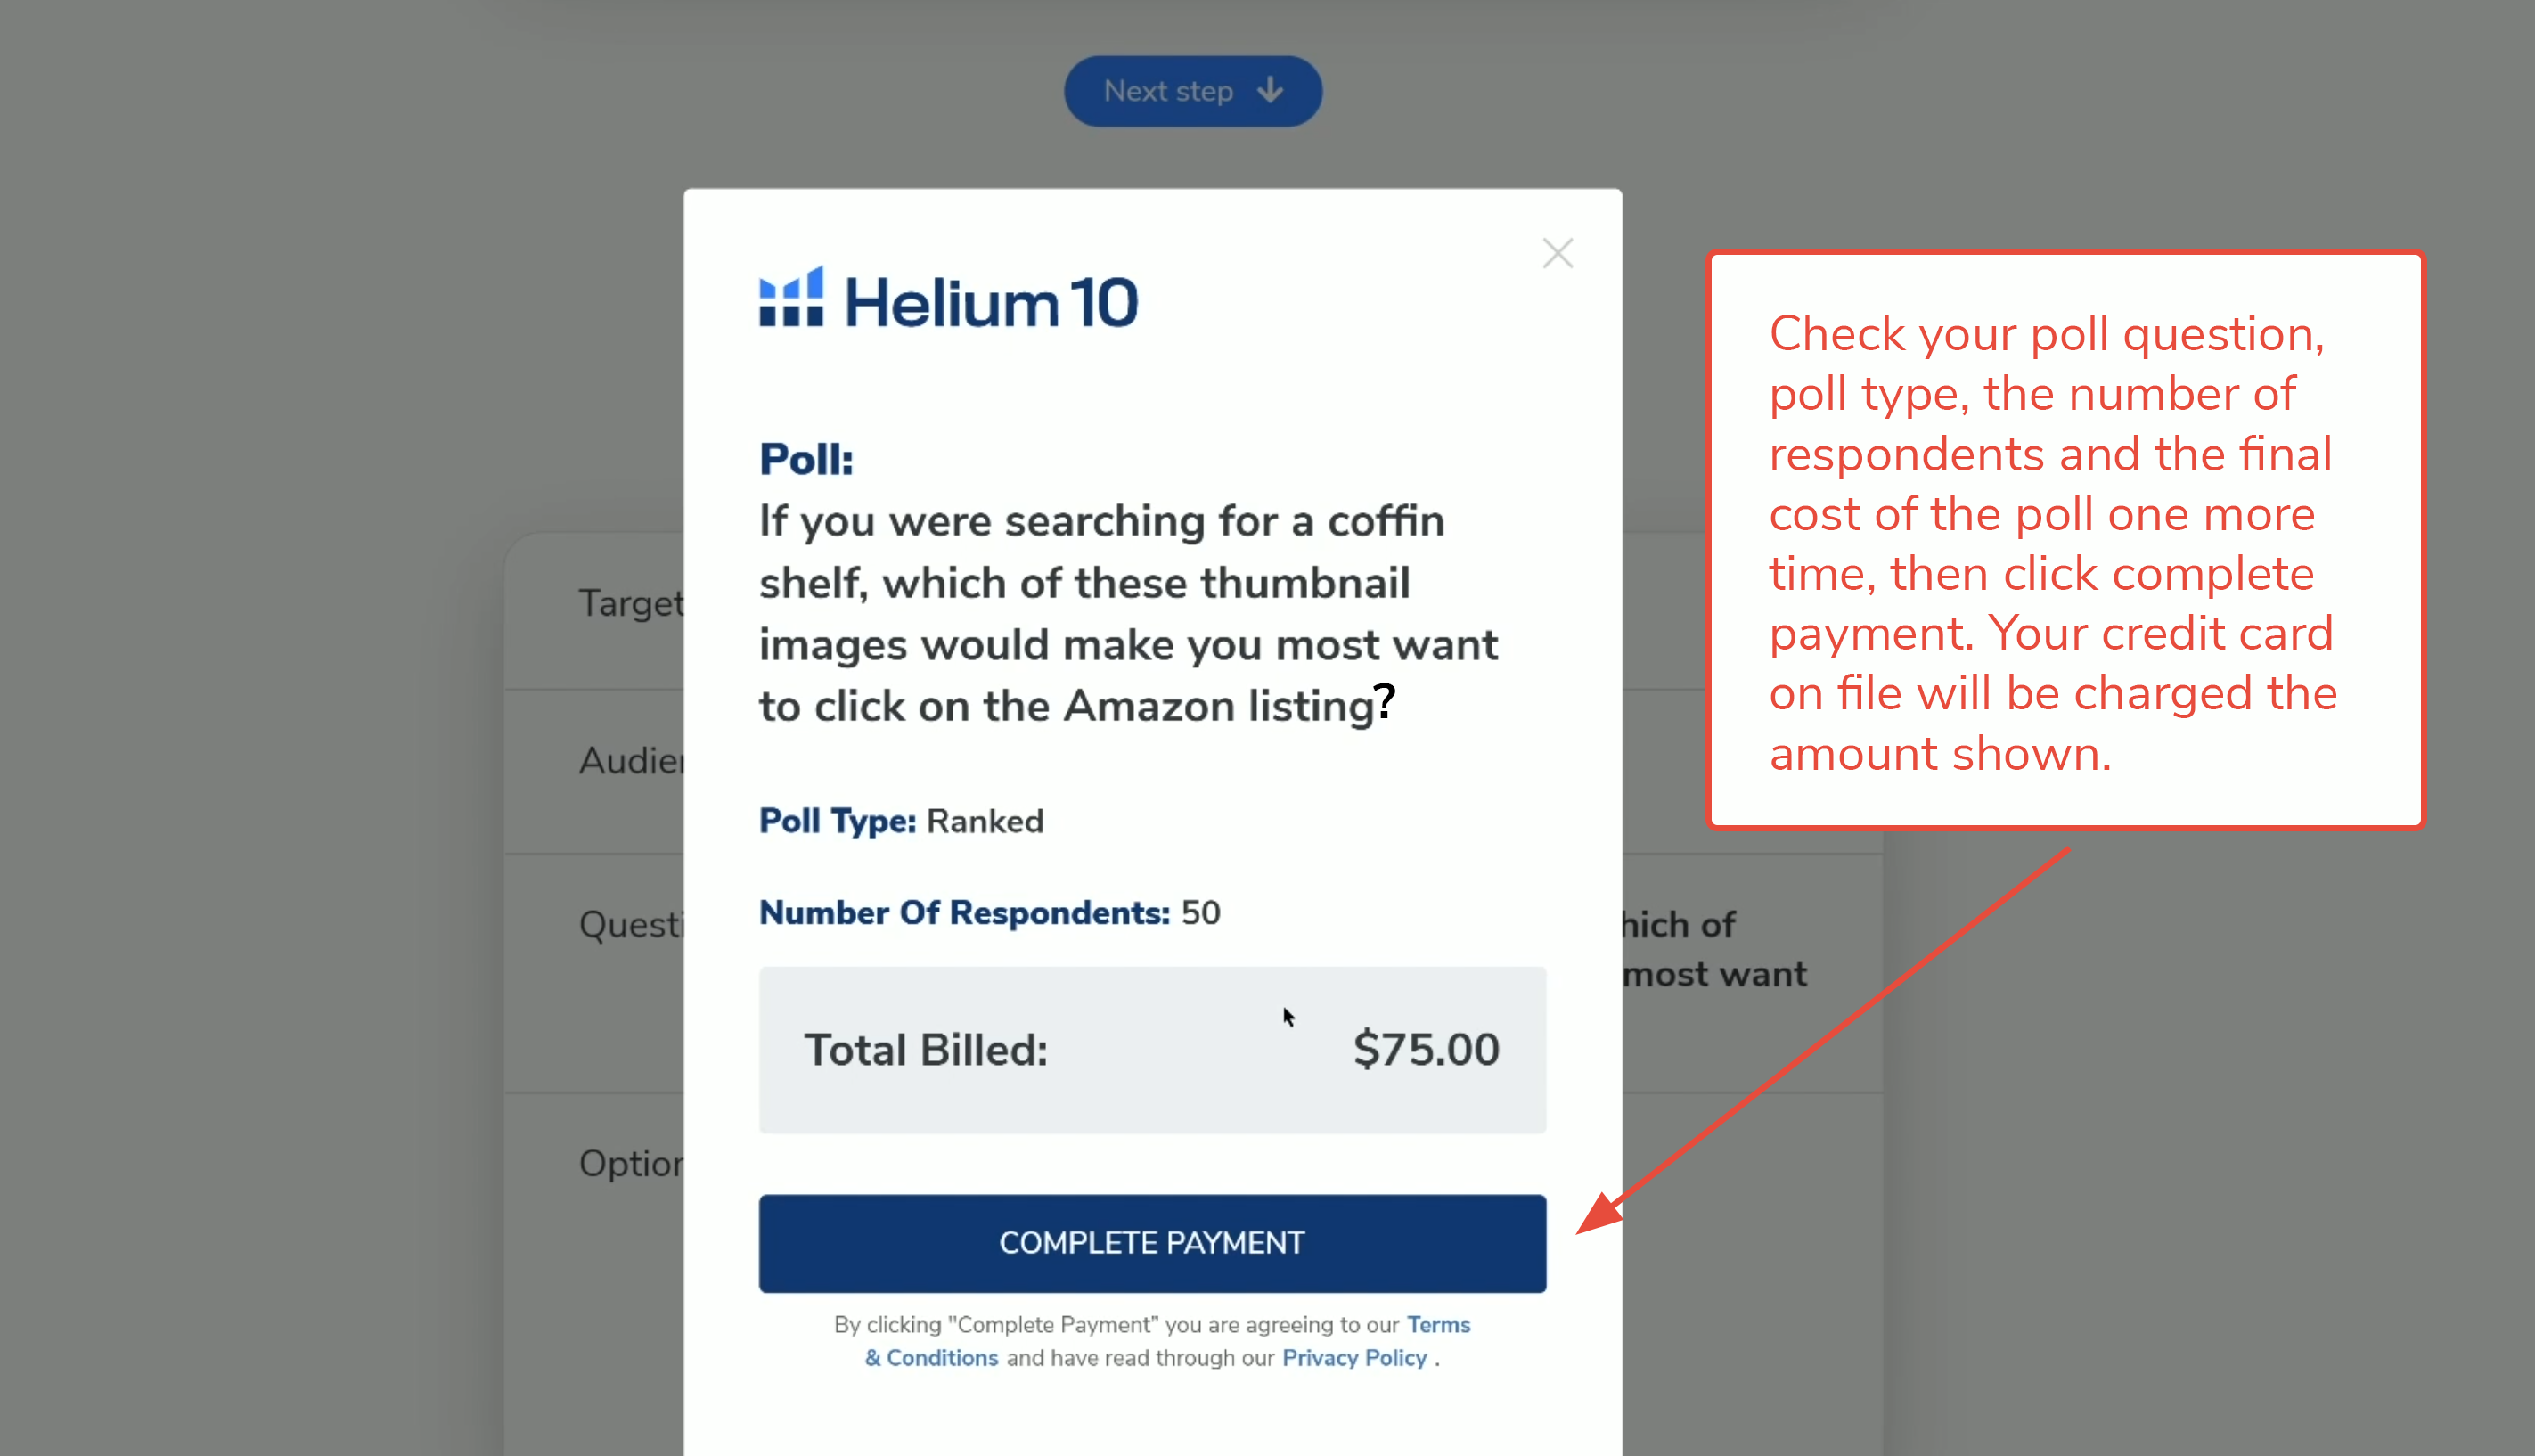
16. The checkout screen will open, displaying the poll question, poll type, number of requested respondents, and the total price that will be billed to your credit card on file with Helium 10. You can further check the Terms & Conditions and the Privacy Policy by clicking on the links at the bottom of the window. If you notice anything that you want to change, you can back out of the purchase by clicking the exit symbol in the top right corner. If you are certain you want to launch the poll and charge your account, click the blue Complete Payment button.
Respondents will begin completing your poll, usually within minutes.
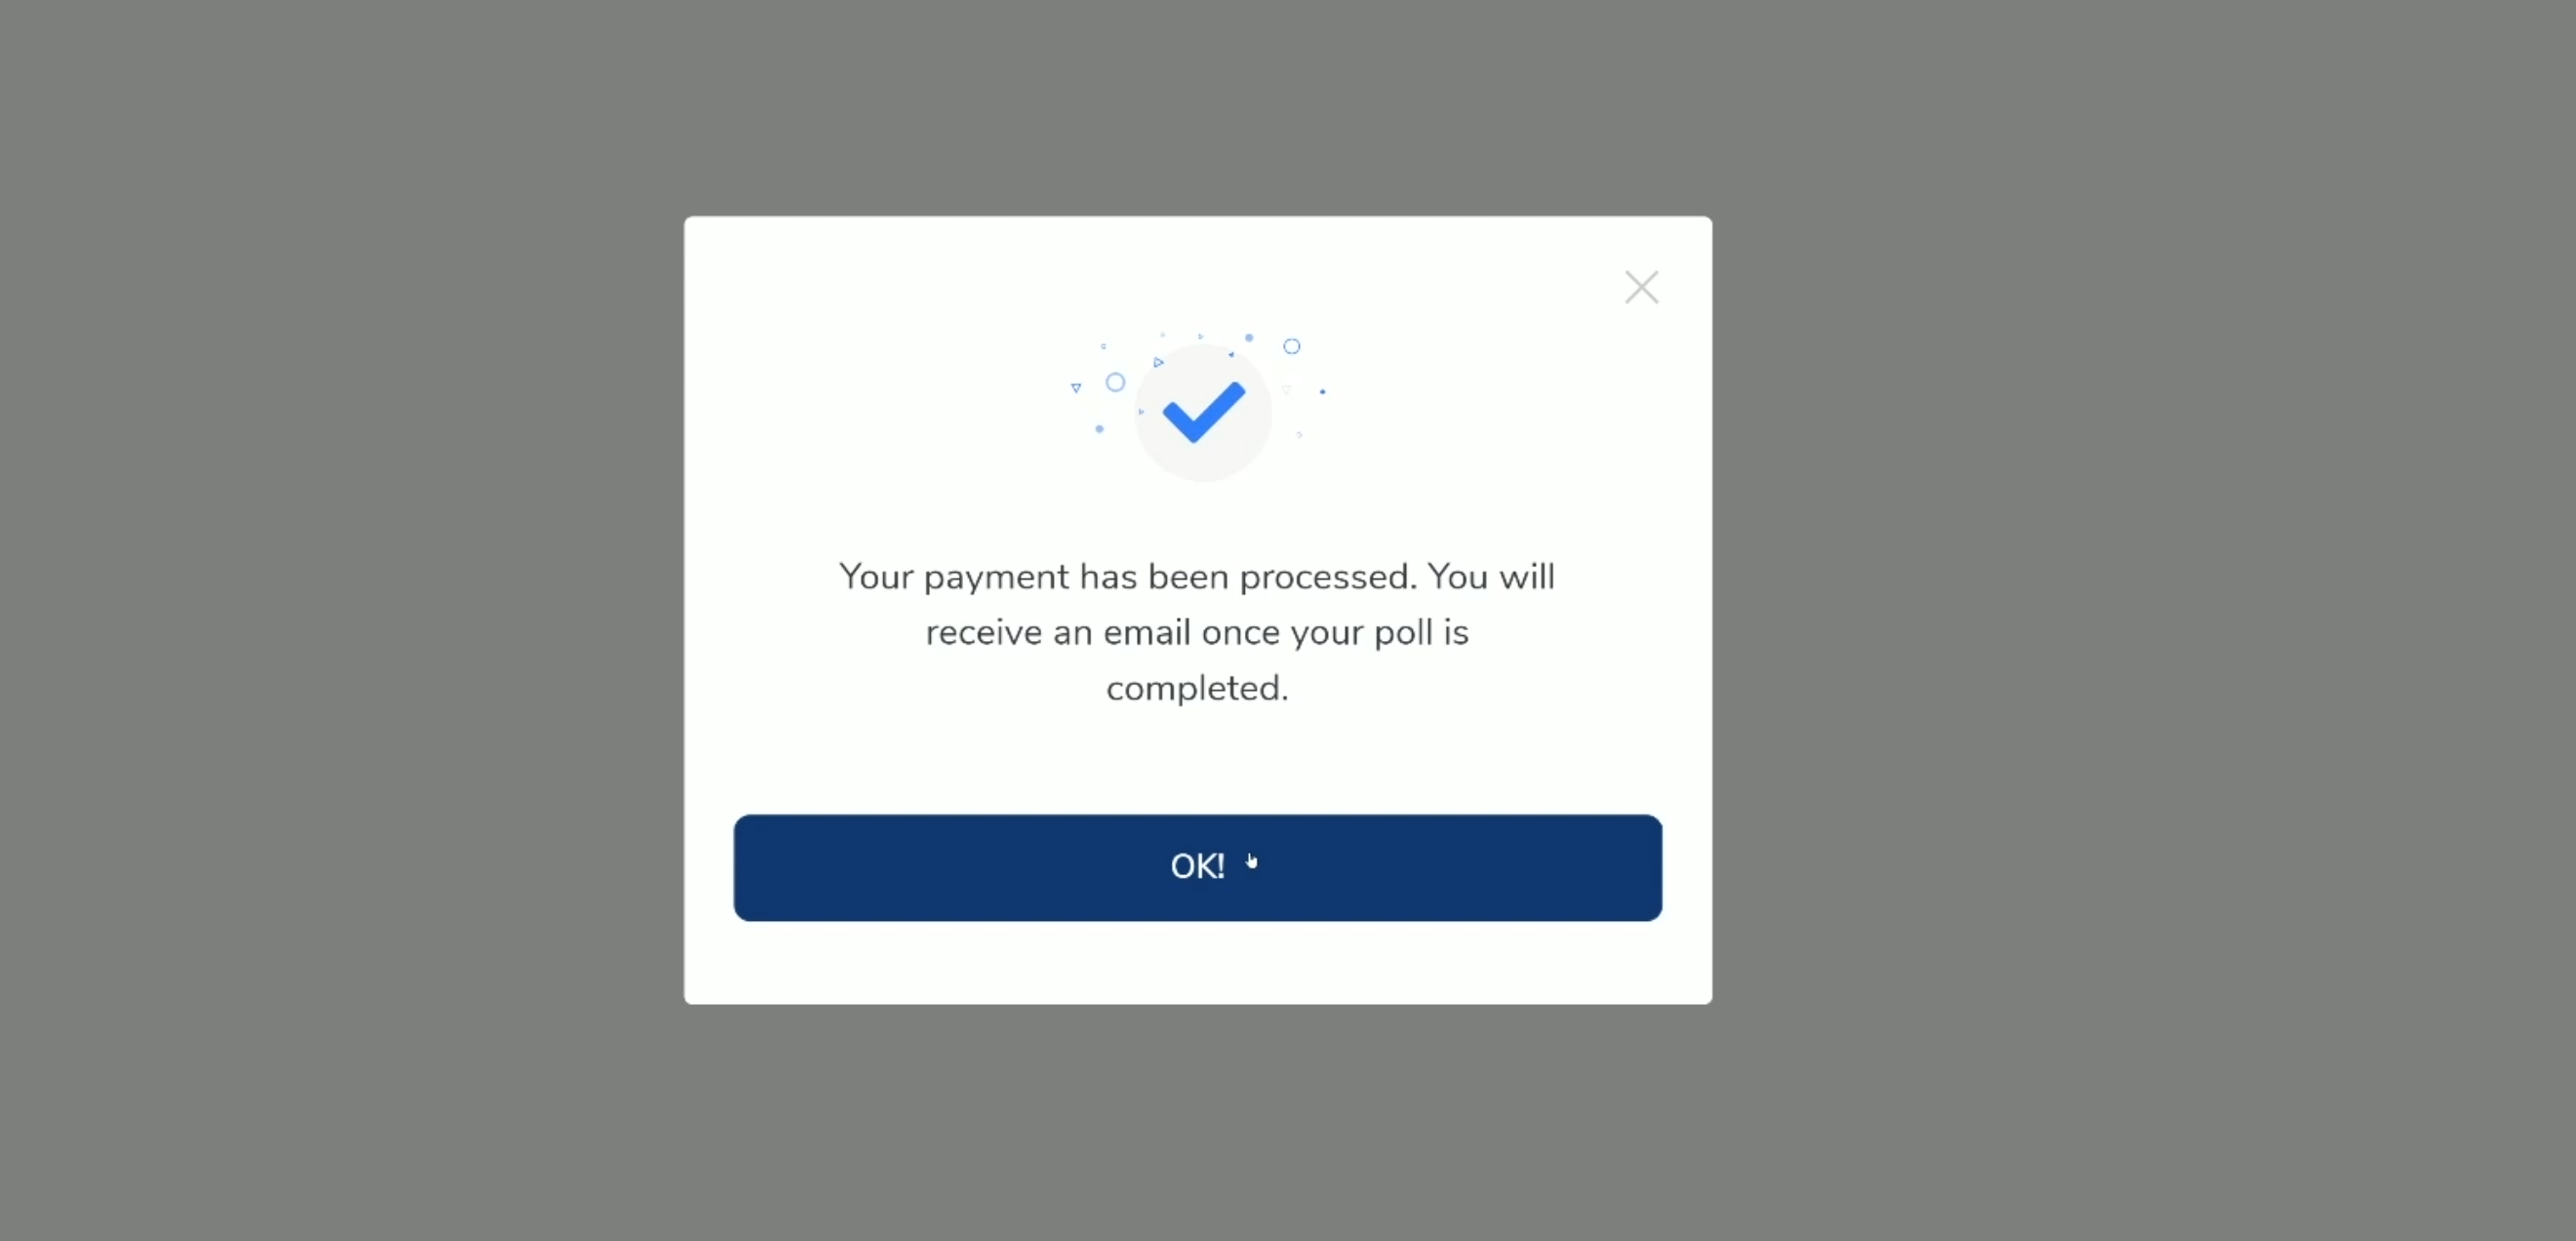
To monitor your responses, simply click the OK! Button and return to the Audience dashboard. After the first time you use Audience, your drafted, active and completed polls will all be available to review on the dashboard.

To learn how to analyze your results, check out the article “How Do I Interpret My Audience Poll Results?”
Create a Free Helium 10 Account Today!
Start with the free extension: Download the Helium 10 Chrome Extension.
Comments
Article is closed for comments.