
The Portals templates are continuously being improved and expanded. Users might even notice an existing Portal has been flagged as updated. This update will not change the functionality or performance of the Portal the user created. But, after creating and launching a Portal, a user may want to change or update an active Portal’s template. This article suggests the best approach to changing or updating a template while retaining the previous design choices, so the updated Portal maintains those design choices.
Keep in mind two important points:
- Changing a Portal after it’s been published, also changes its url. If users are including the url in social media ads, emails, or flyers, they will need to update those as well.
- Changing an existing Portal to an updated or new template automatically overrides all the customization that were previously applied to the original Portal. Once users apply the new or updated template, they will need to manually update the customization as well.
Alerts for updates appear as an orange triangle on the Portal image in the main list.
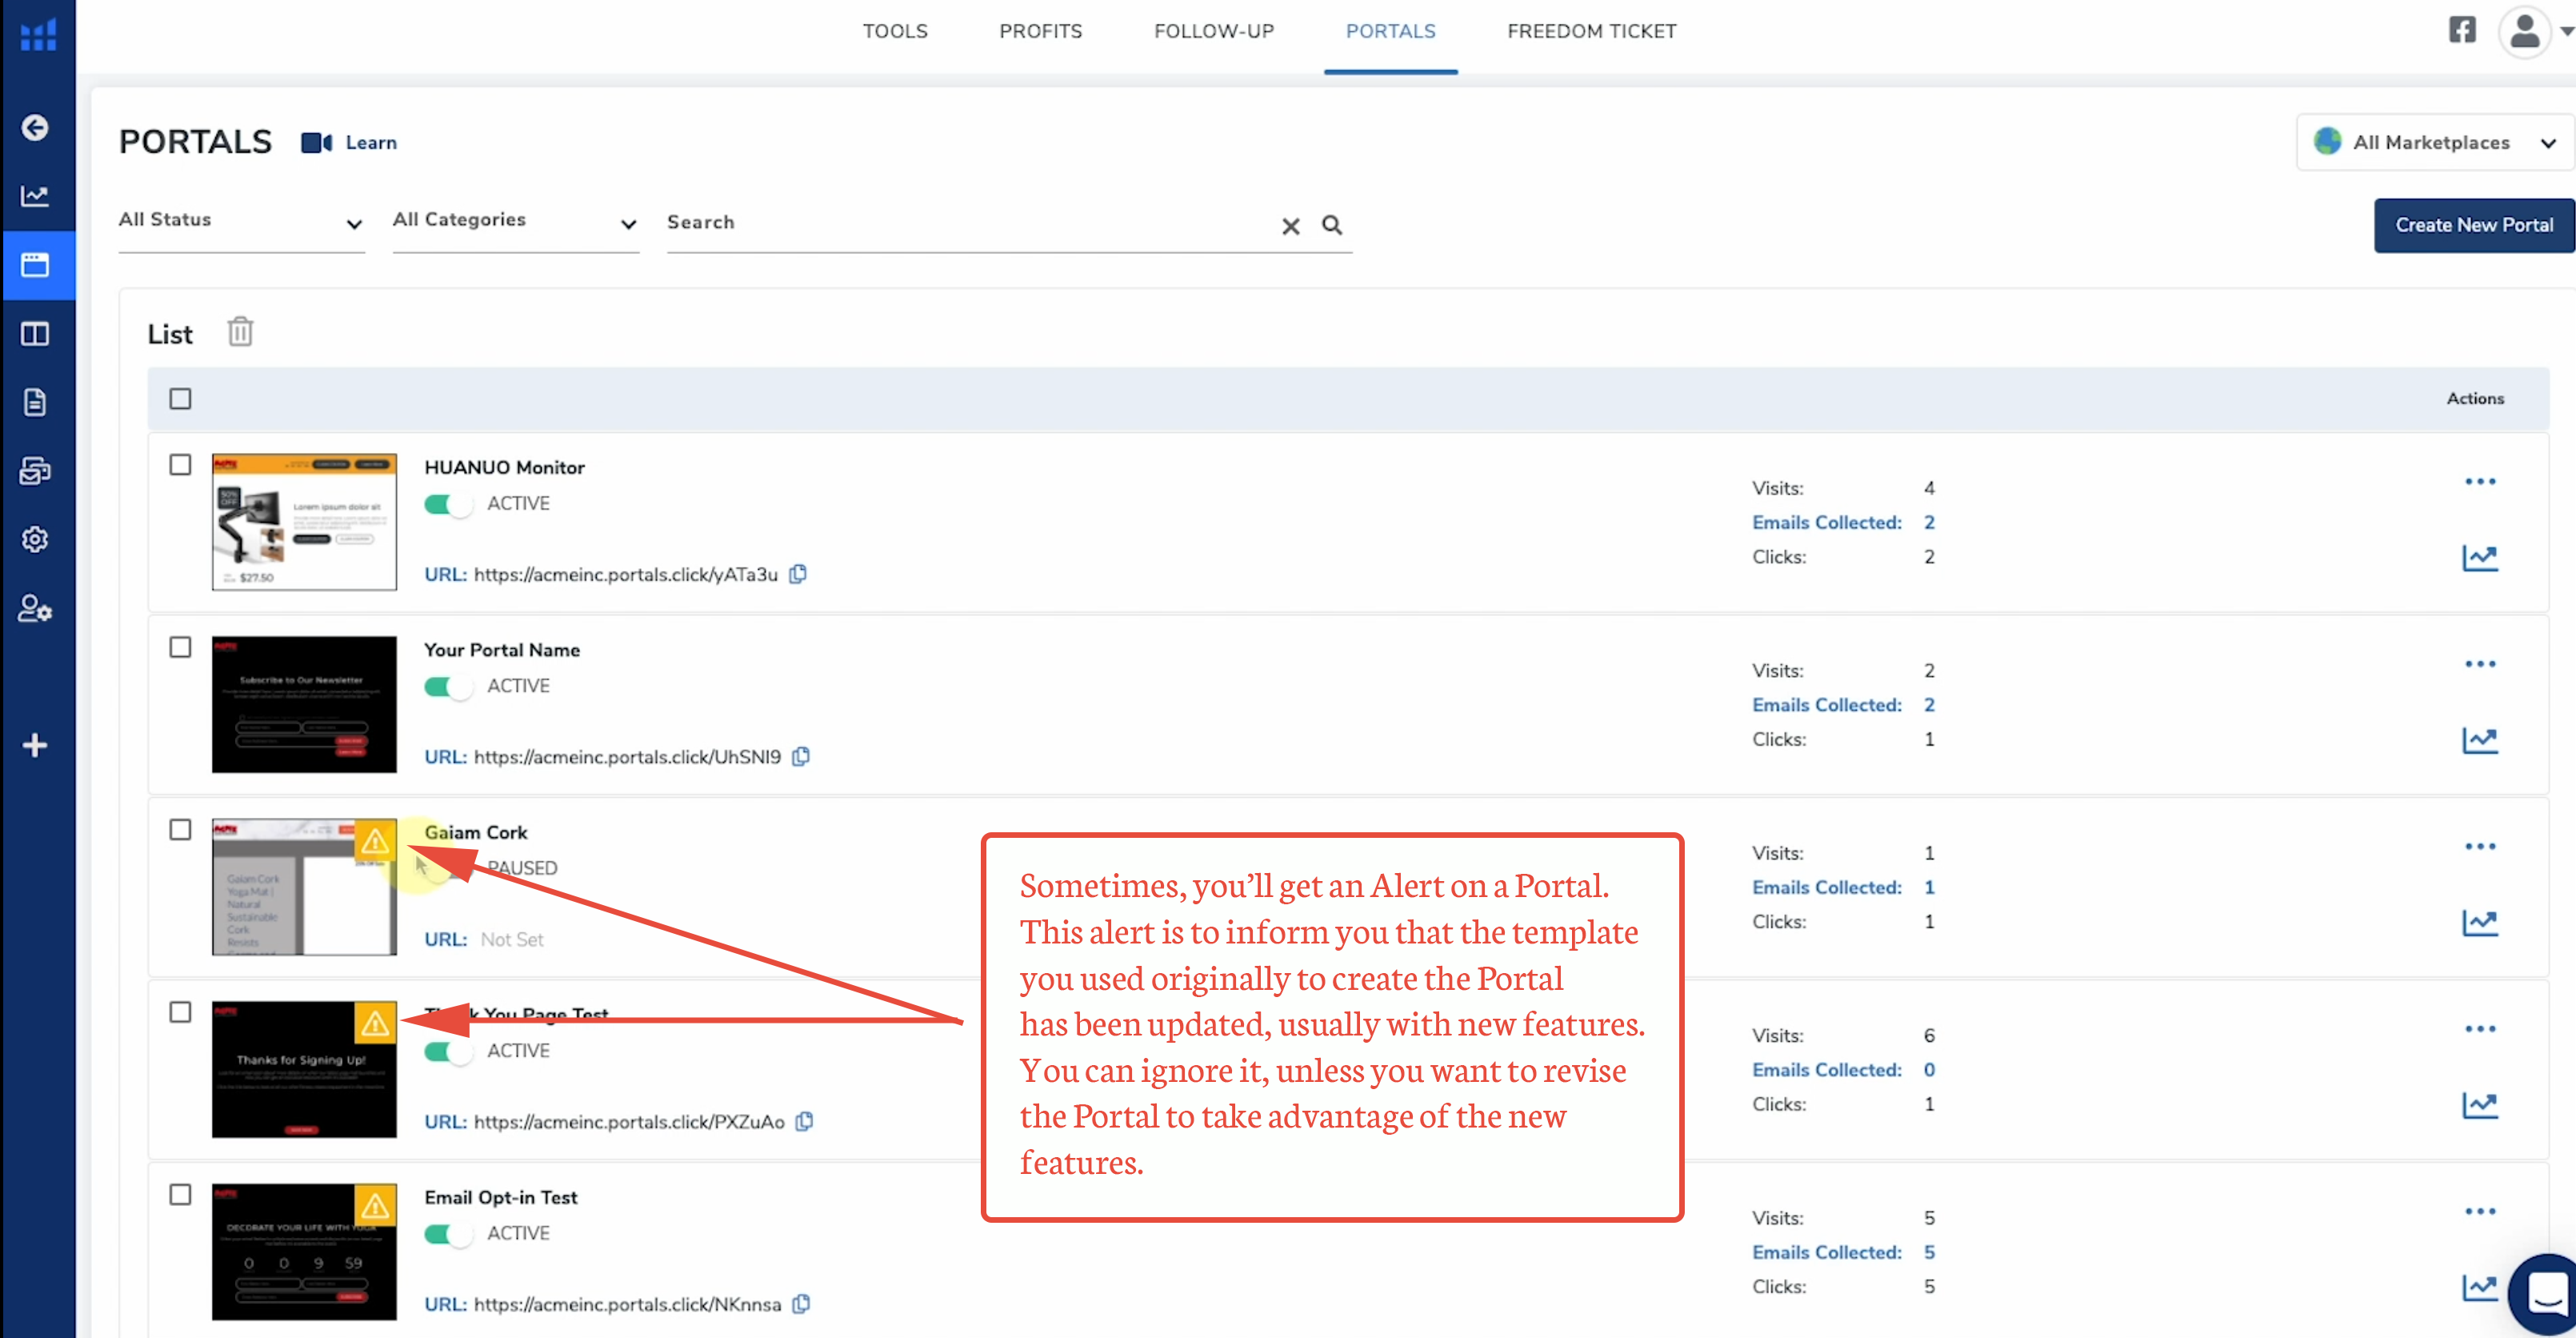
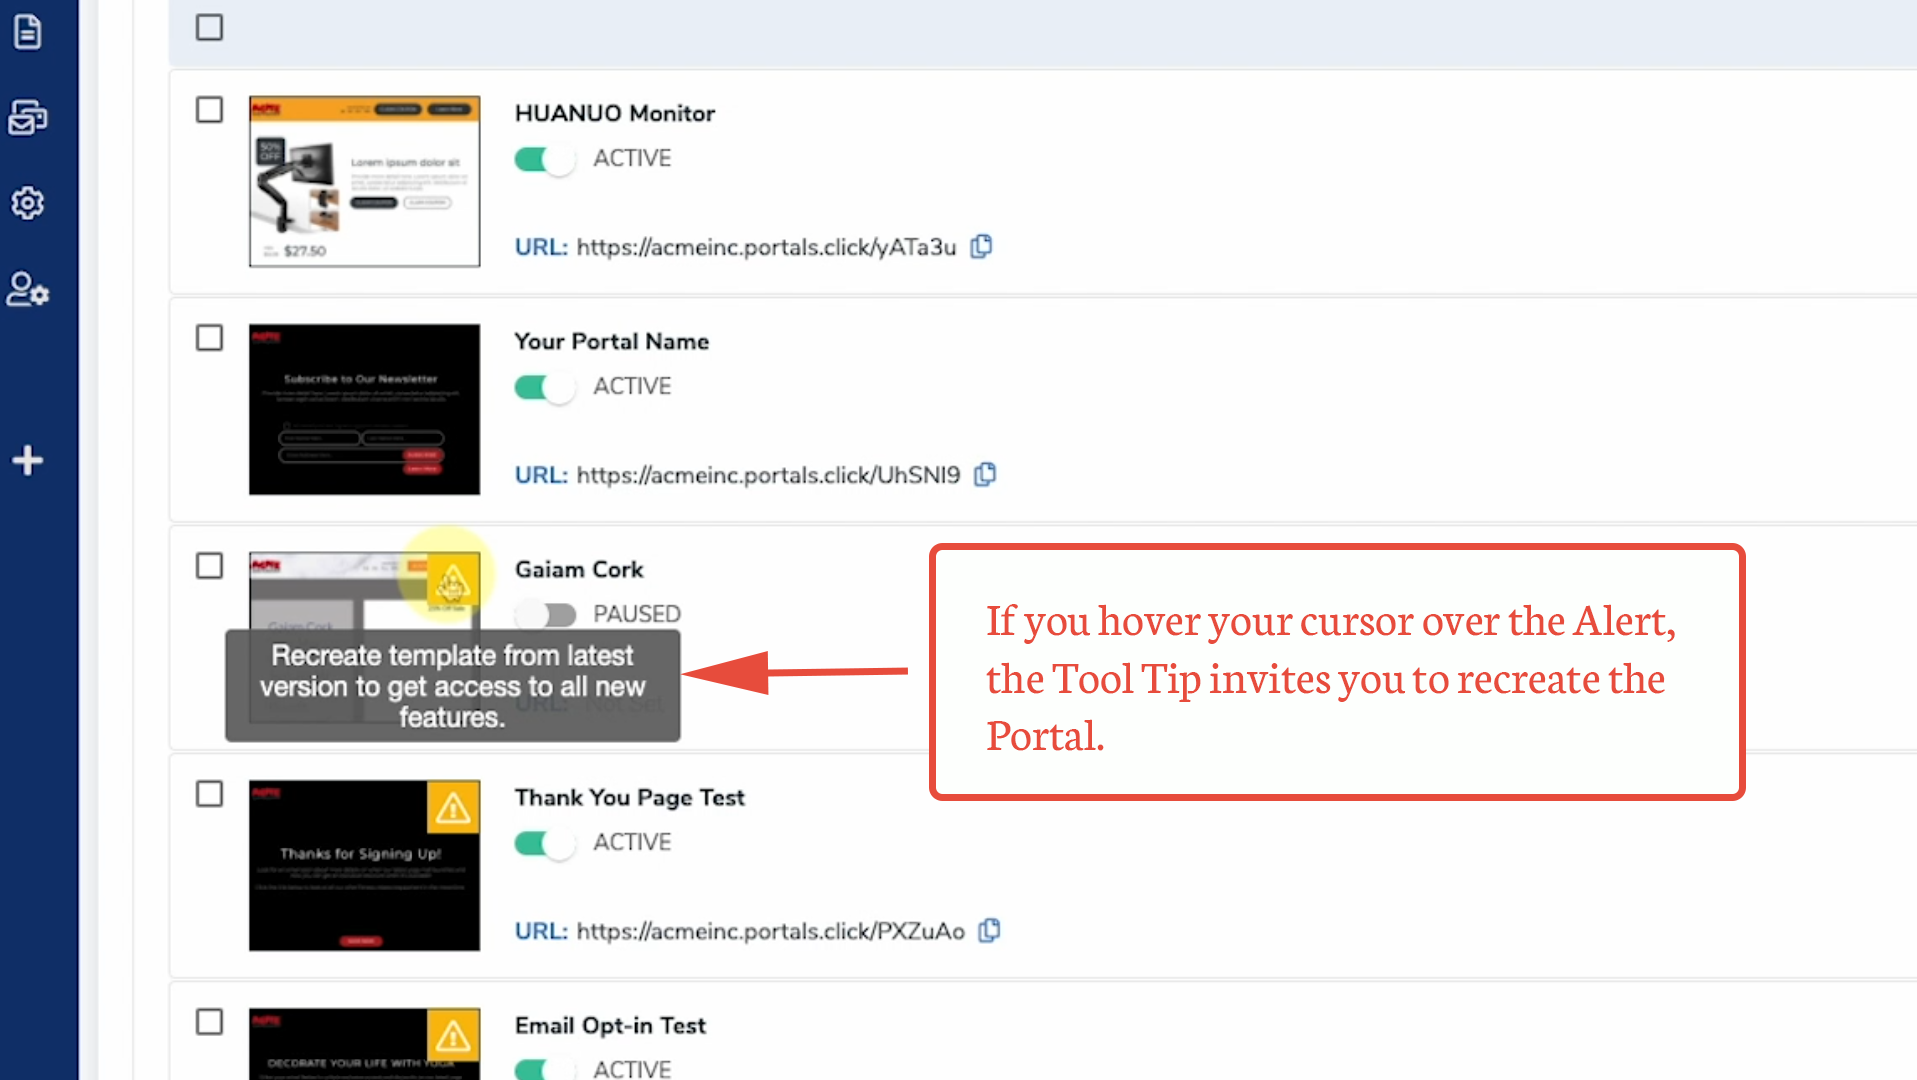
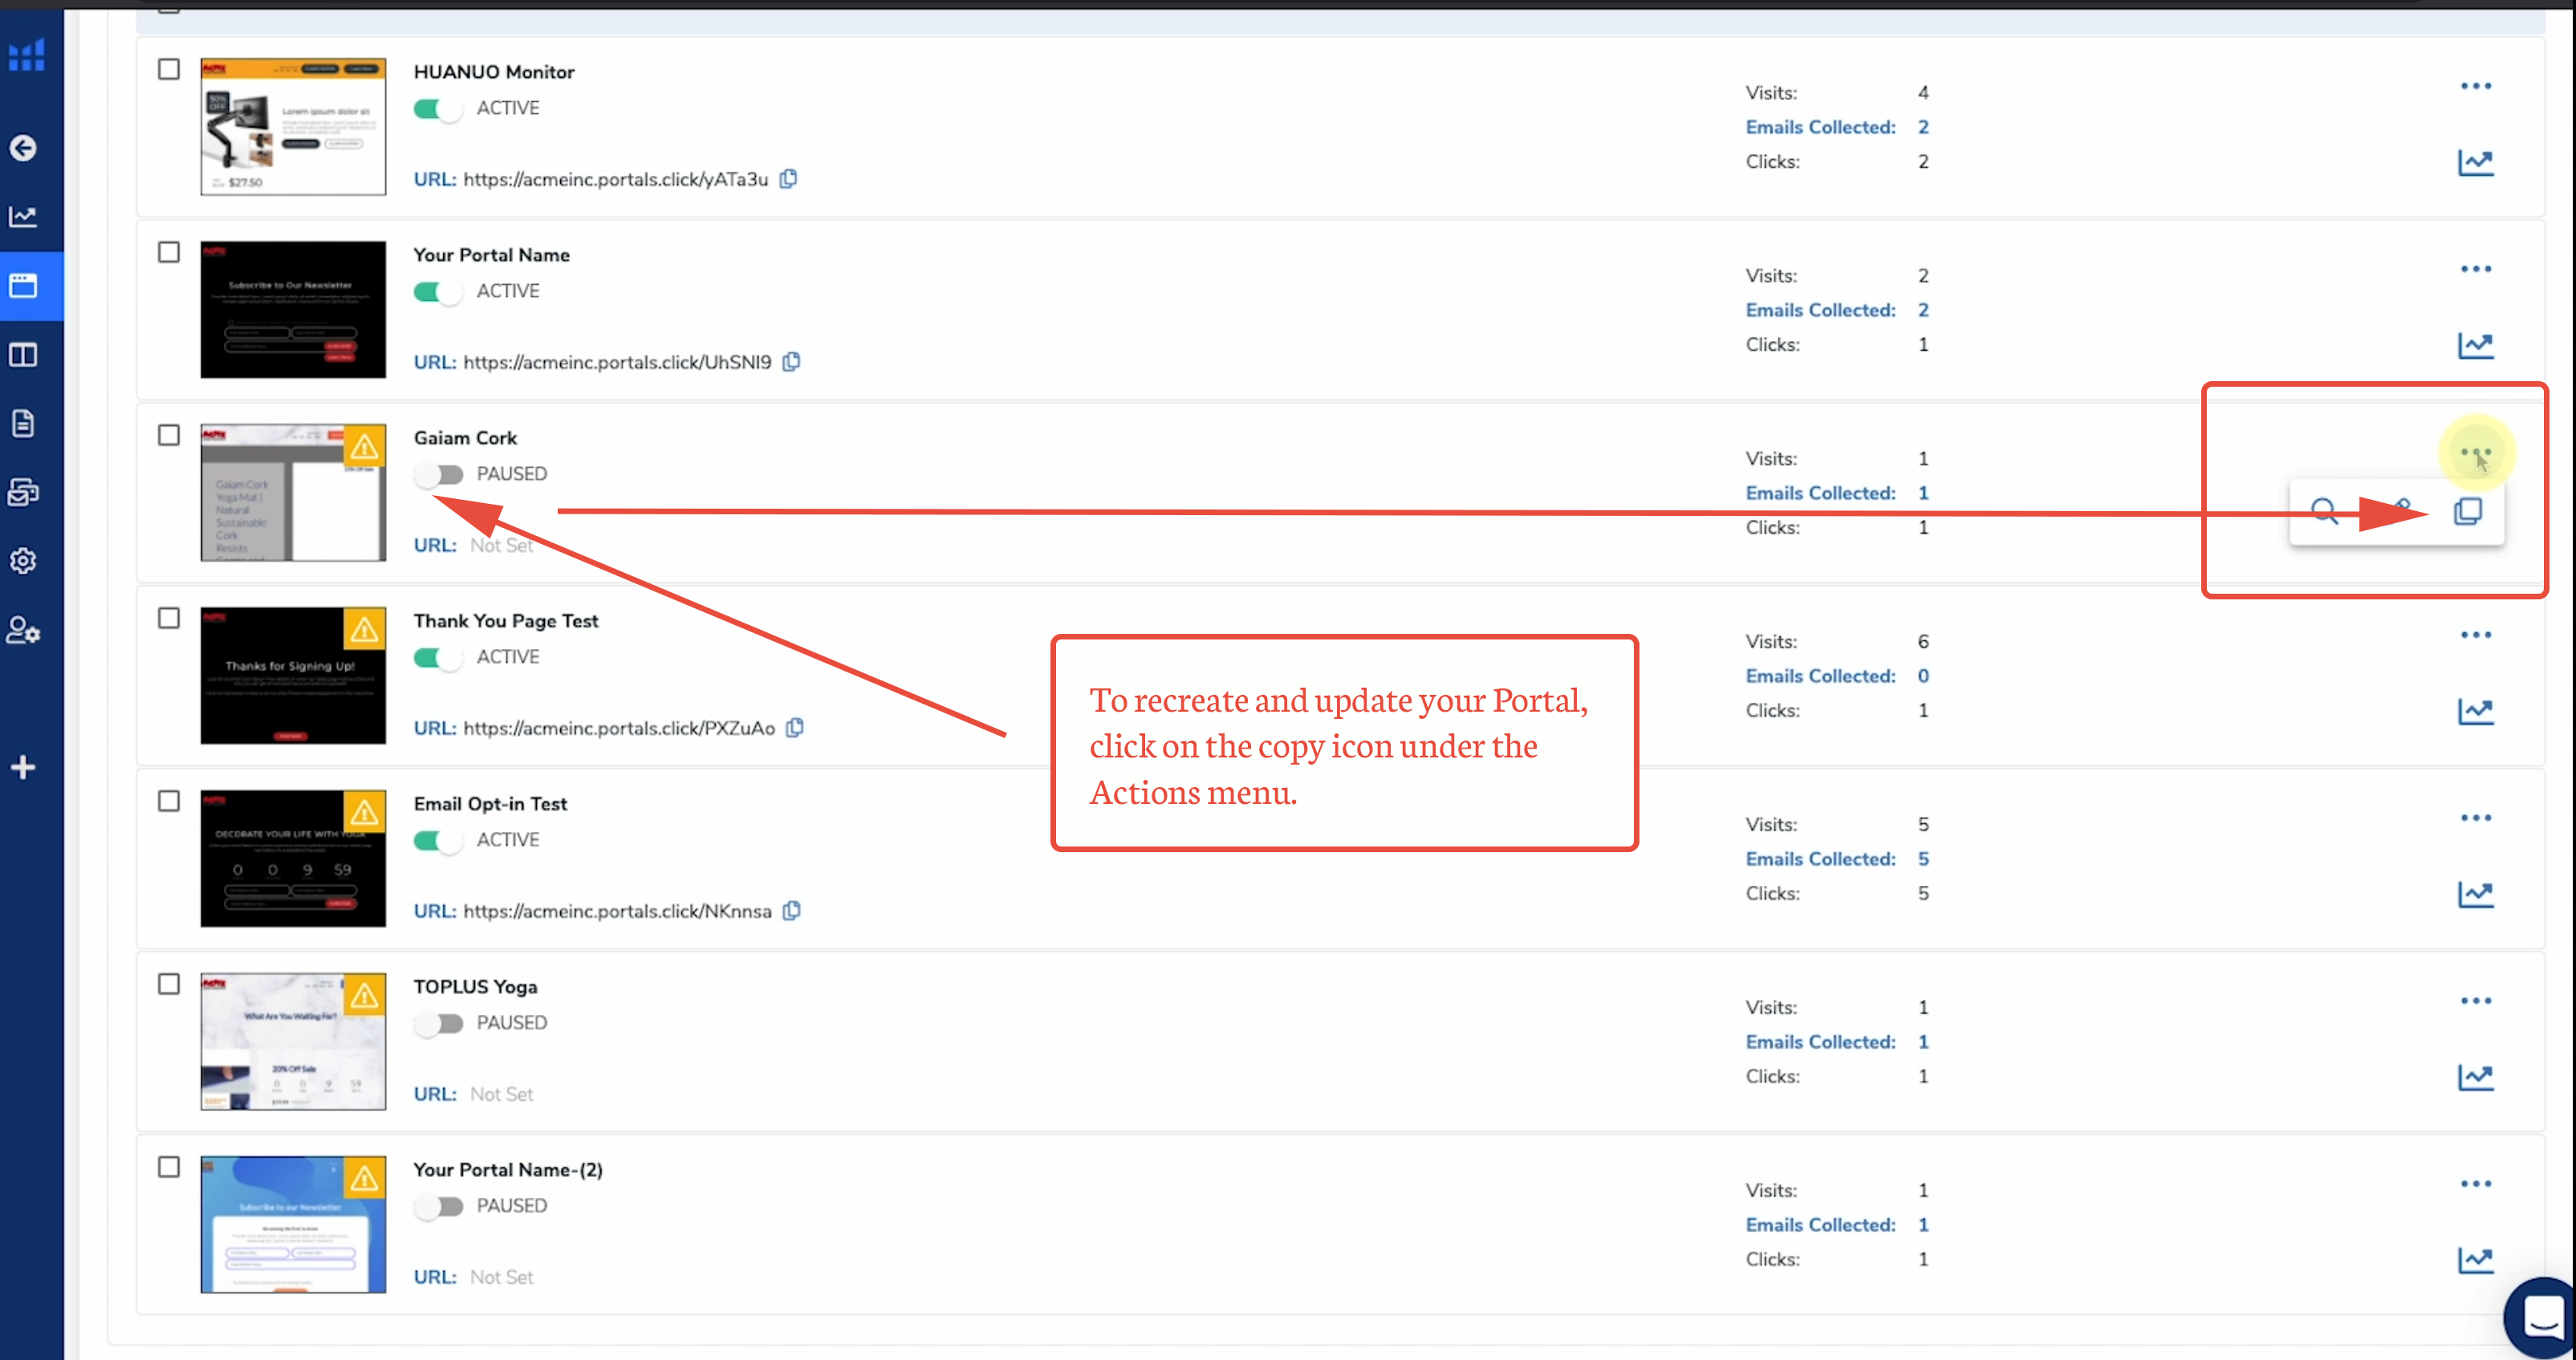
1. To recreate and apply an updated or new template to an existing Portal, open up the list in Portals.
2. Choose the Portal that is going to be updated, then click on the copy icon under the action menu (the breadcrumbs located on the right side of the screen).
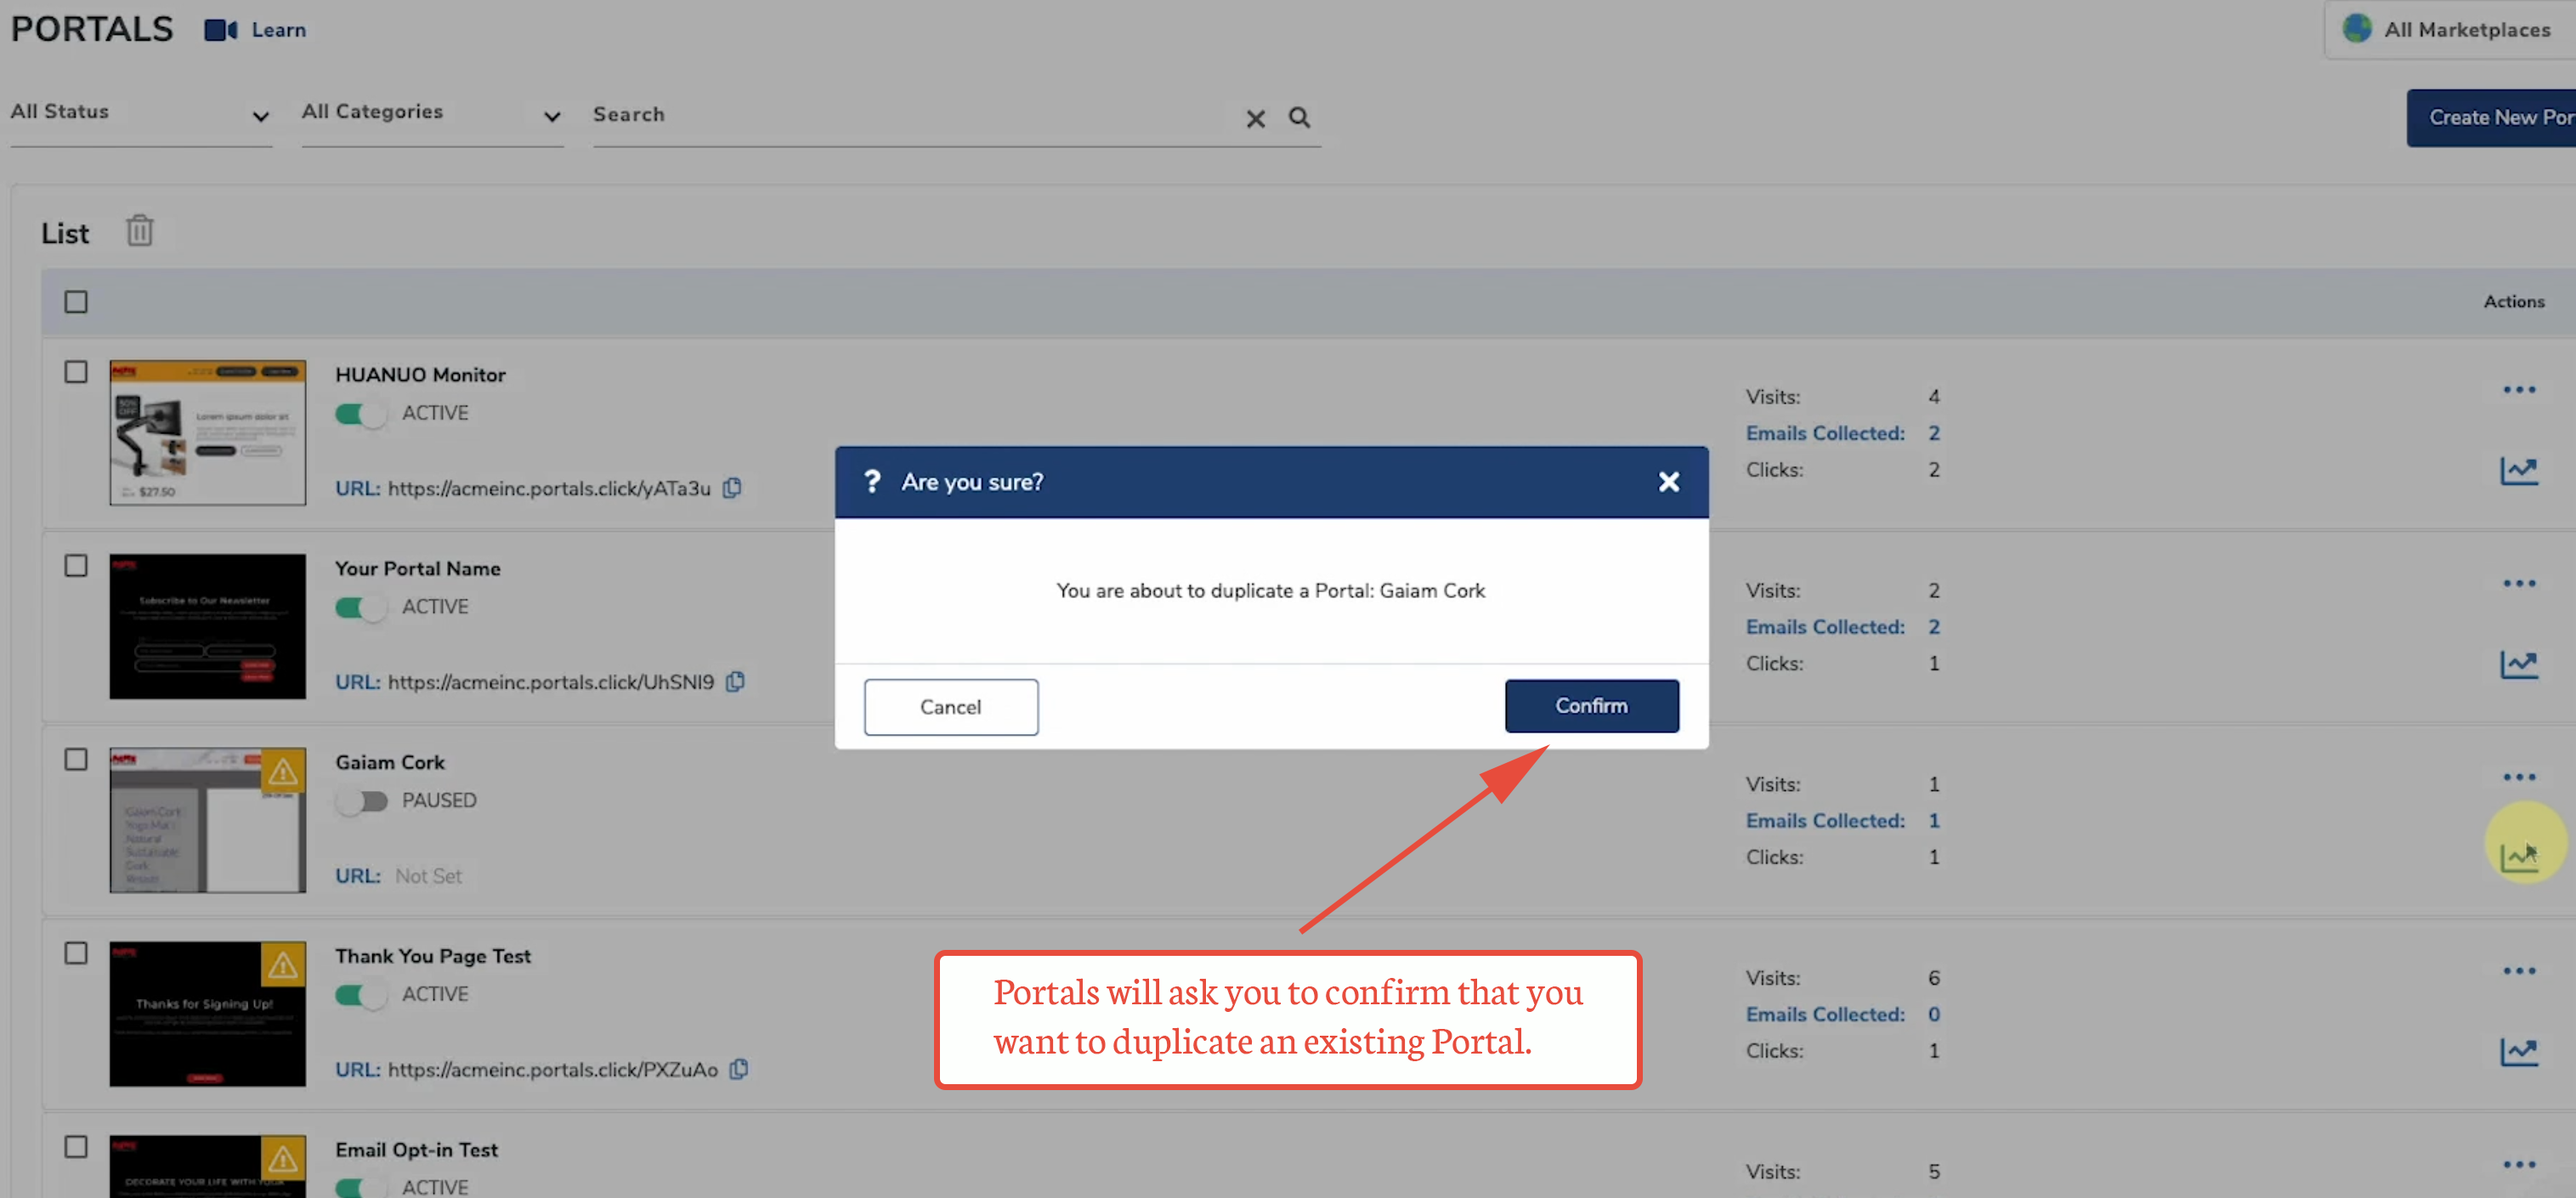
3. Trigger the act of duplication by clicking on the Confirm button.
4. Now, two versions of the Portal should appear in the list, the original, and one with a duplication tag (2) attached to the Portal name.
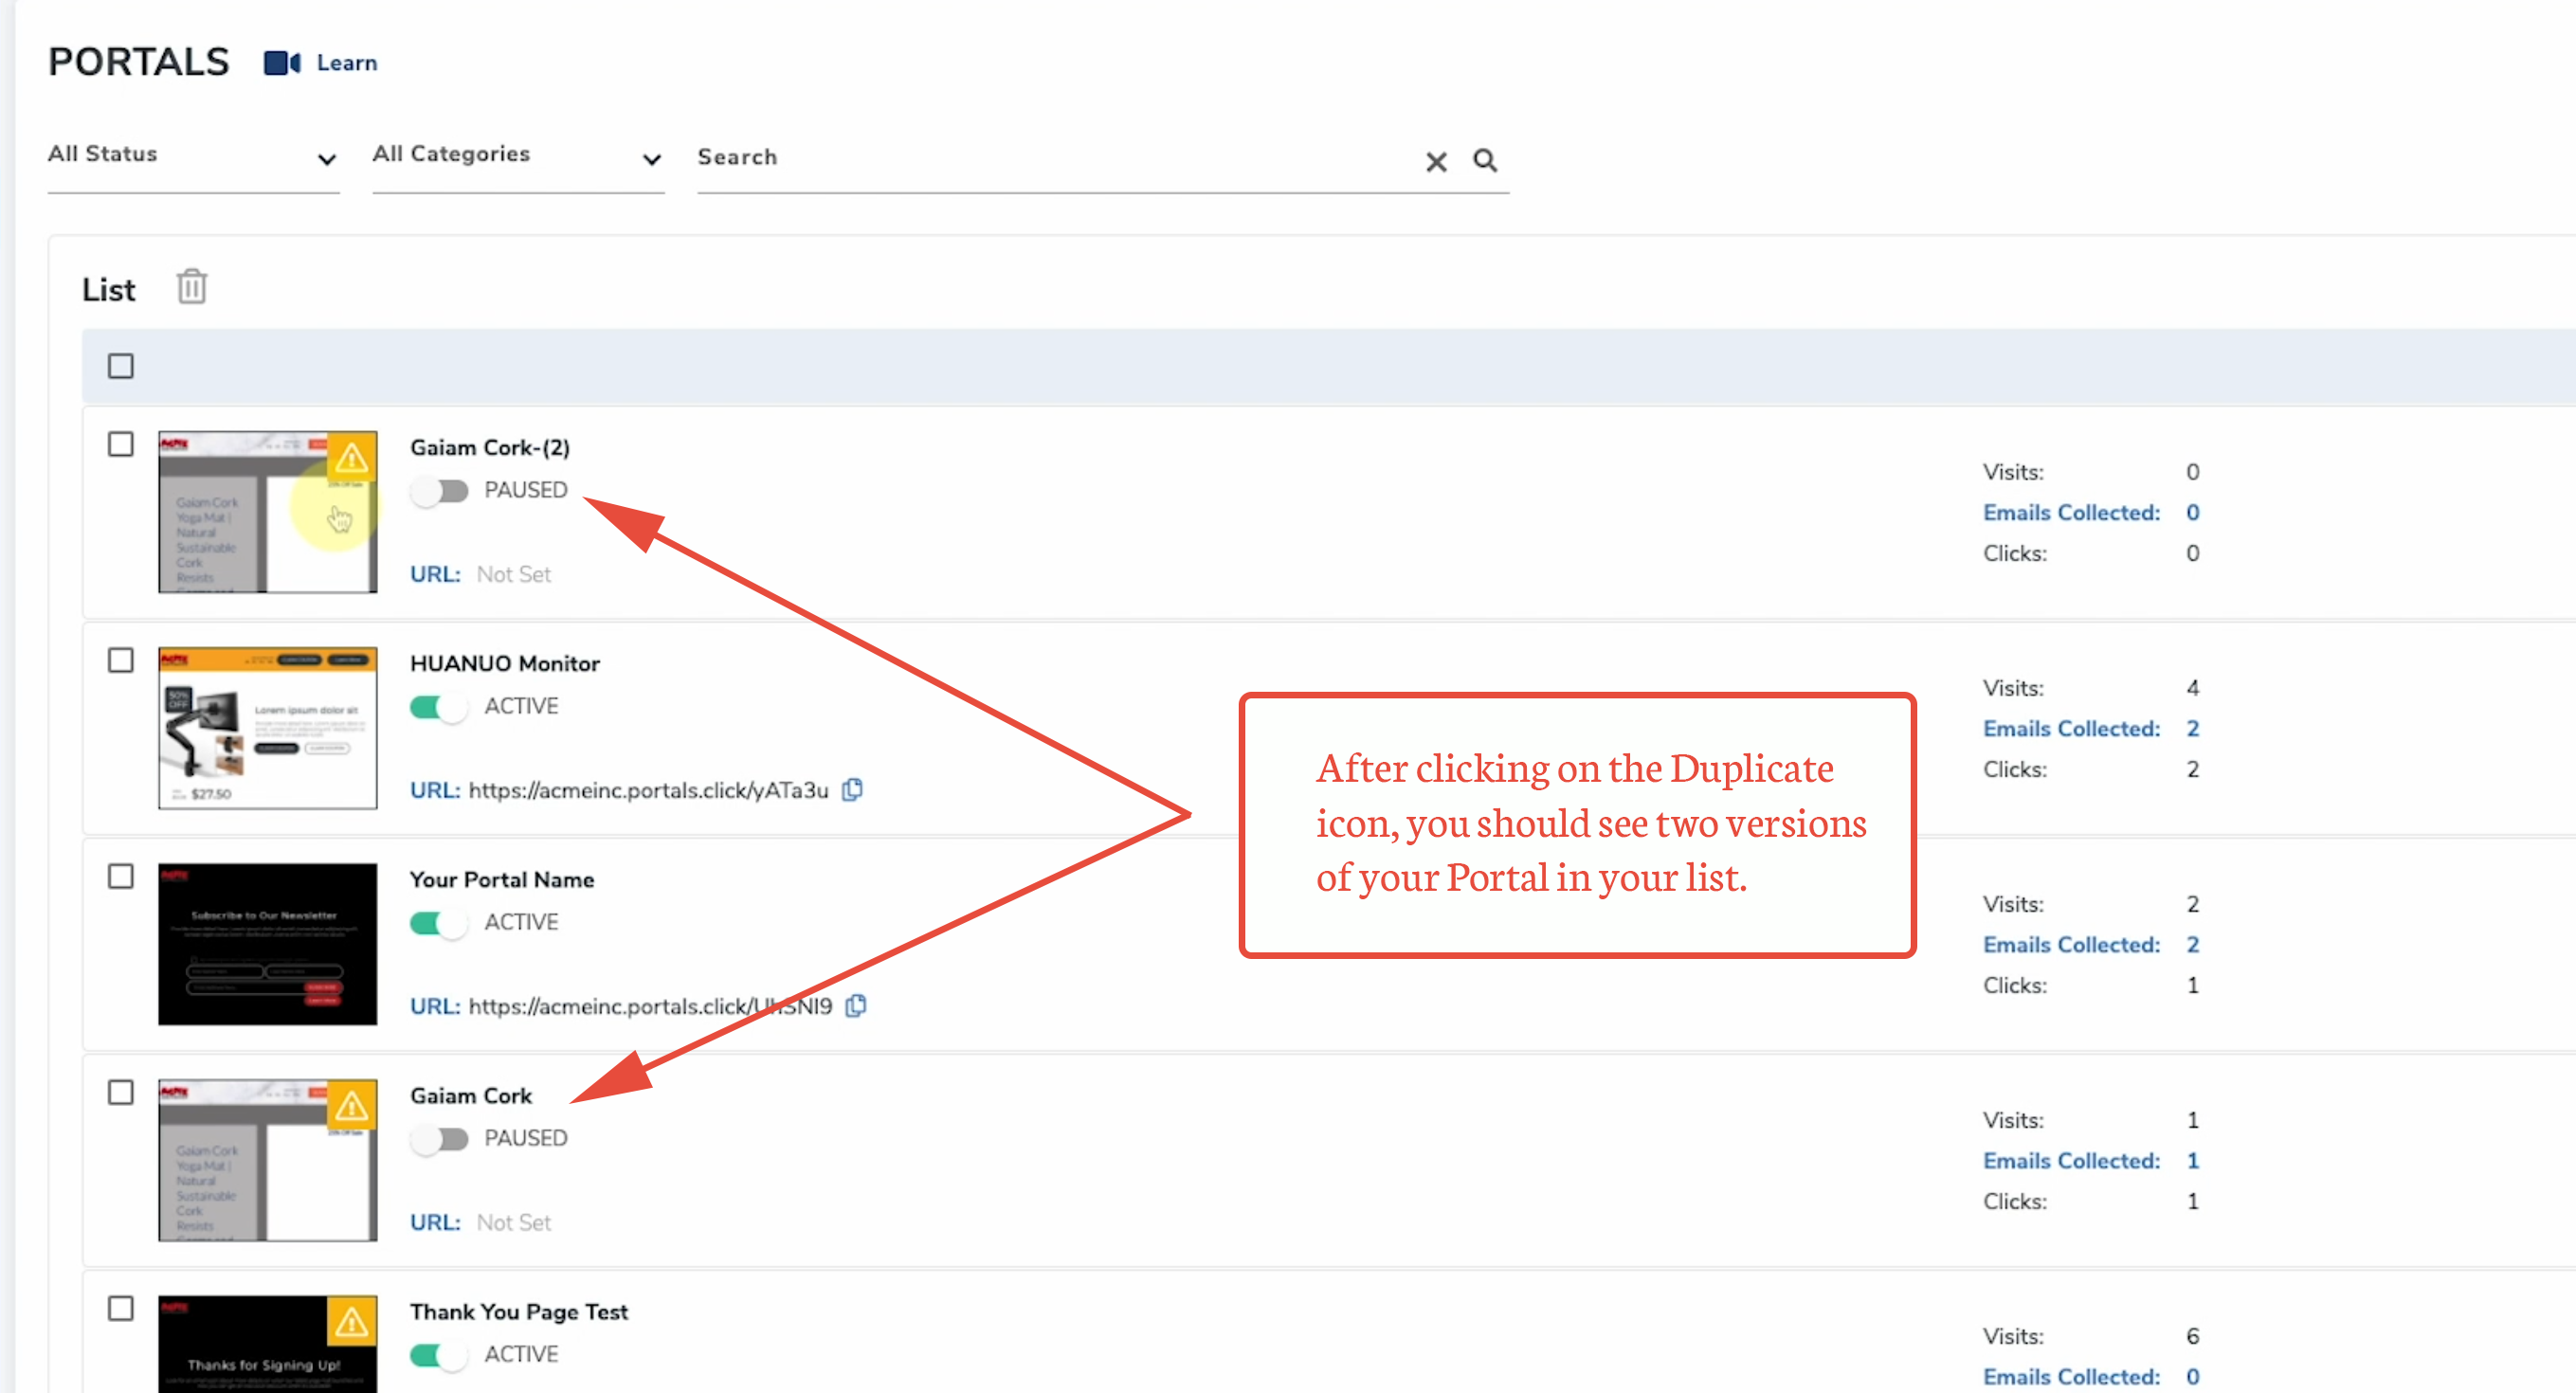
5. The copied Portal will have all the customized changes including colors, fonts and images retained for reference.
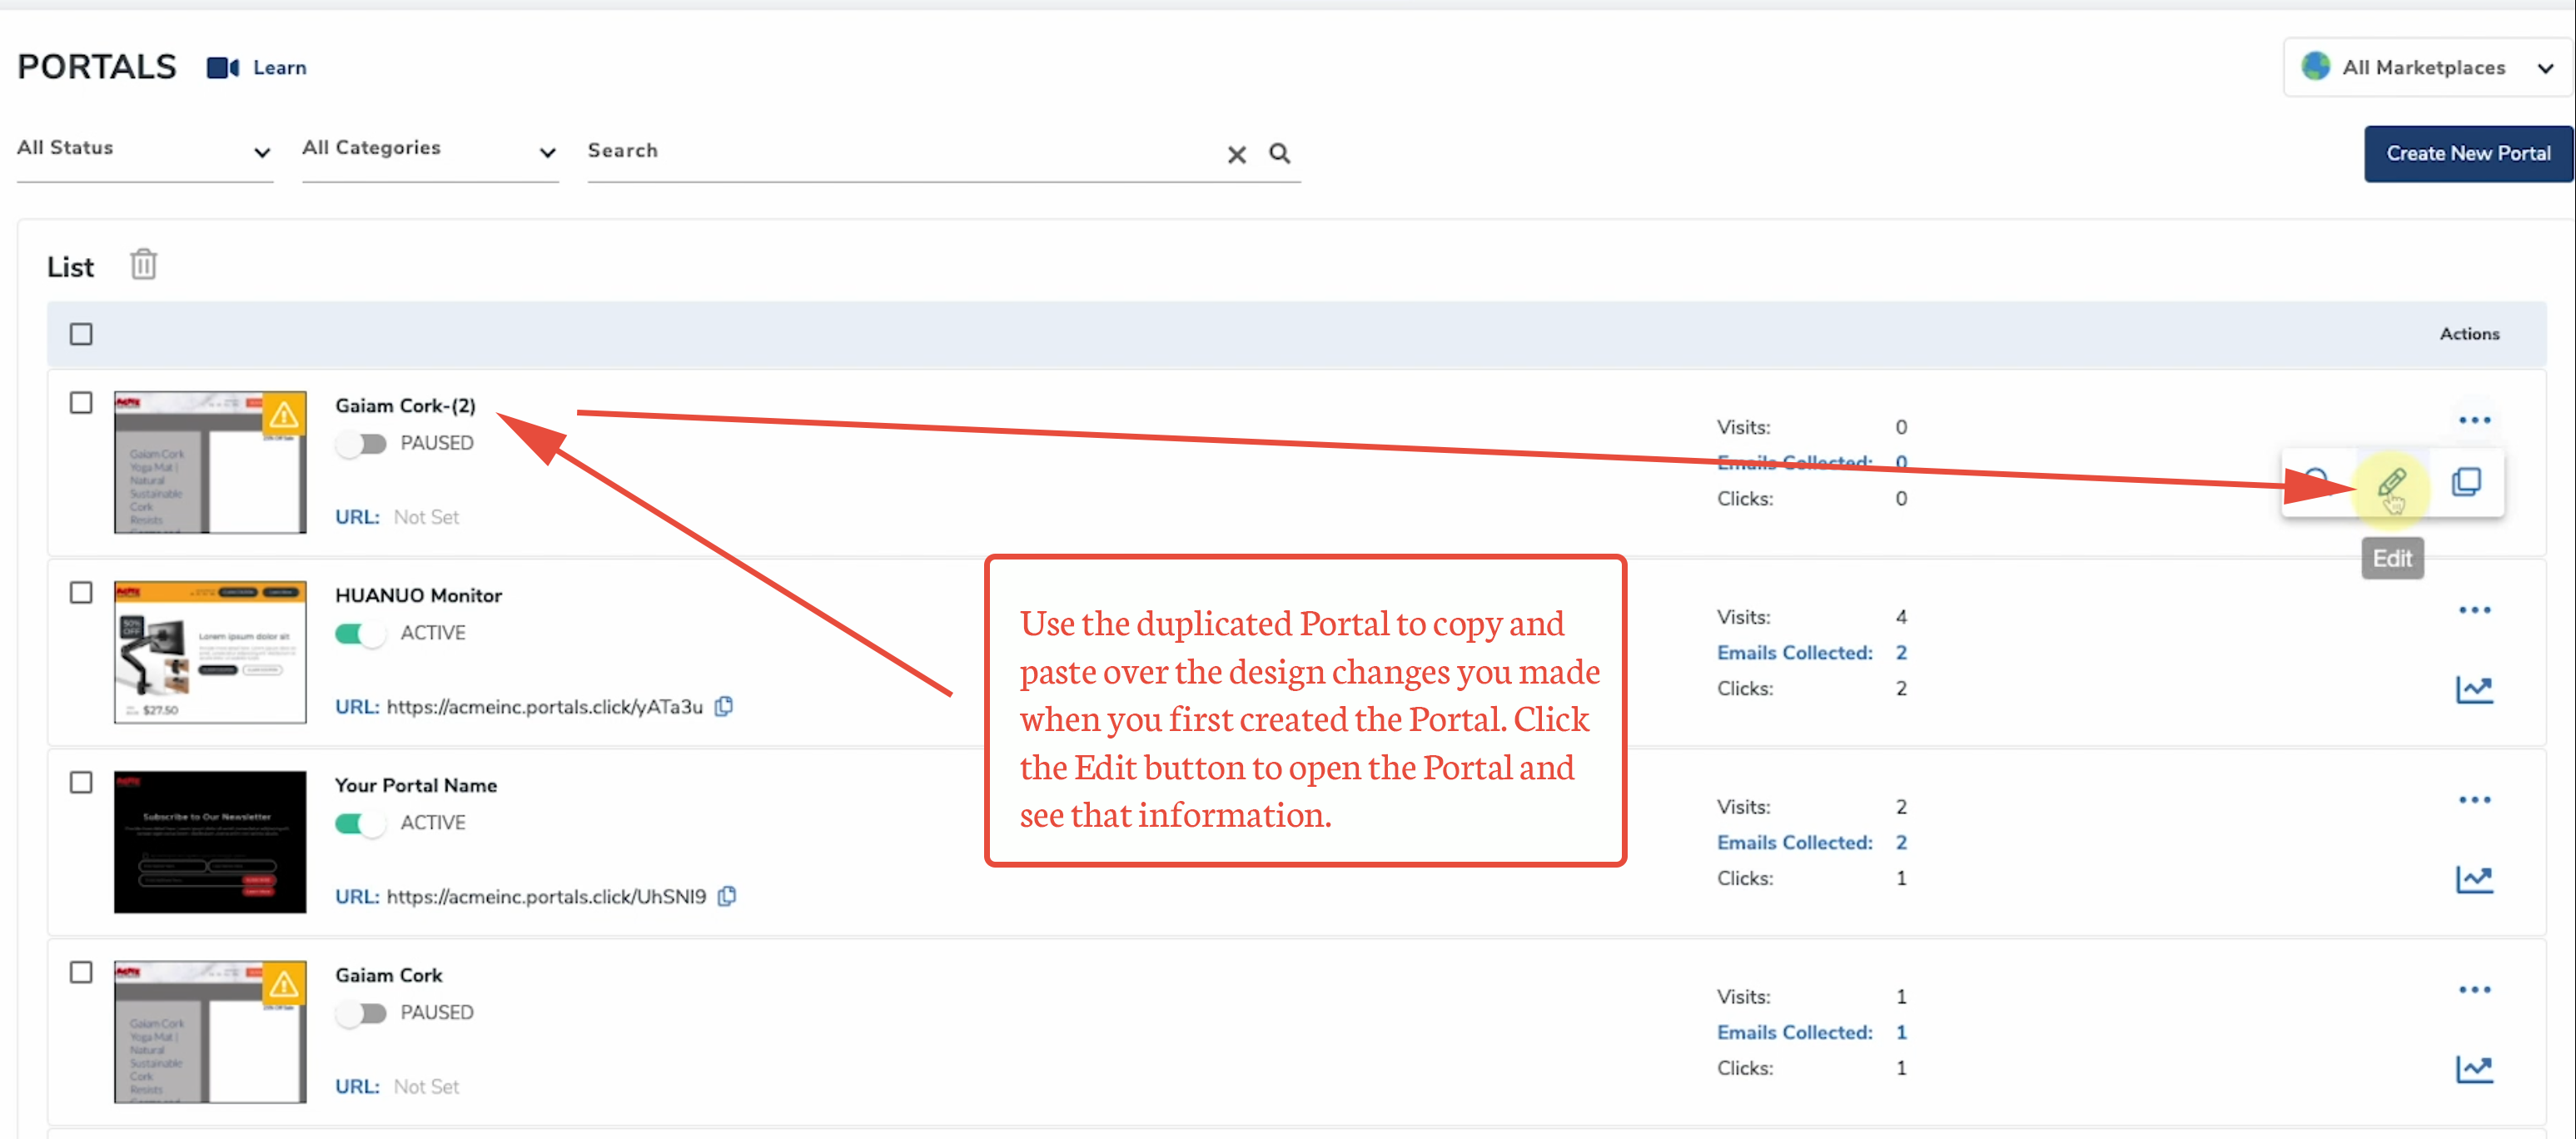
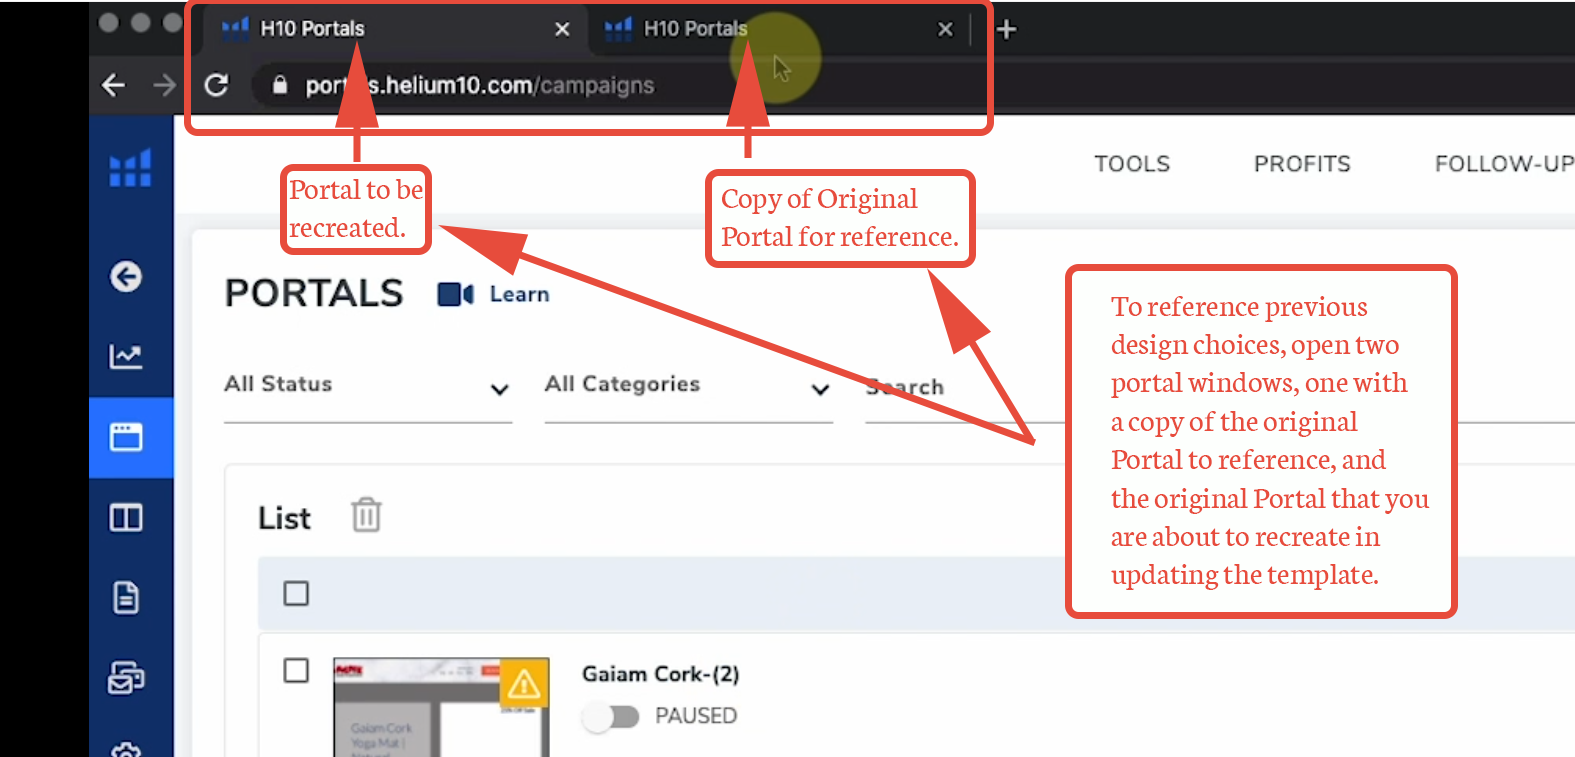
6. Now, open a second Portals browser window so that it’s easy to move back and forth between the duplicated Portal with all the customization options, and the original Portal that is about to be updated.
7. Click on the action menu to access the Edit icon for the original Portal.

8. Warning: proceeding to the next step will override all previous changes made to the original Portal. To proceed, click on the Template stage of the tracking line above the Portal.
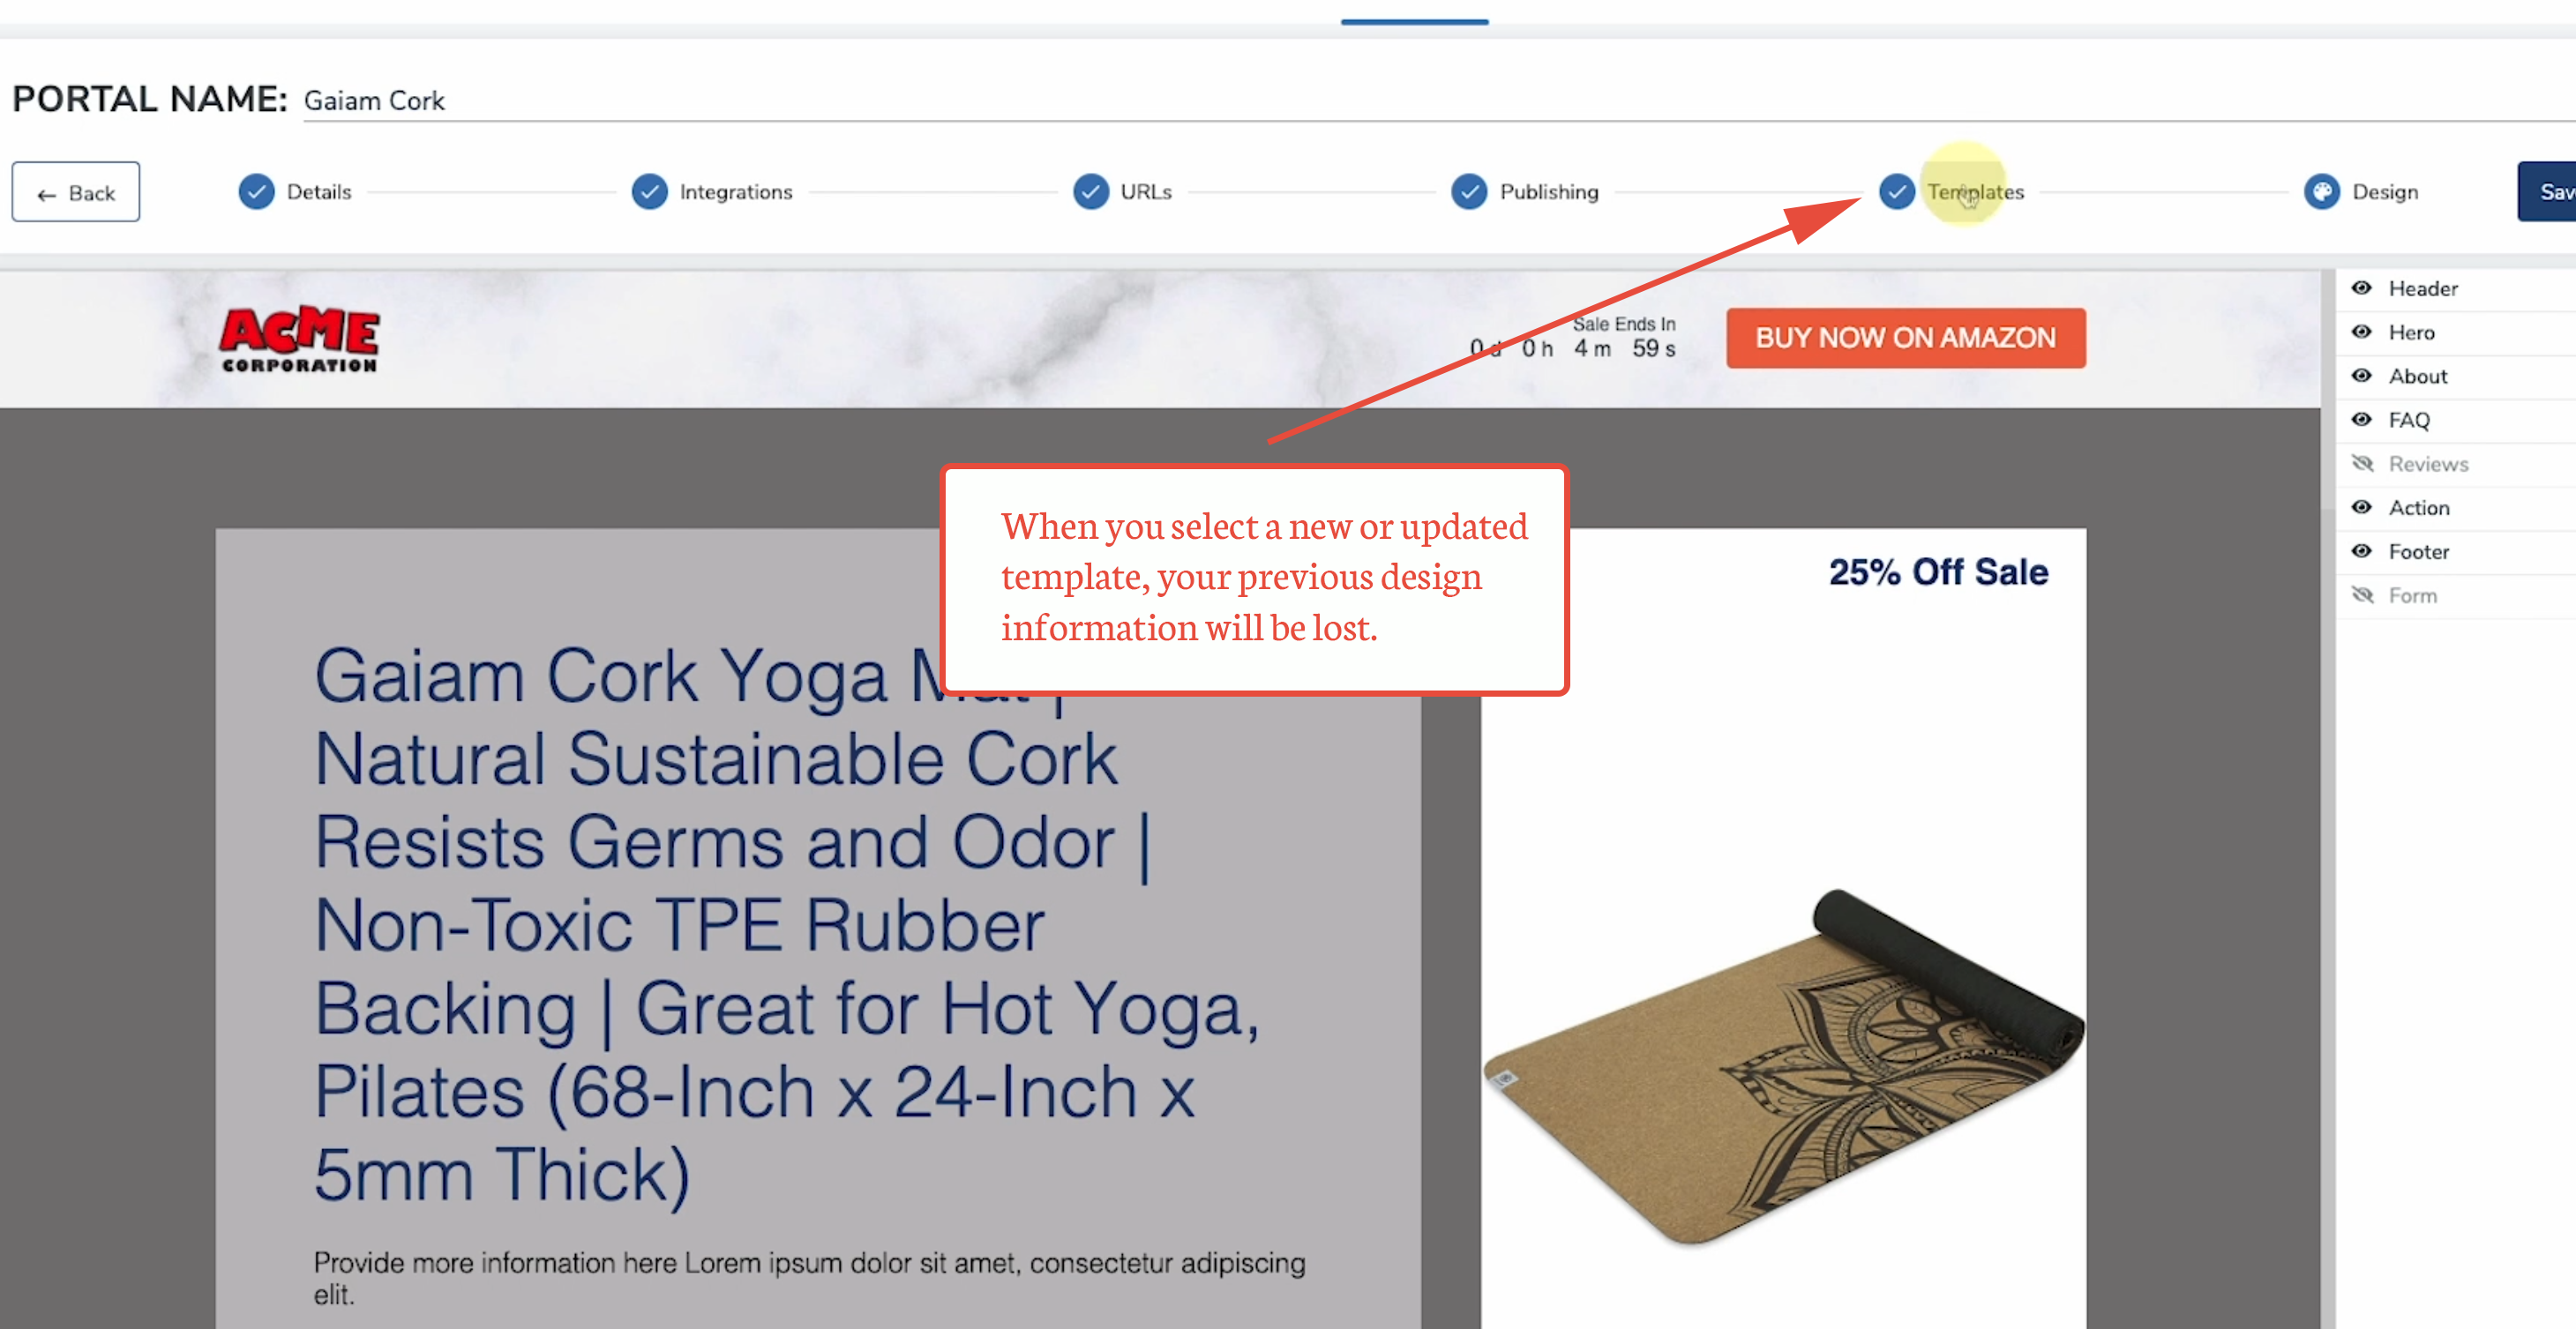

9. The Portal will open, but will have lost the previous edits and changes.
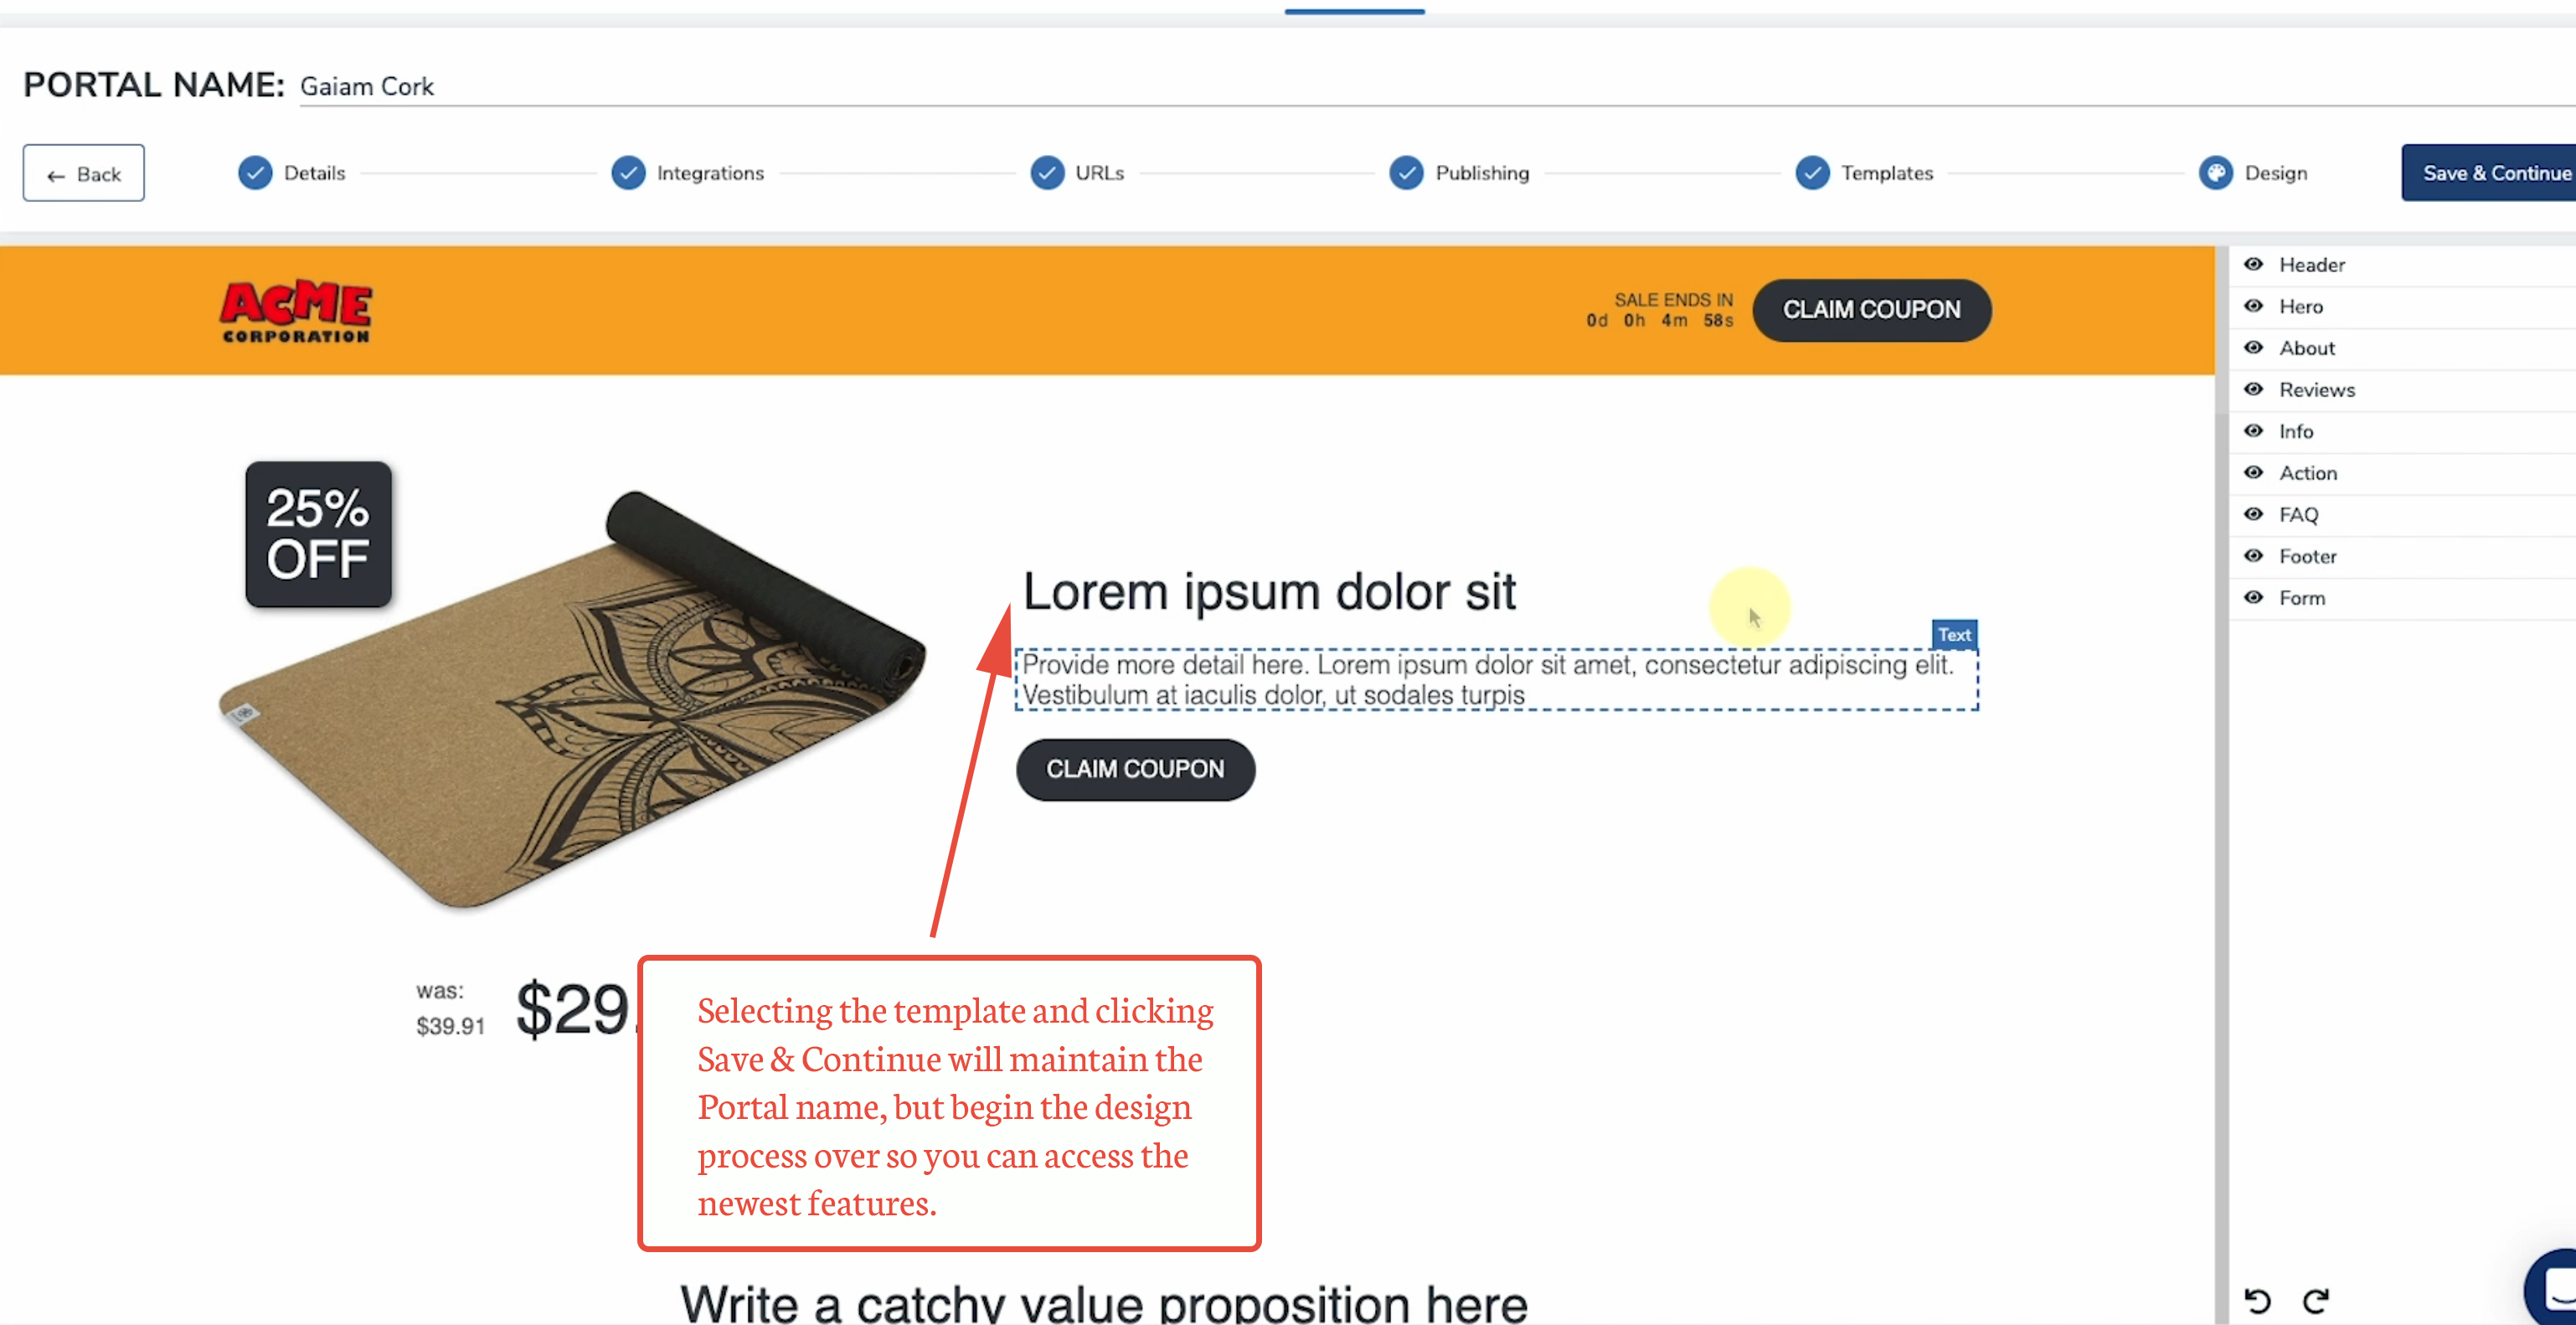
10. Switching back and forth between the two open browser windows, copy and paste the design changes from the duplicated Portal into the new version being created. Be aware that the template may have additional options that will need to be modified after copying over all the customization from the duplicated Portal.
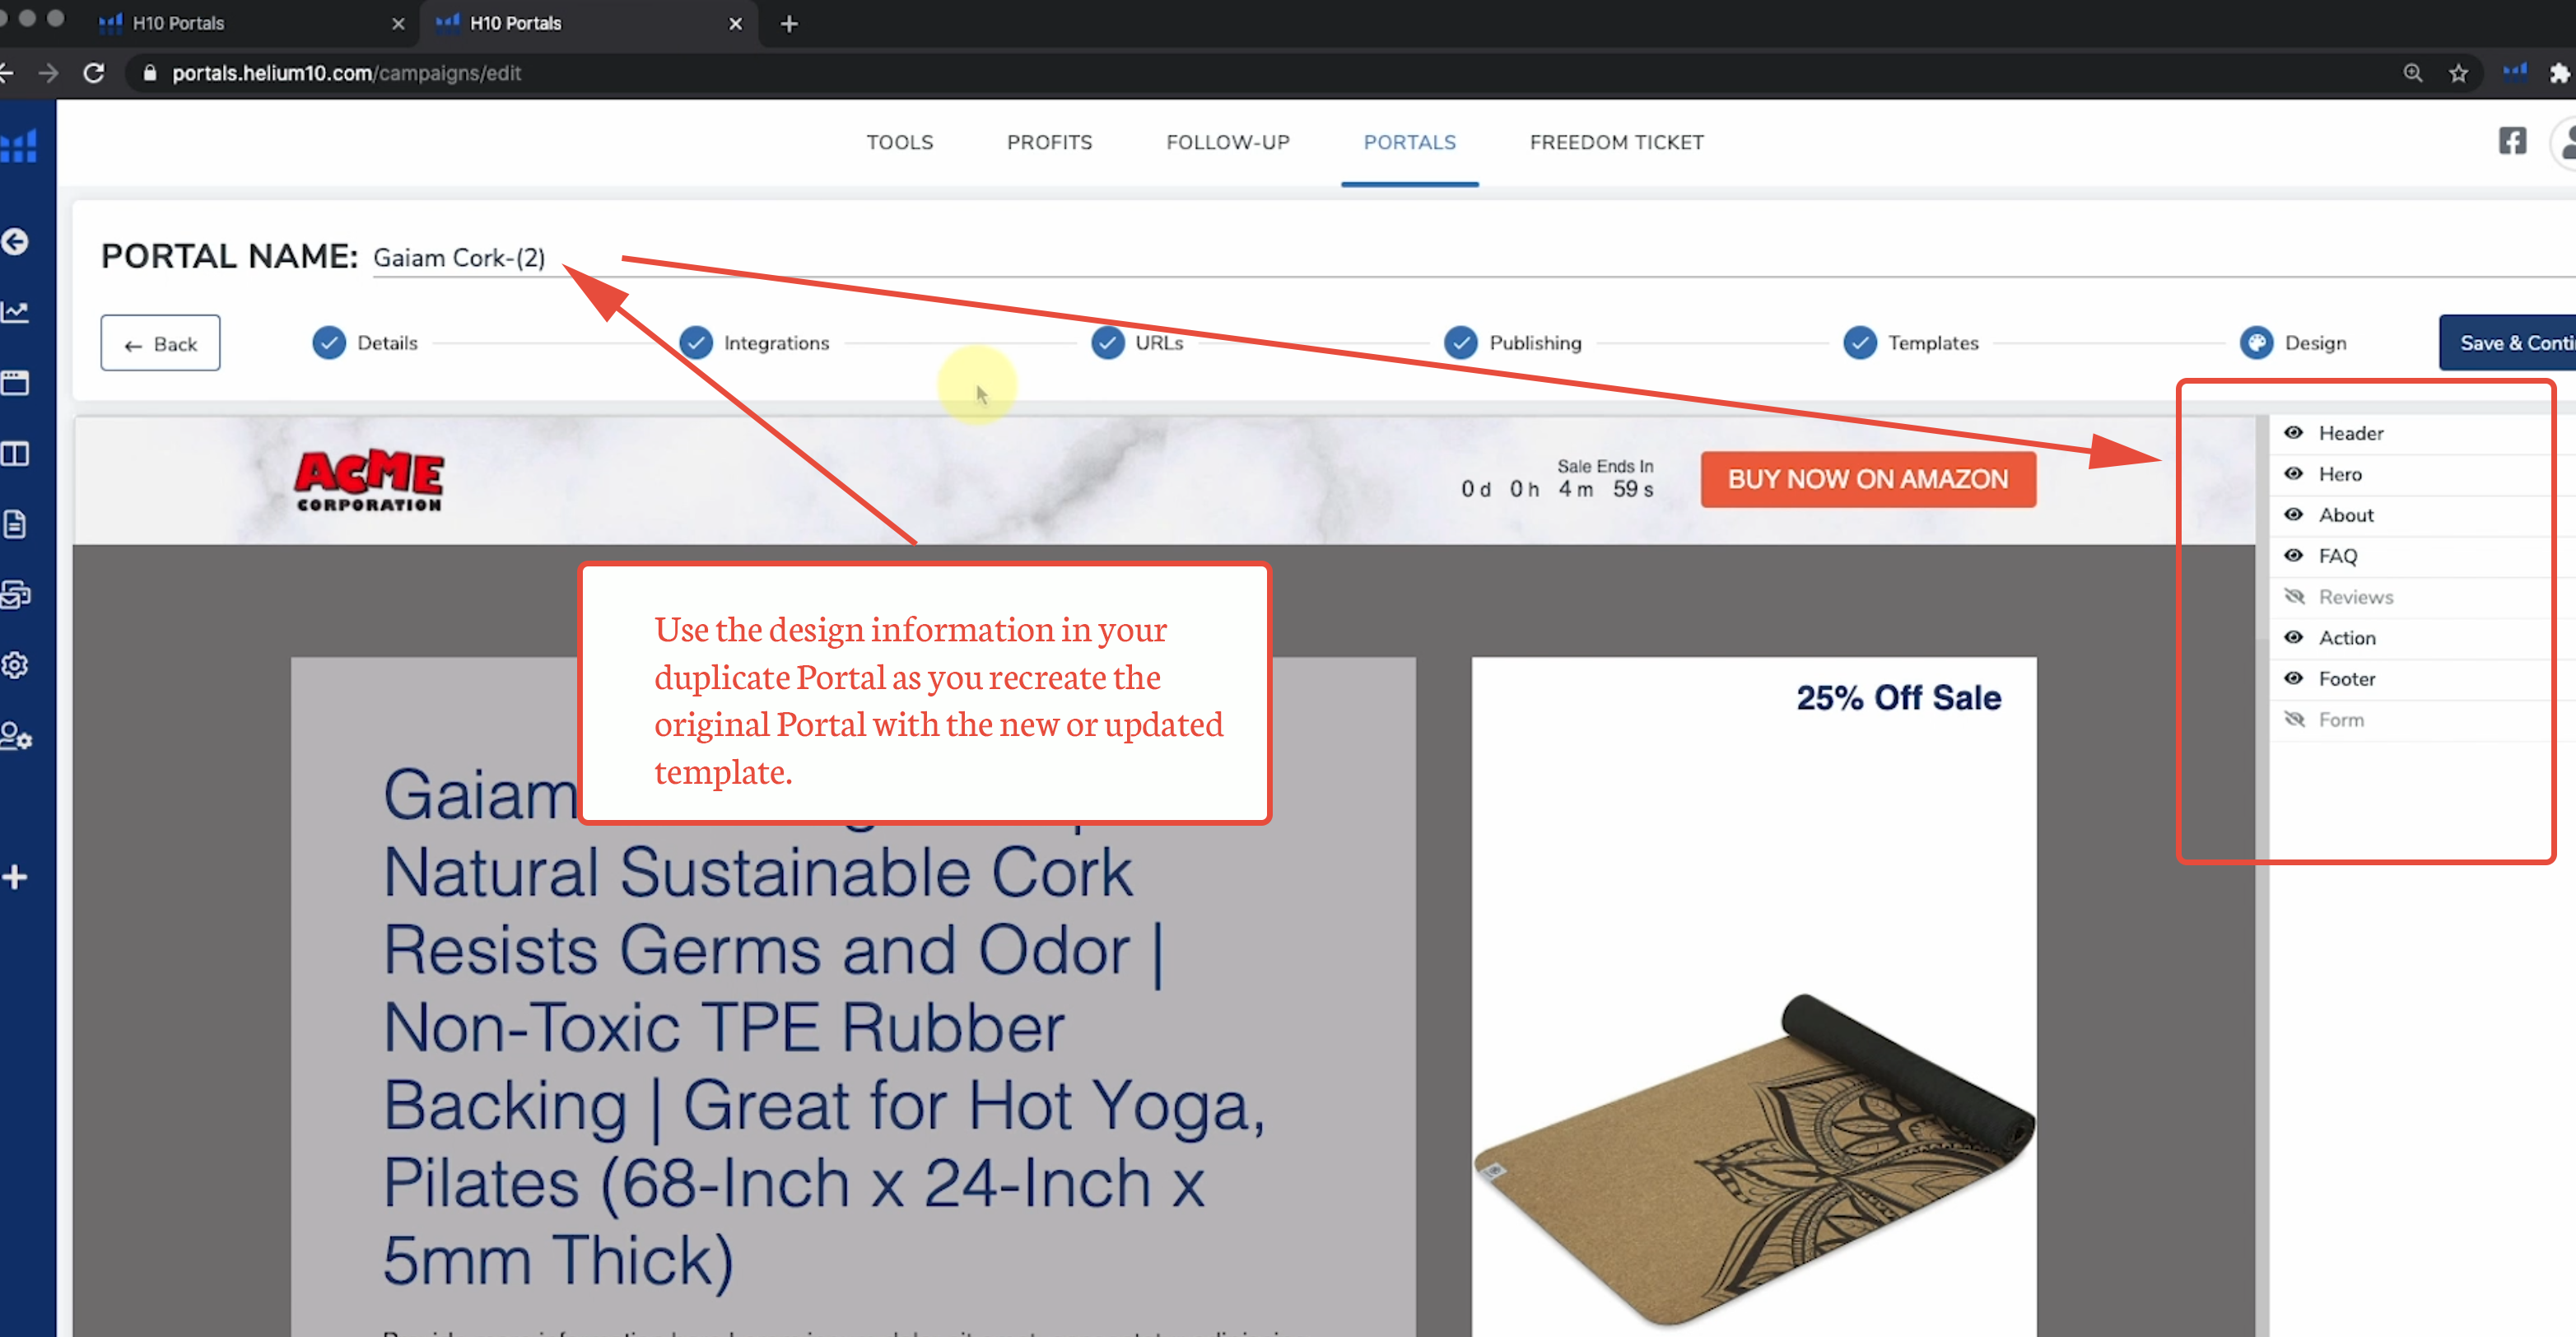
11. Some of the elements, like specific color choices and fonts can be accessed in the side menu on the duplicated Portal.
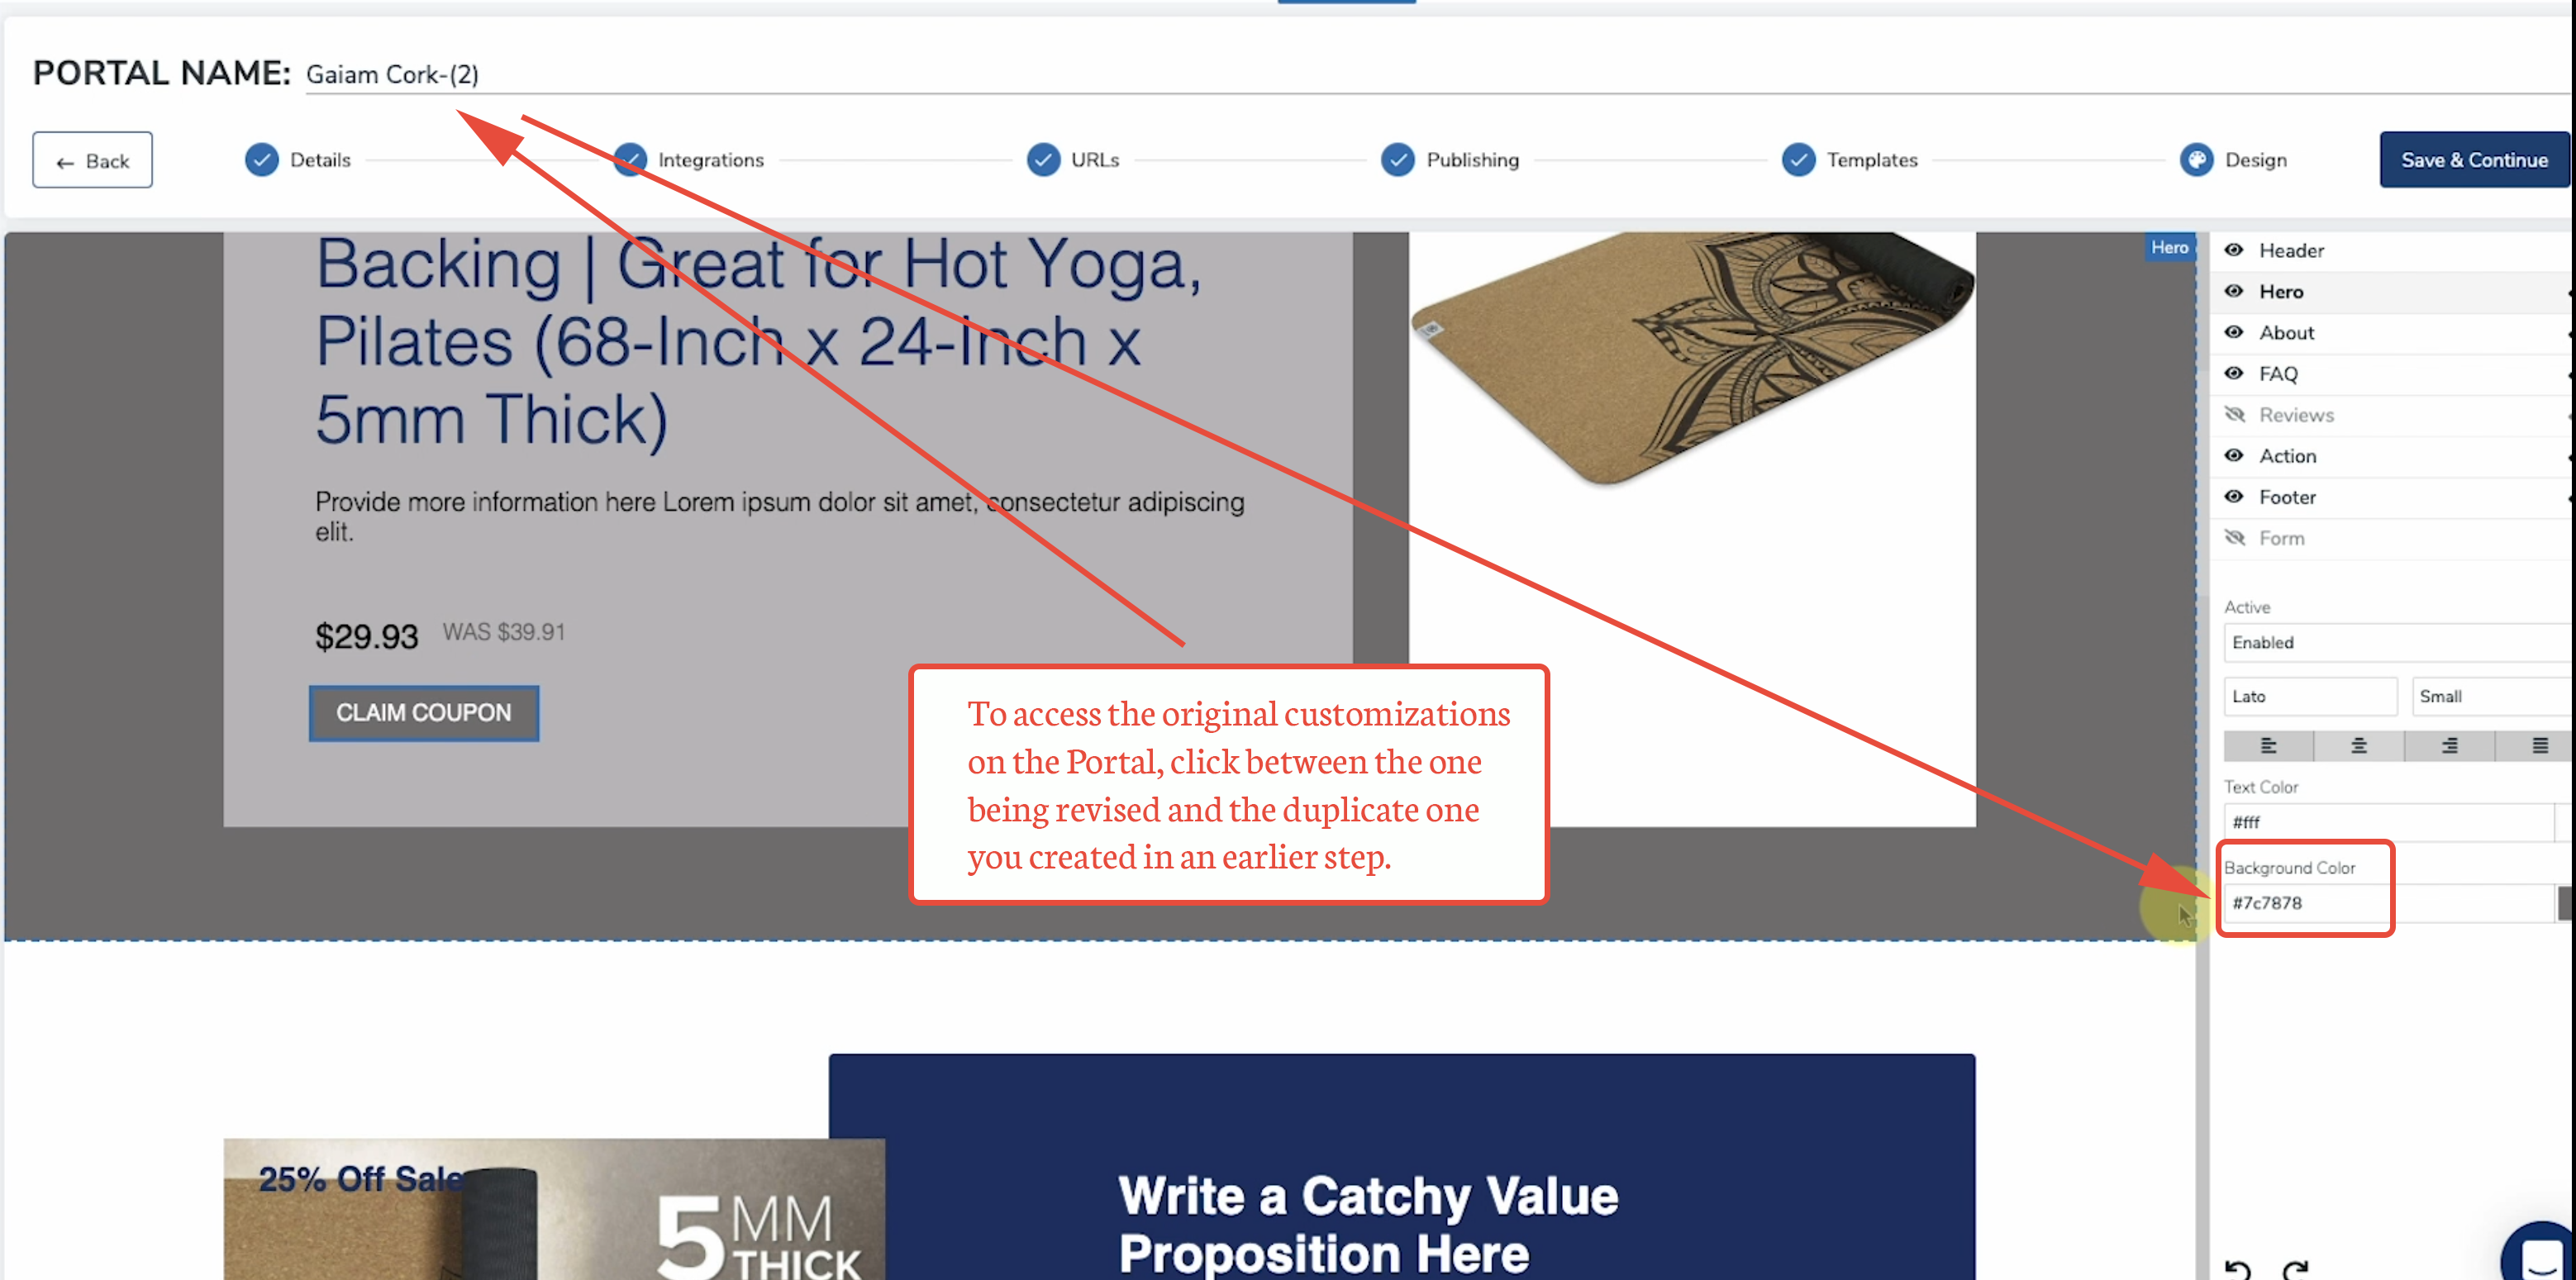
12. A simple copy-and-paste action ensures that the original custom colors and fonts are maintained.
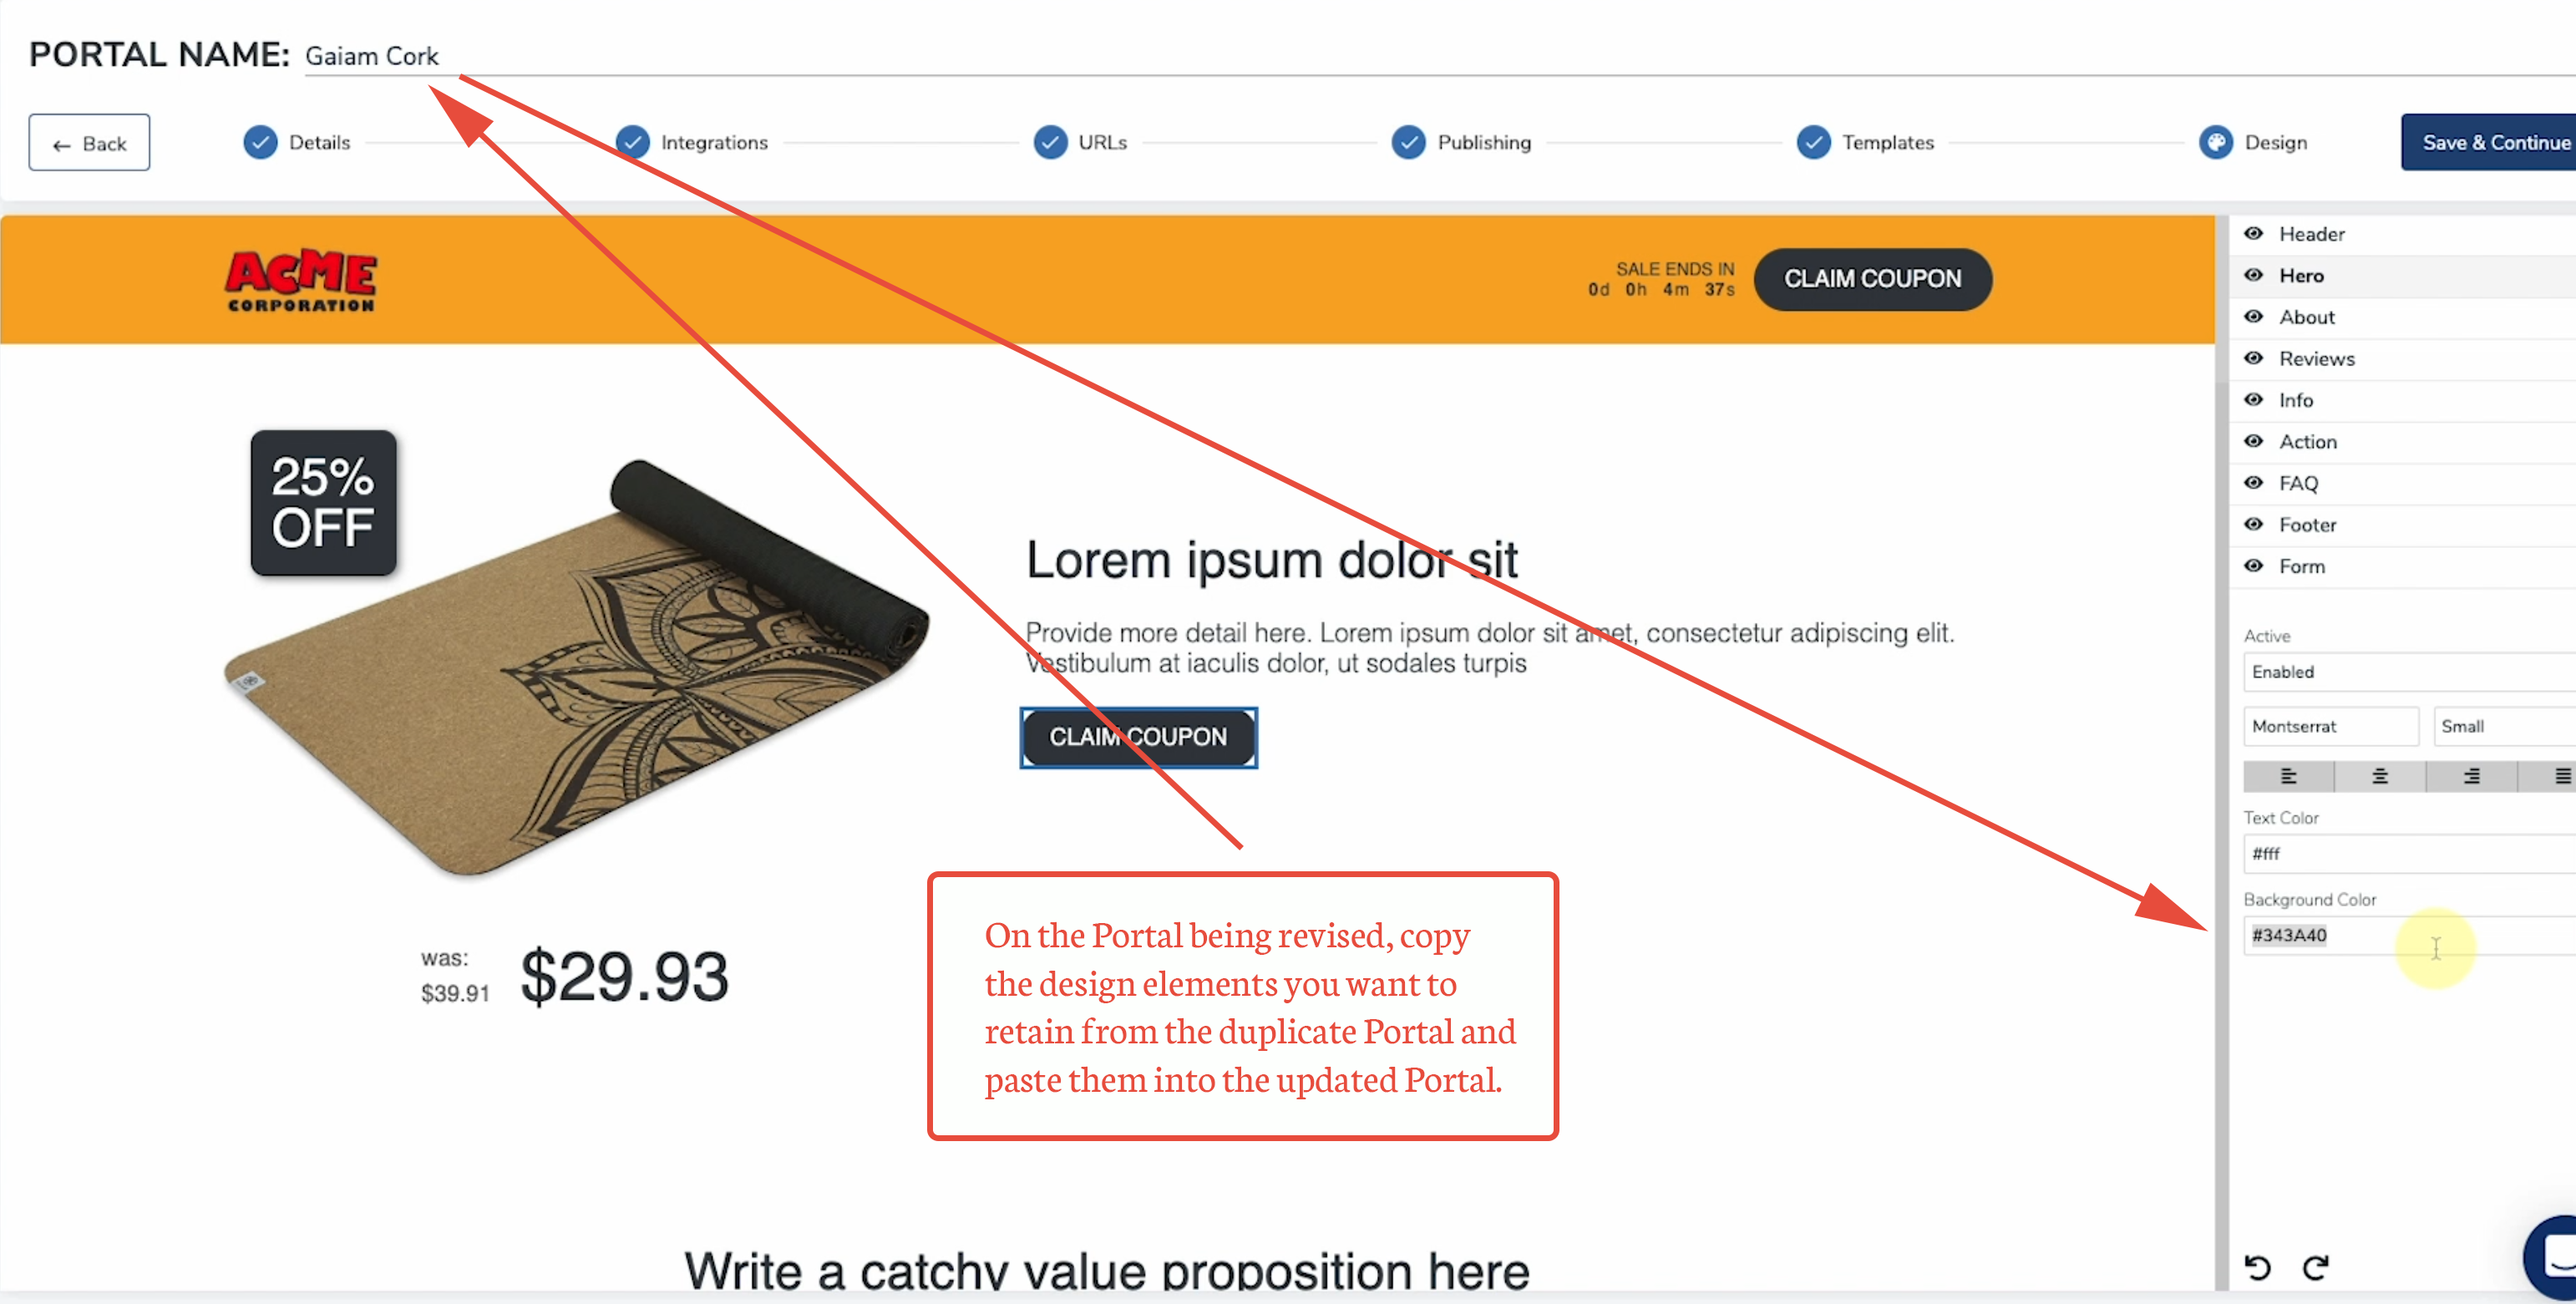
Review the final edits on the recreated Portal to ensure everything is ready for publication. Again, because the recreated Portal now has a different url, it will be important to edit ads and documents with the new url of the Portal, wherever it previously lived, to avoid broken links.
Create a Free Helium 10 Account Today!
Start with the free extension: Download the Helium 10 Chrome Extension.
Comments
Article is closed for comments.