This article provides an overview of using Zapier integration to automate emails to new customers. This article is just one example of how Zapier integration can help improve your business processes. For more information on what is offered by Zapier, explore their website Zapier.com.
1. From the Helium 10 Dashboard, you can open Portals by selecting the Portals tab at the top of the screen or under the Marketing tab in the left side menu.

2. Click the Settings tab at the bottom of the Portals menu on the left side.

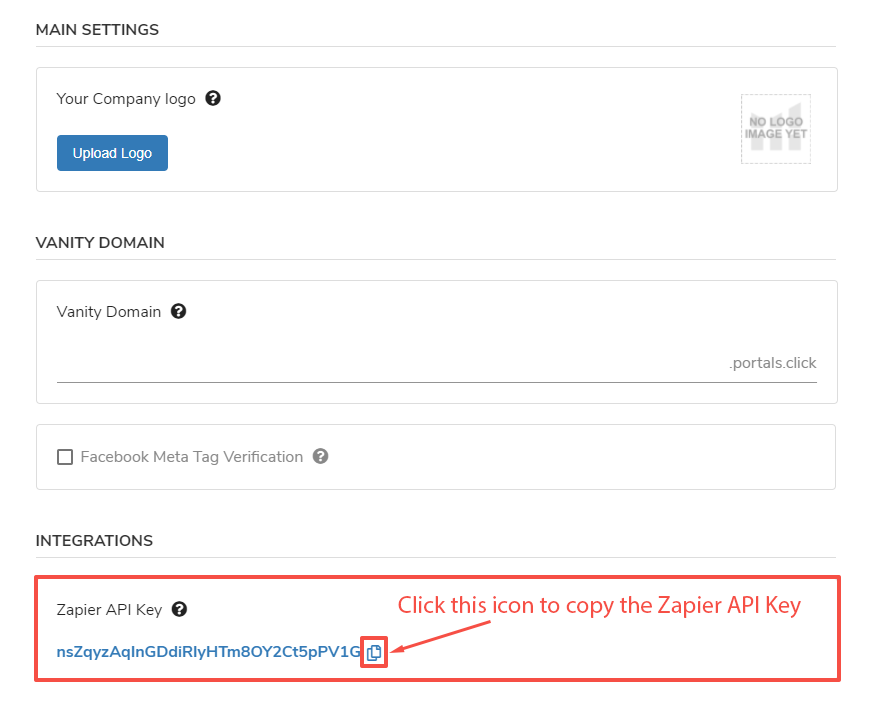
3. Under the Integrations section, click the copy icon next to your unique Zapier API Key.

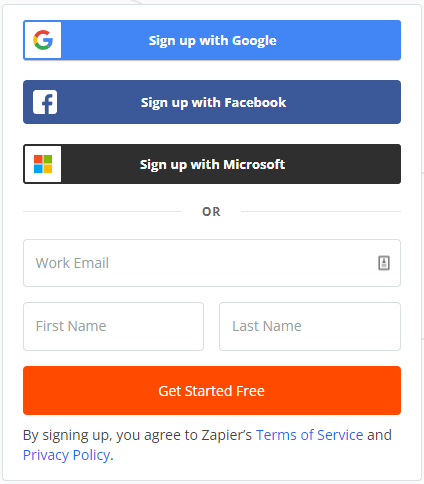
4. Go to Zapier.com and log in to your account. If you do not have an account, create a free one on their website.

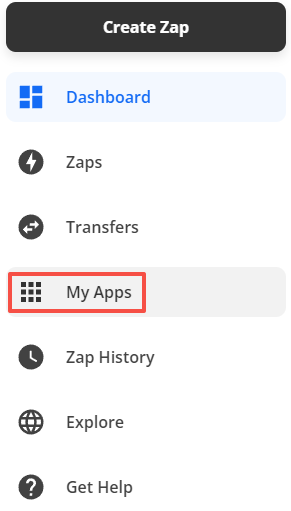
5. Once logged in to Zapier.com, select My Apps from the left side menu.

6. Type in Portals in the Apps search field and select Connect next to Portals by Helium10.

7. Paste the API key you copied previously into the field and select the Yes, Continue button. The API key allows Zapier to access your Portals through your Helium 10 account.

8. Once the new Portals connection shows under My Connections, click the more options button and select Test connection to ensure it’s working correctly.

9. You will see a message saying Test Successful if it worked correctly.

10. Now, let’s make a Zap. Select the Create Zap button on the left side menu.

11. For the App Event section, select Portals by Helium10.

12. Enter New Customer in the Trigger Event field and then select Continue.

13. Select Portals by Helium10 for the Choose Account field and then select Continue.

14. On the Set up trigger page, select Custom, enter All into the Page Slug field and then select Continue.

15. Select Test trigger.

16. You will receive confirmation that the test was successful.

17. For the App Event, select Mailchimp.

18. In the Action Event field, select Add/Update Subscriber and then hit Continue.

19. Select the Sign in to Mailchimp button and enter your credentials. If you do not have one, you can create a free account.

20. Select Allow to authorize Zapier to share data with Mailchimp.

21. Click Continue.

22. For the next step, you will need to create an audience within Mailchimp. To create an audience, follow this link for instructions on their website: Mailchimp Audience.

23. Once you’ve created your audience, you can select it on the Customize Subscriber page.

24. In the Subscriber Email field, select Email. You may have to select the Show All Options button to display email as an option.

25. In the following two fields, Double Opt-In can be left off and Update Existing should remain on.
26. The fields Replace Groups, Groups, Language Code, and Tags should be left alone. If you are using Tags in Mailchimp and it applies to this Zap, include the tag in this field.
27. Select First Name and Last Name for each of these fields.

28. The remaining fields are optional. Once you finish reviewing the options, select Continue at the bottom.
29. Review your chosen selections and then select Test & Continue.
30. You should receive a confirmation that the test was successful.

31. Select the Turn on Zap button to finish creating your Zap!

32. Now every time someone uses your Portal, it will automatically add them to your email sequence. Do more research at Zapier.com for more information on other potential uses.
Create a Free Helium 10 Account Today!
Start with the free extension: Download the Helium 10 Chrome Extension.
Comments
Article is closed for comments.