
Selling online through Amazon can make it difficult to build one’s brand and customer loyalty. Printing and including user guides, promotional offers, warranties and invitations to social media connections inside your product packaging is one way to make your company and products memorable for your customers.
Portals software allows you to quickly and easily create and download inserts for your product packaging. Let’s run through the steps.
1. From the Helium 10 dashboard, click on Portals.
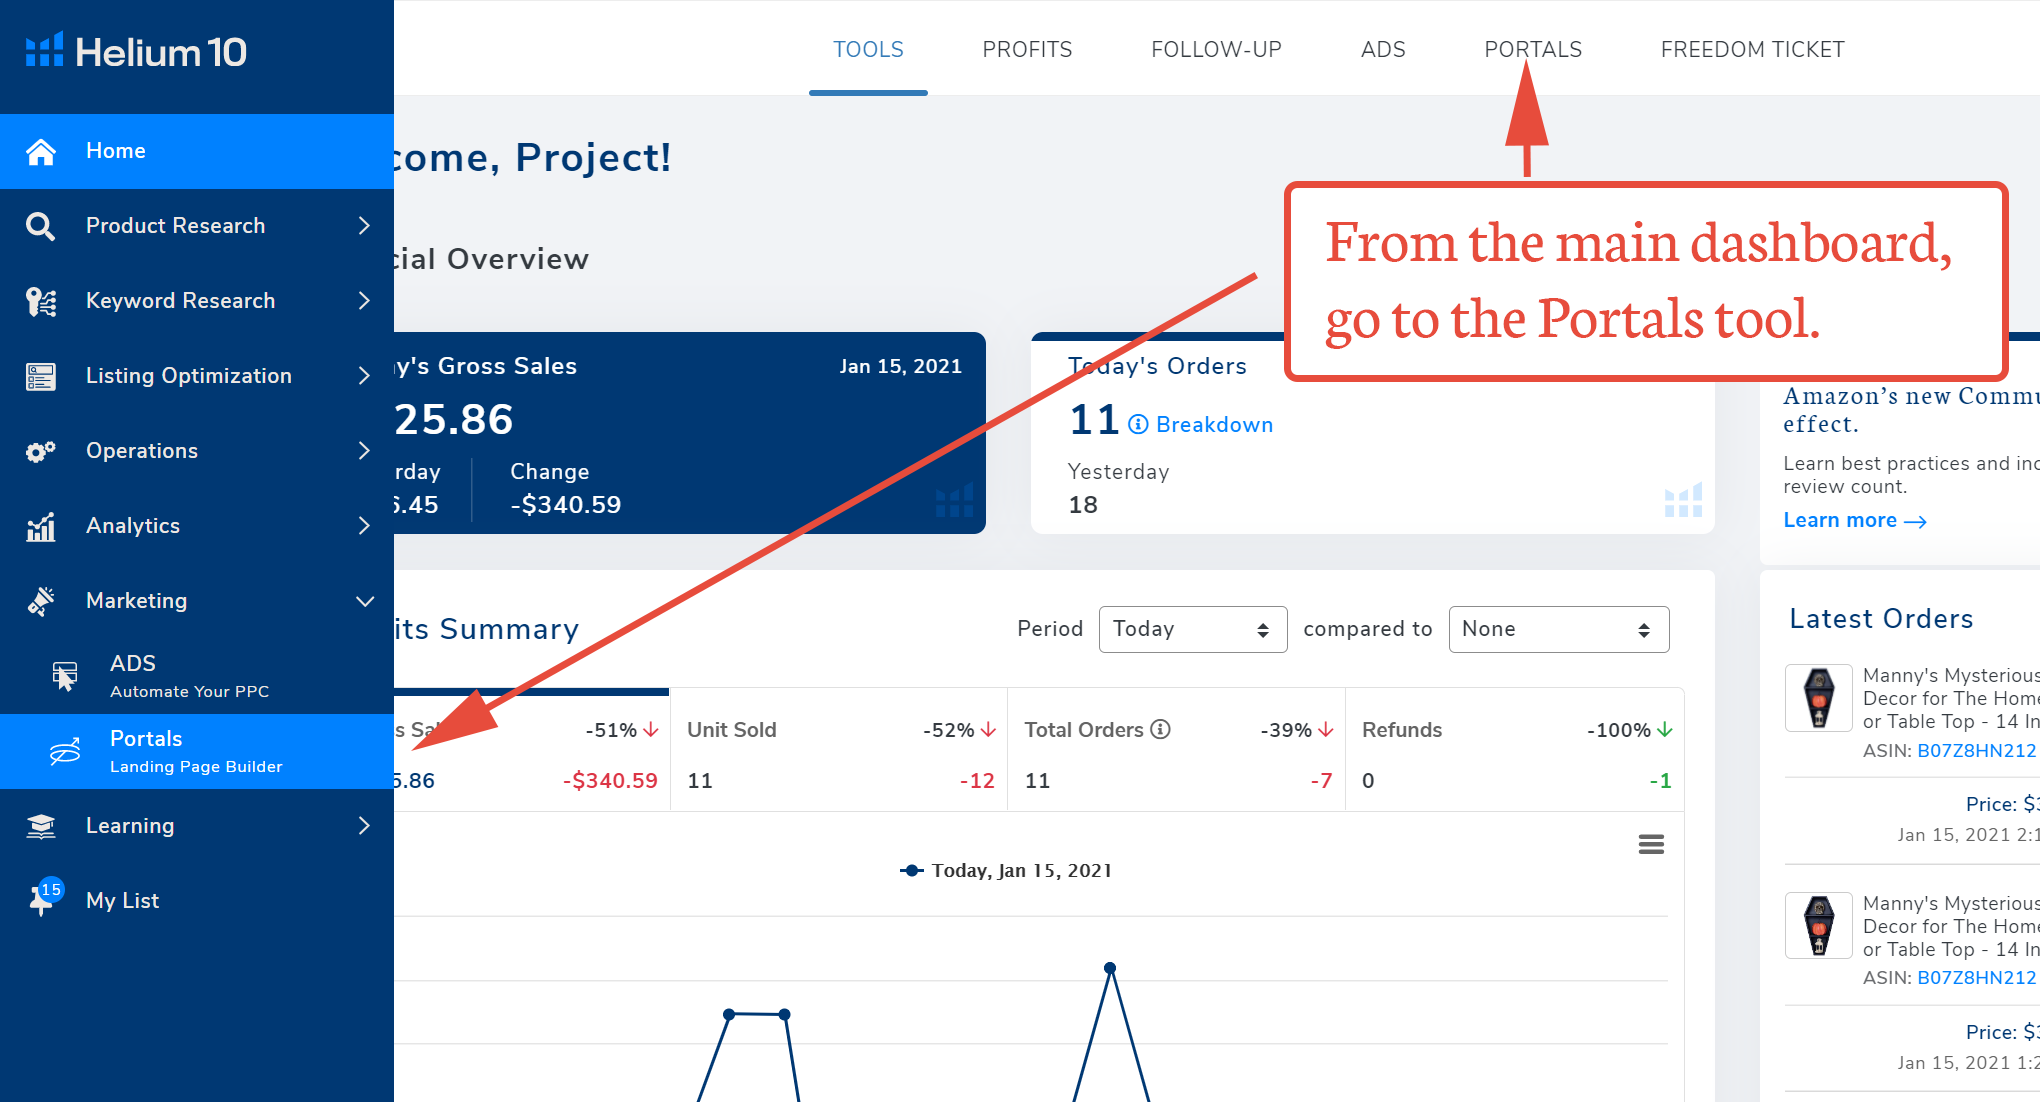
2. Inside Portals, click on the Product Inserts link in the left side menu.

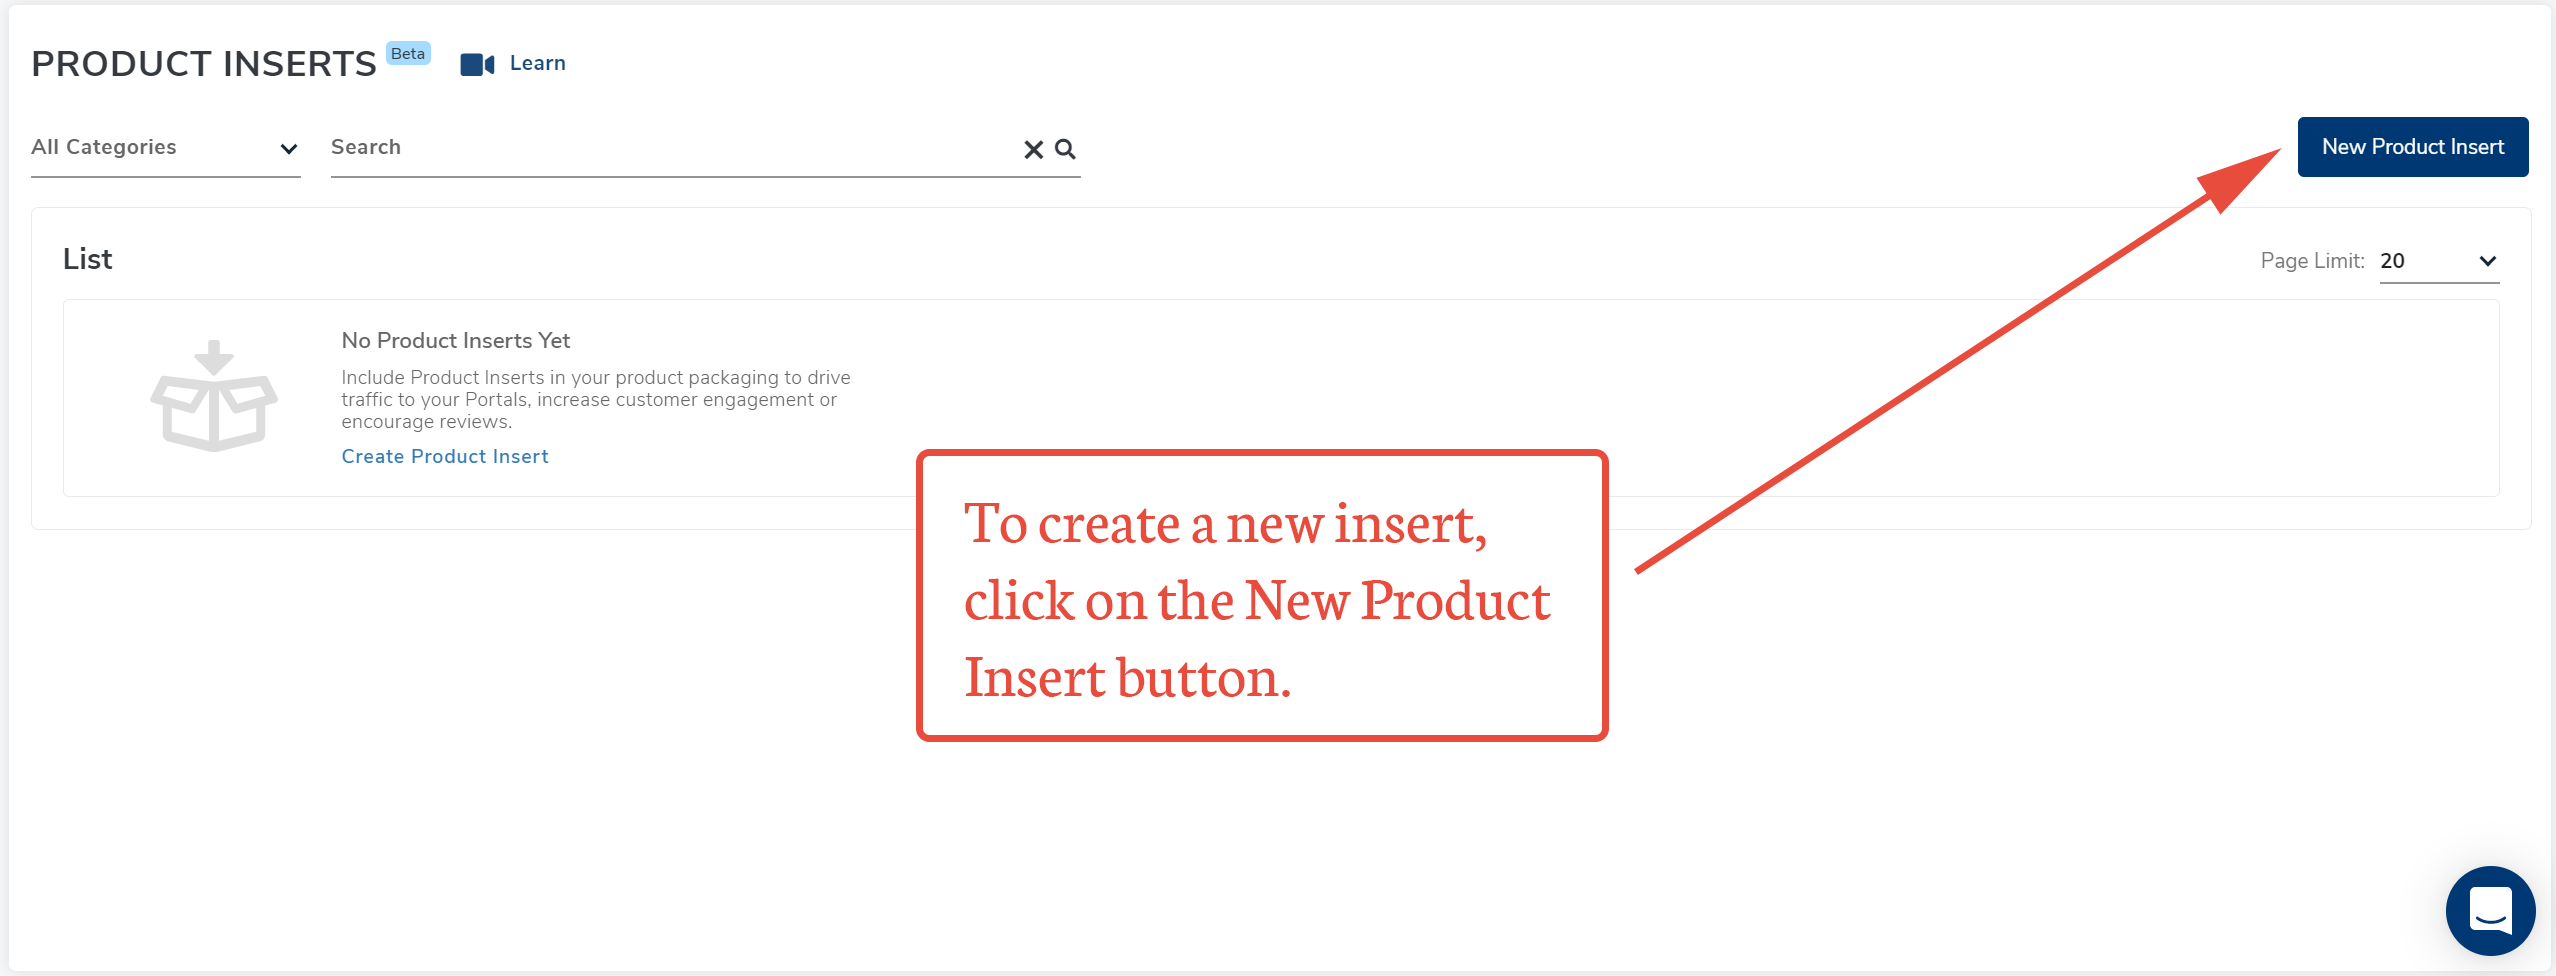
3. On the Product Inserts window, click on the New Product Insert button.
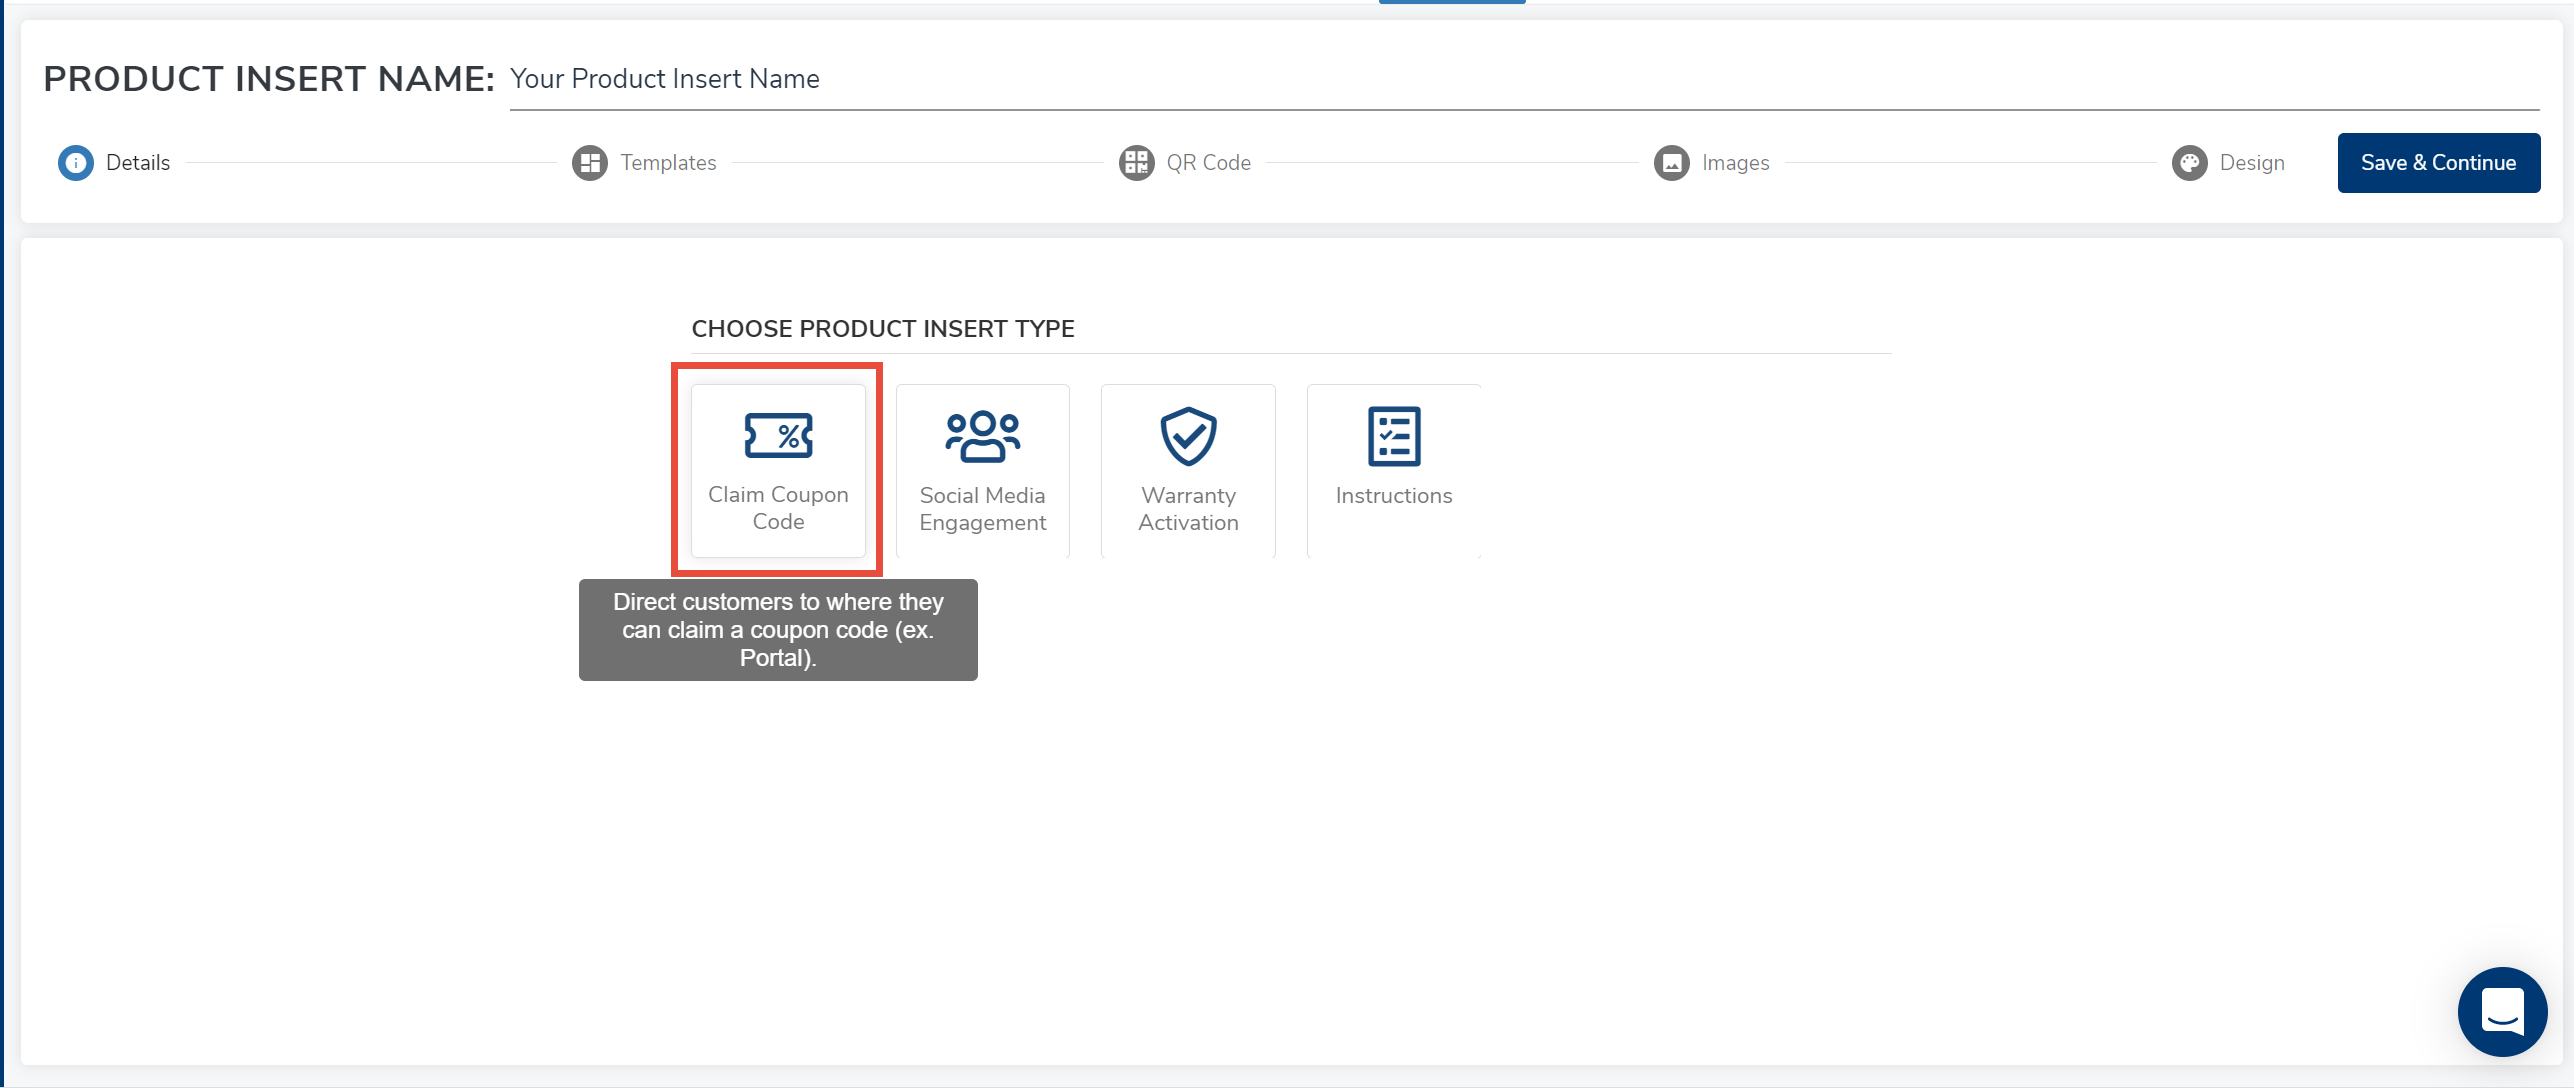
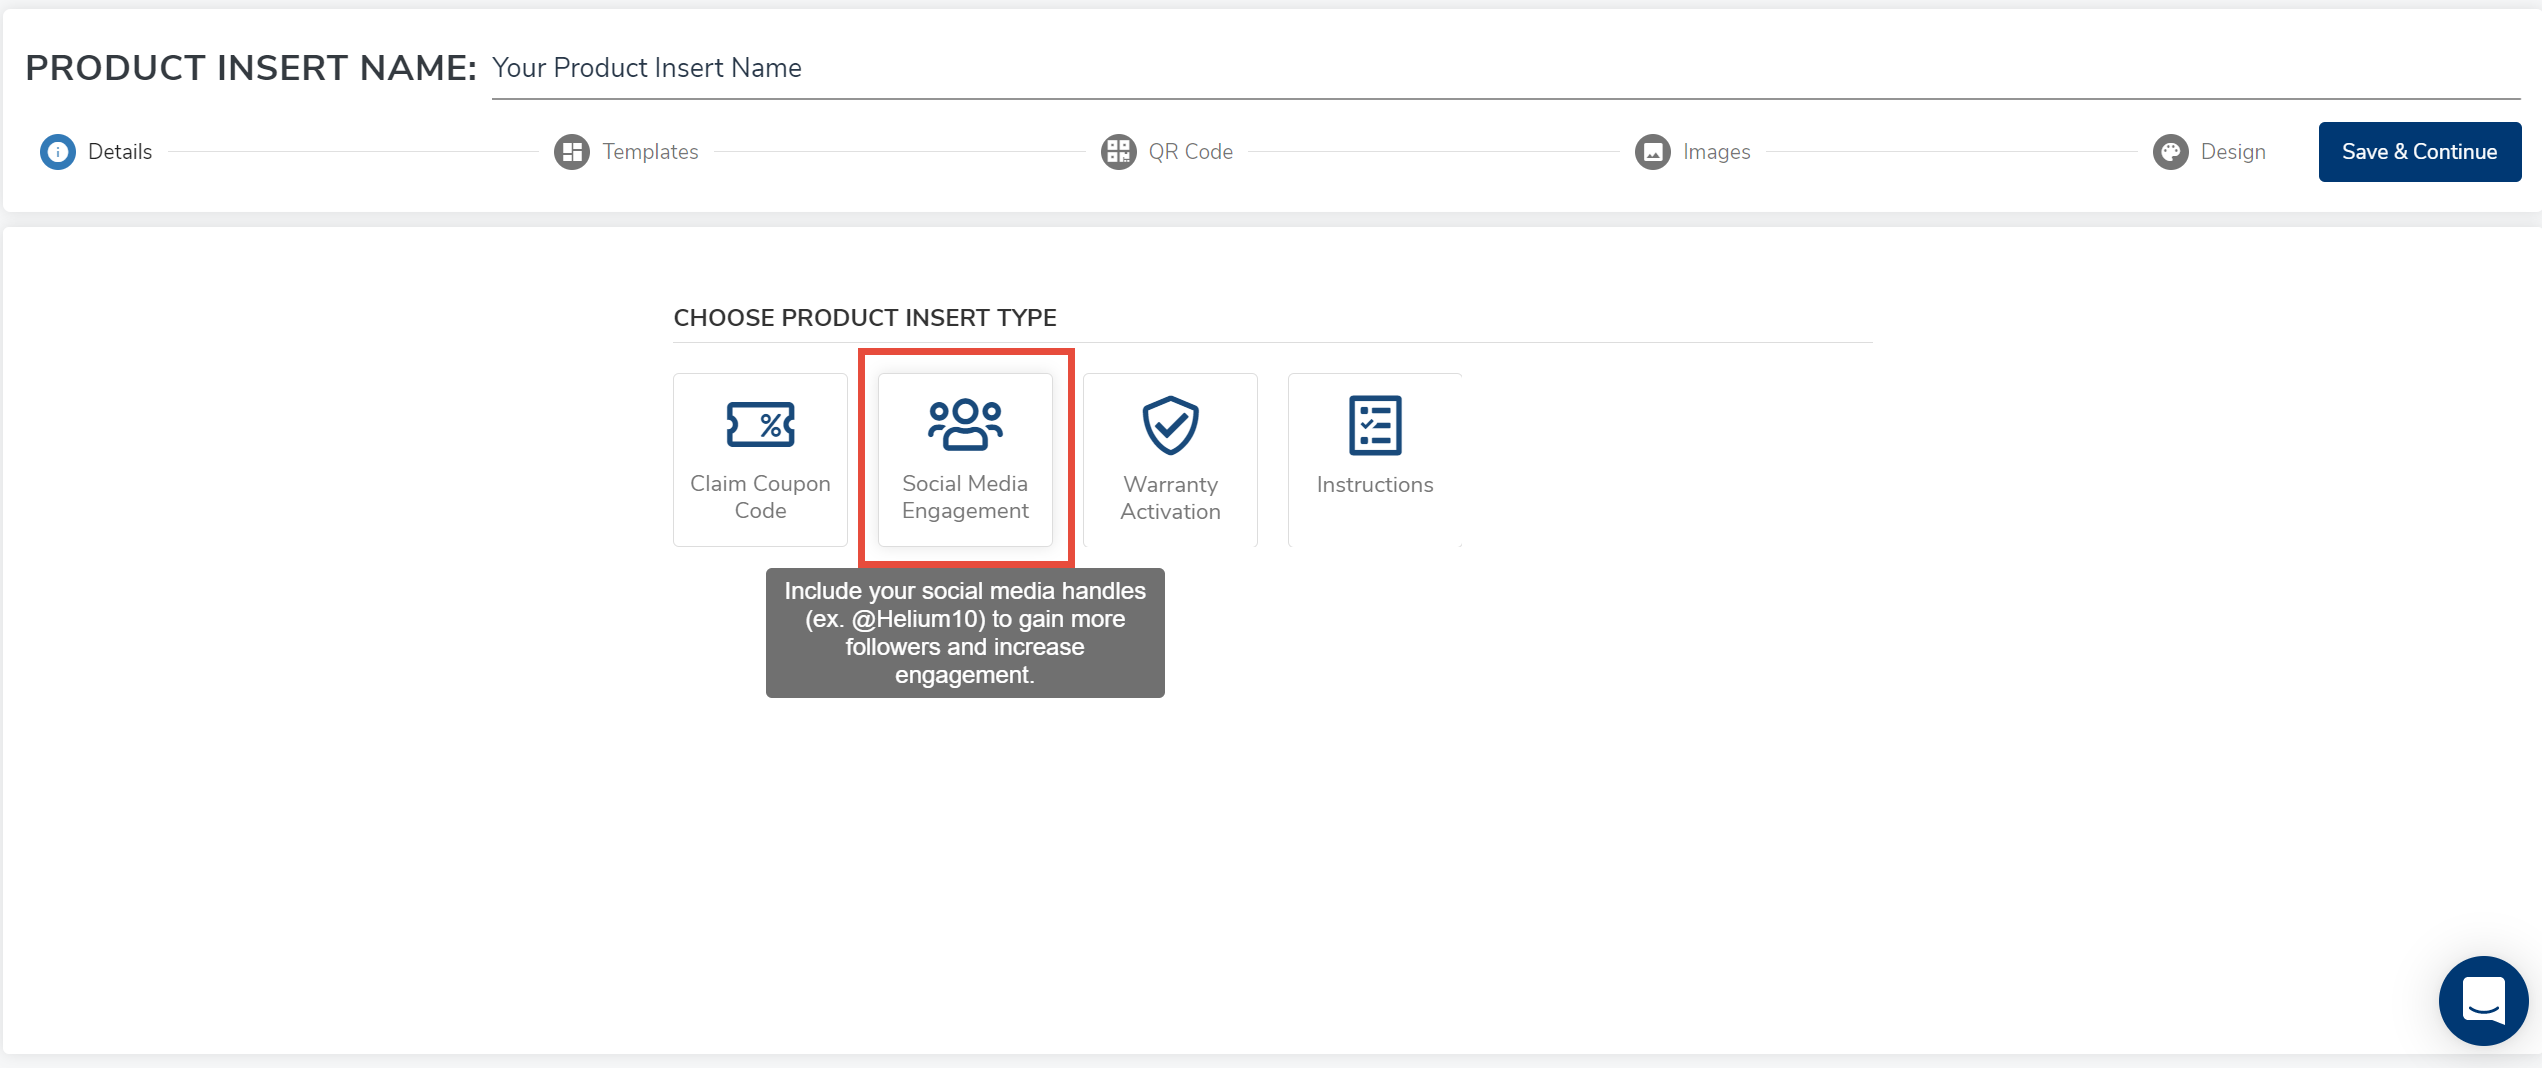
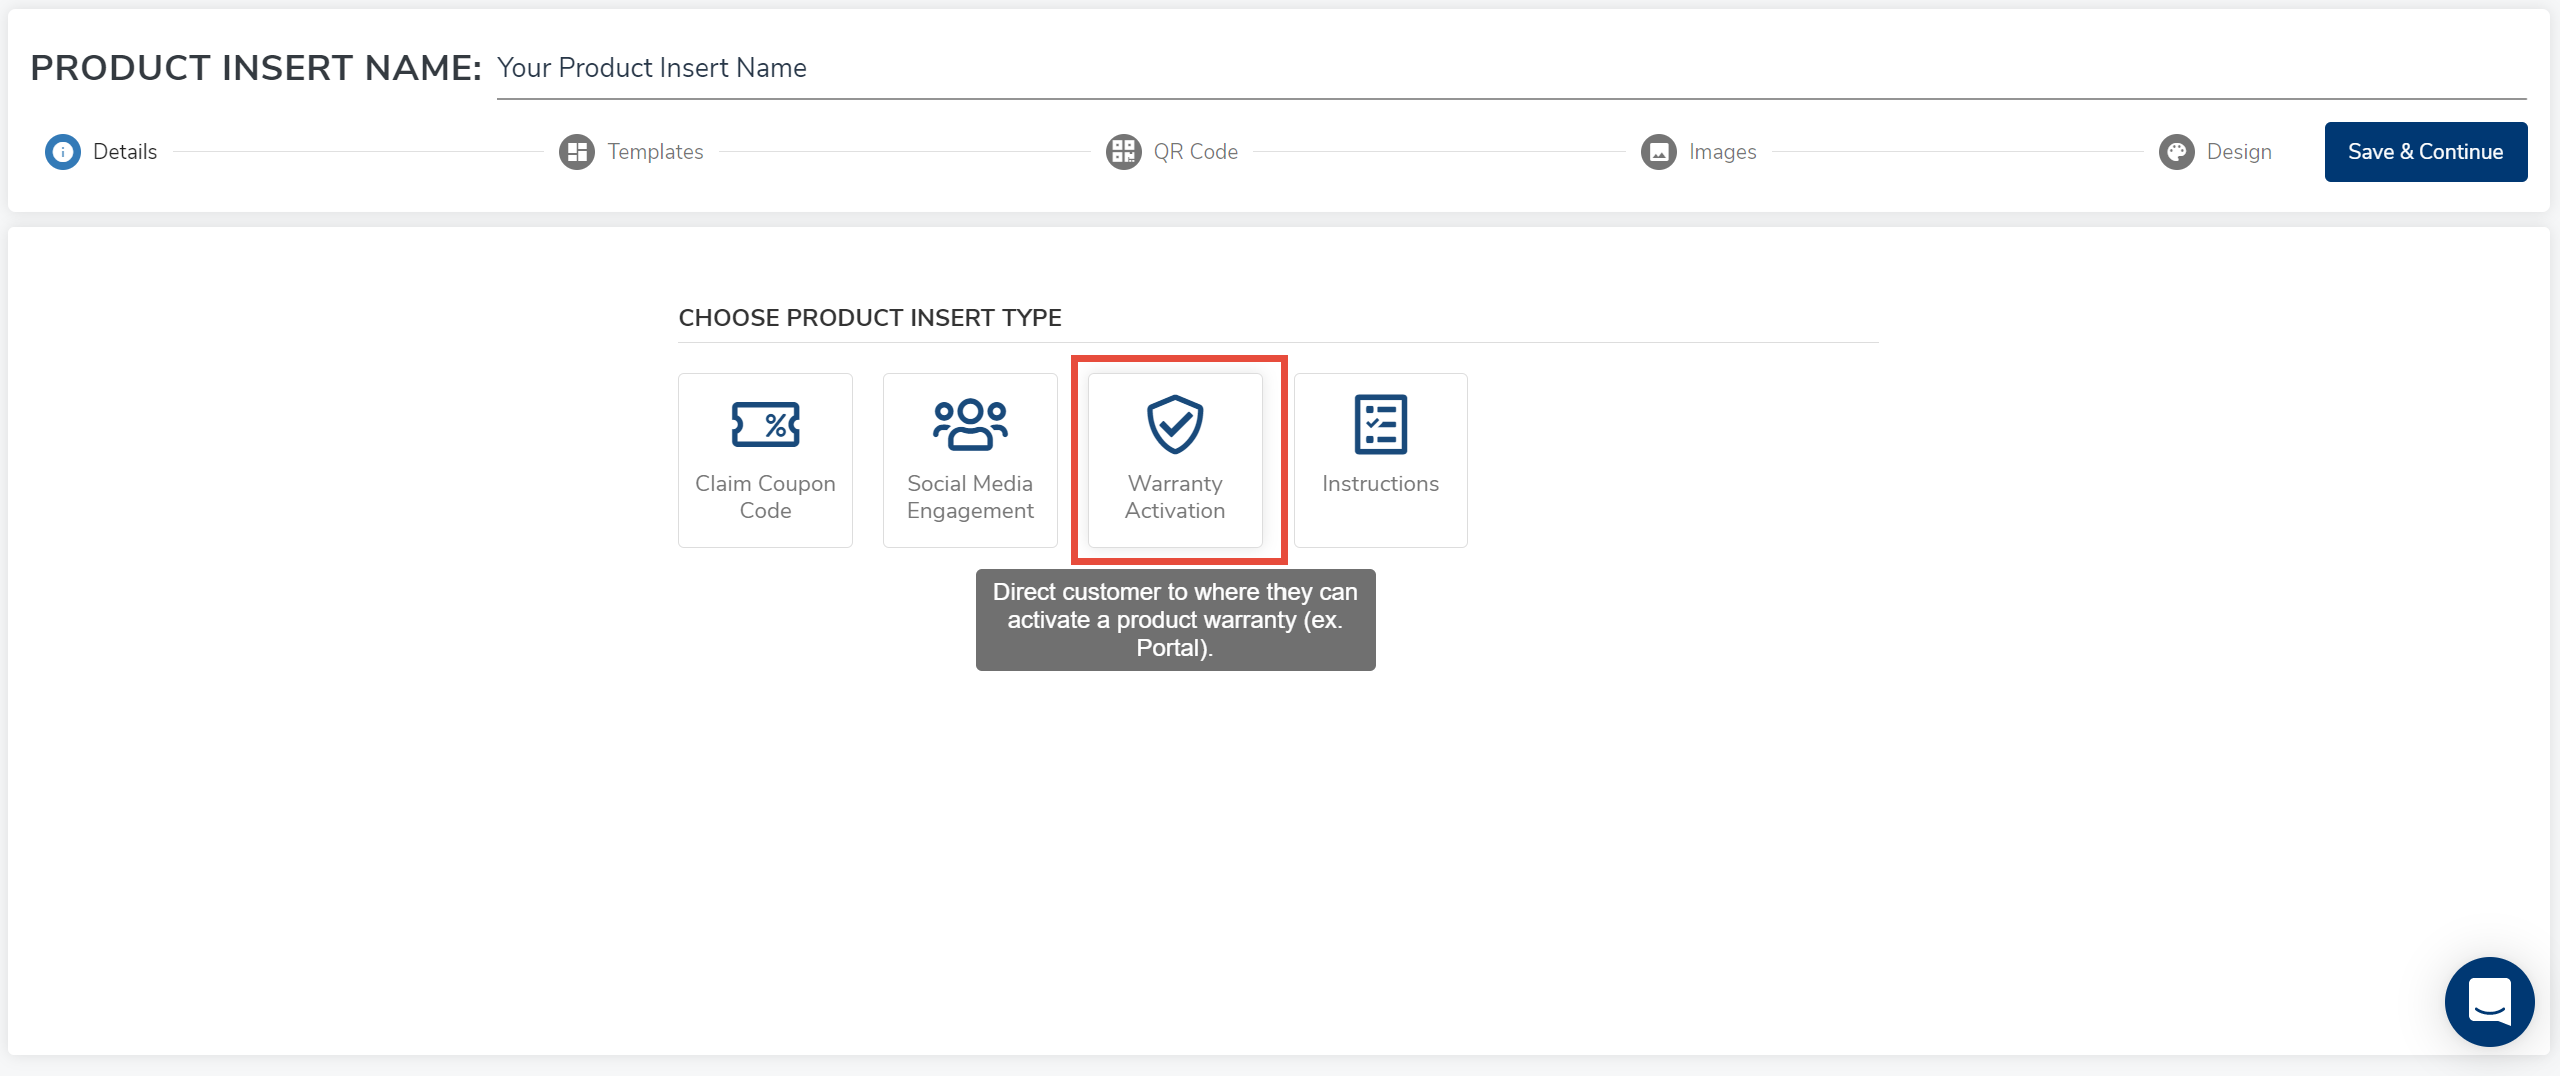
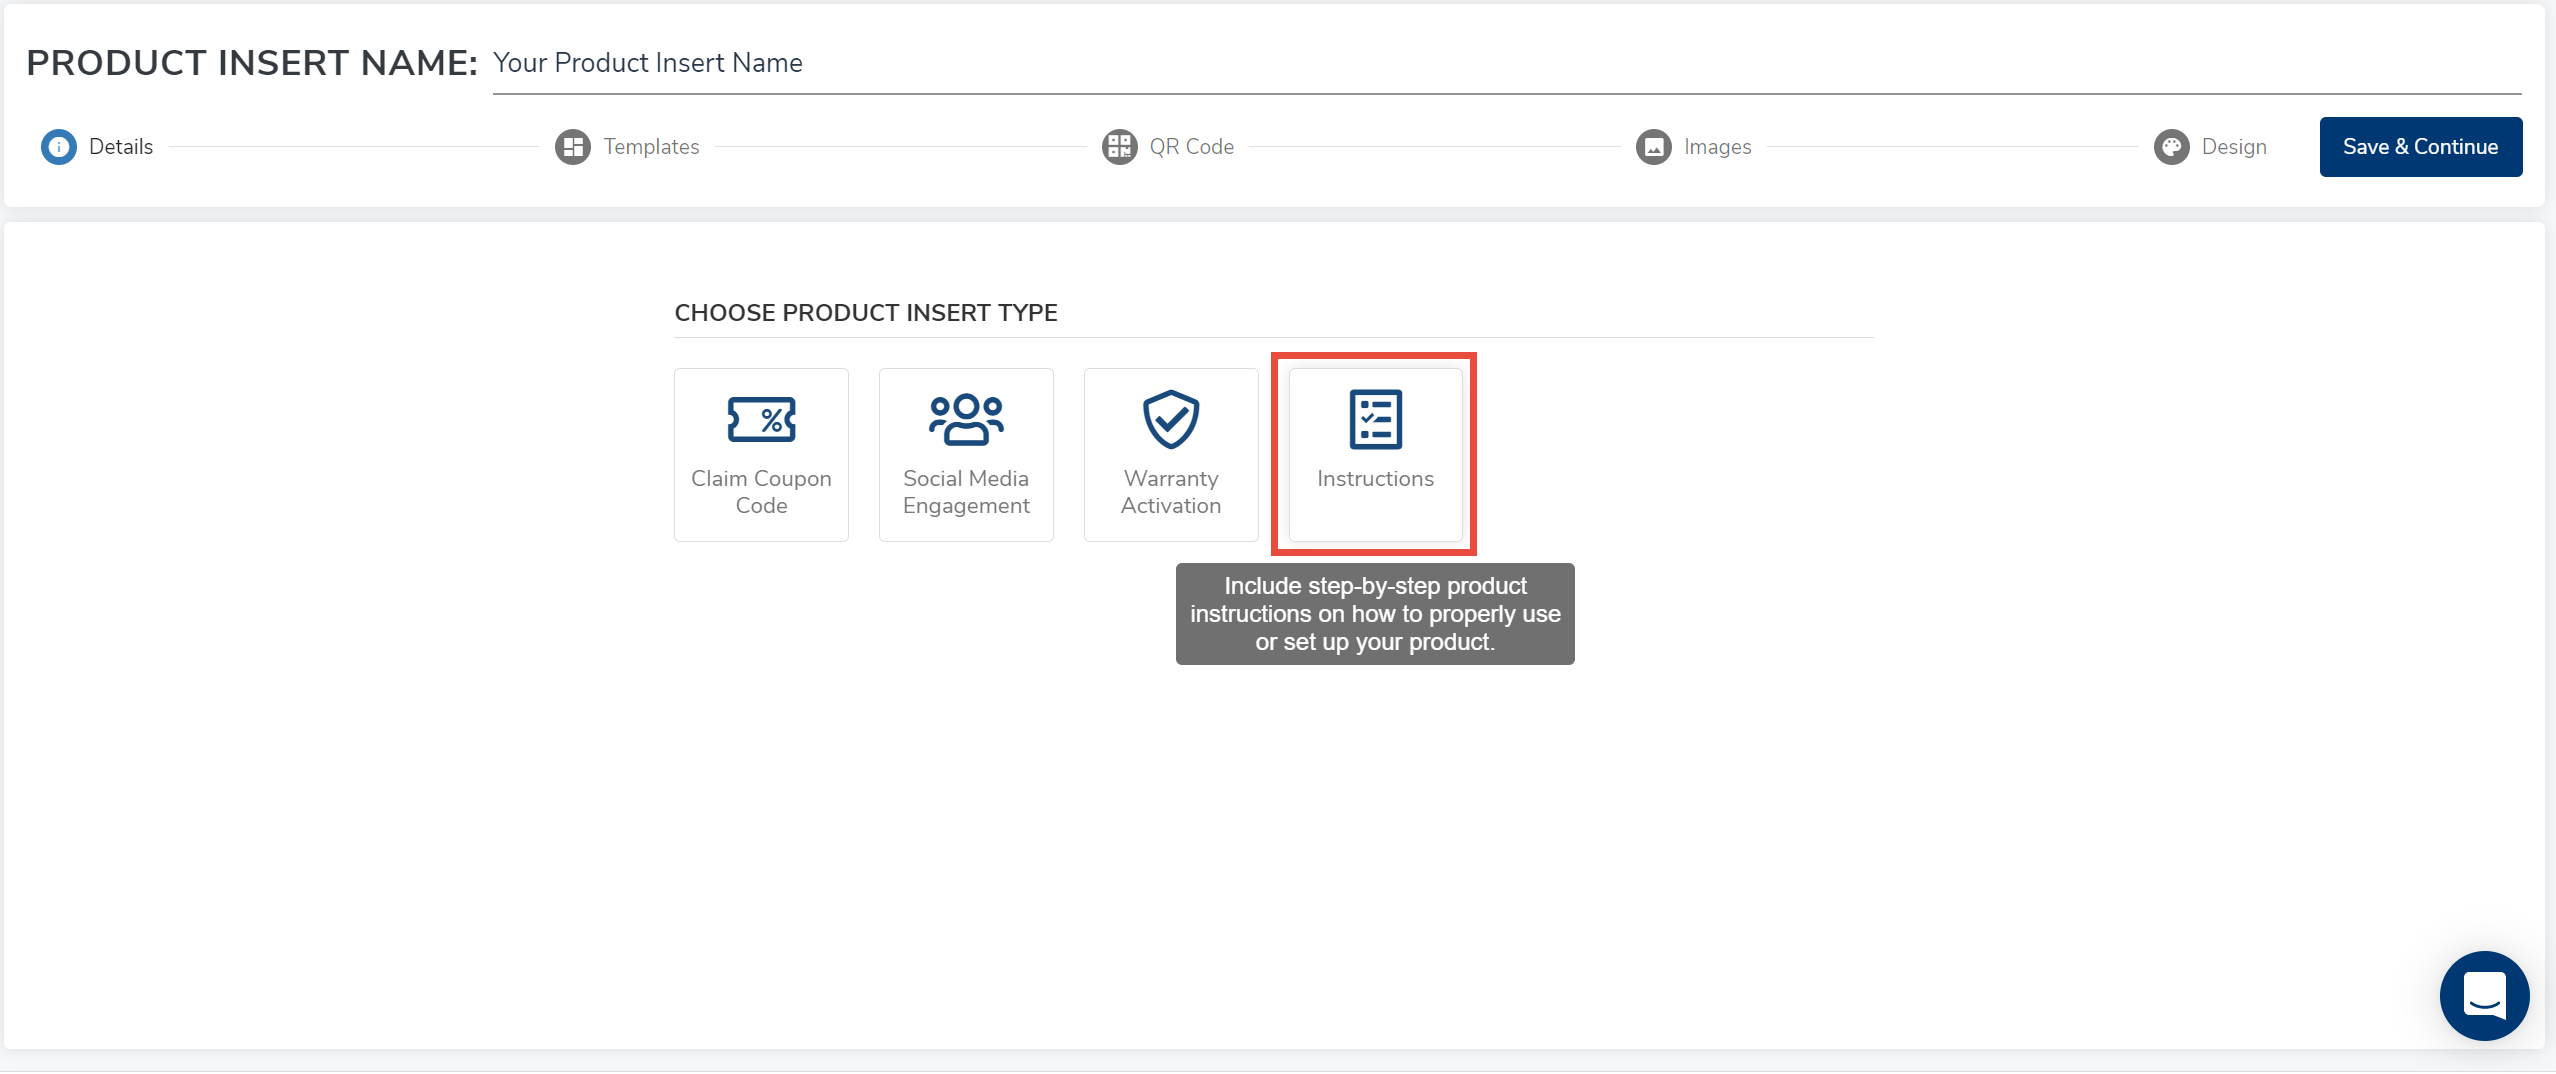
4. Portals offers different types of Insert templates, including Claim Coupon Code, Social Media Engagement, Warranty Activation, and Instructions. The Claim Coupon Code lets you direct customers to a website where they can get a discount on a product purchase.
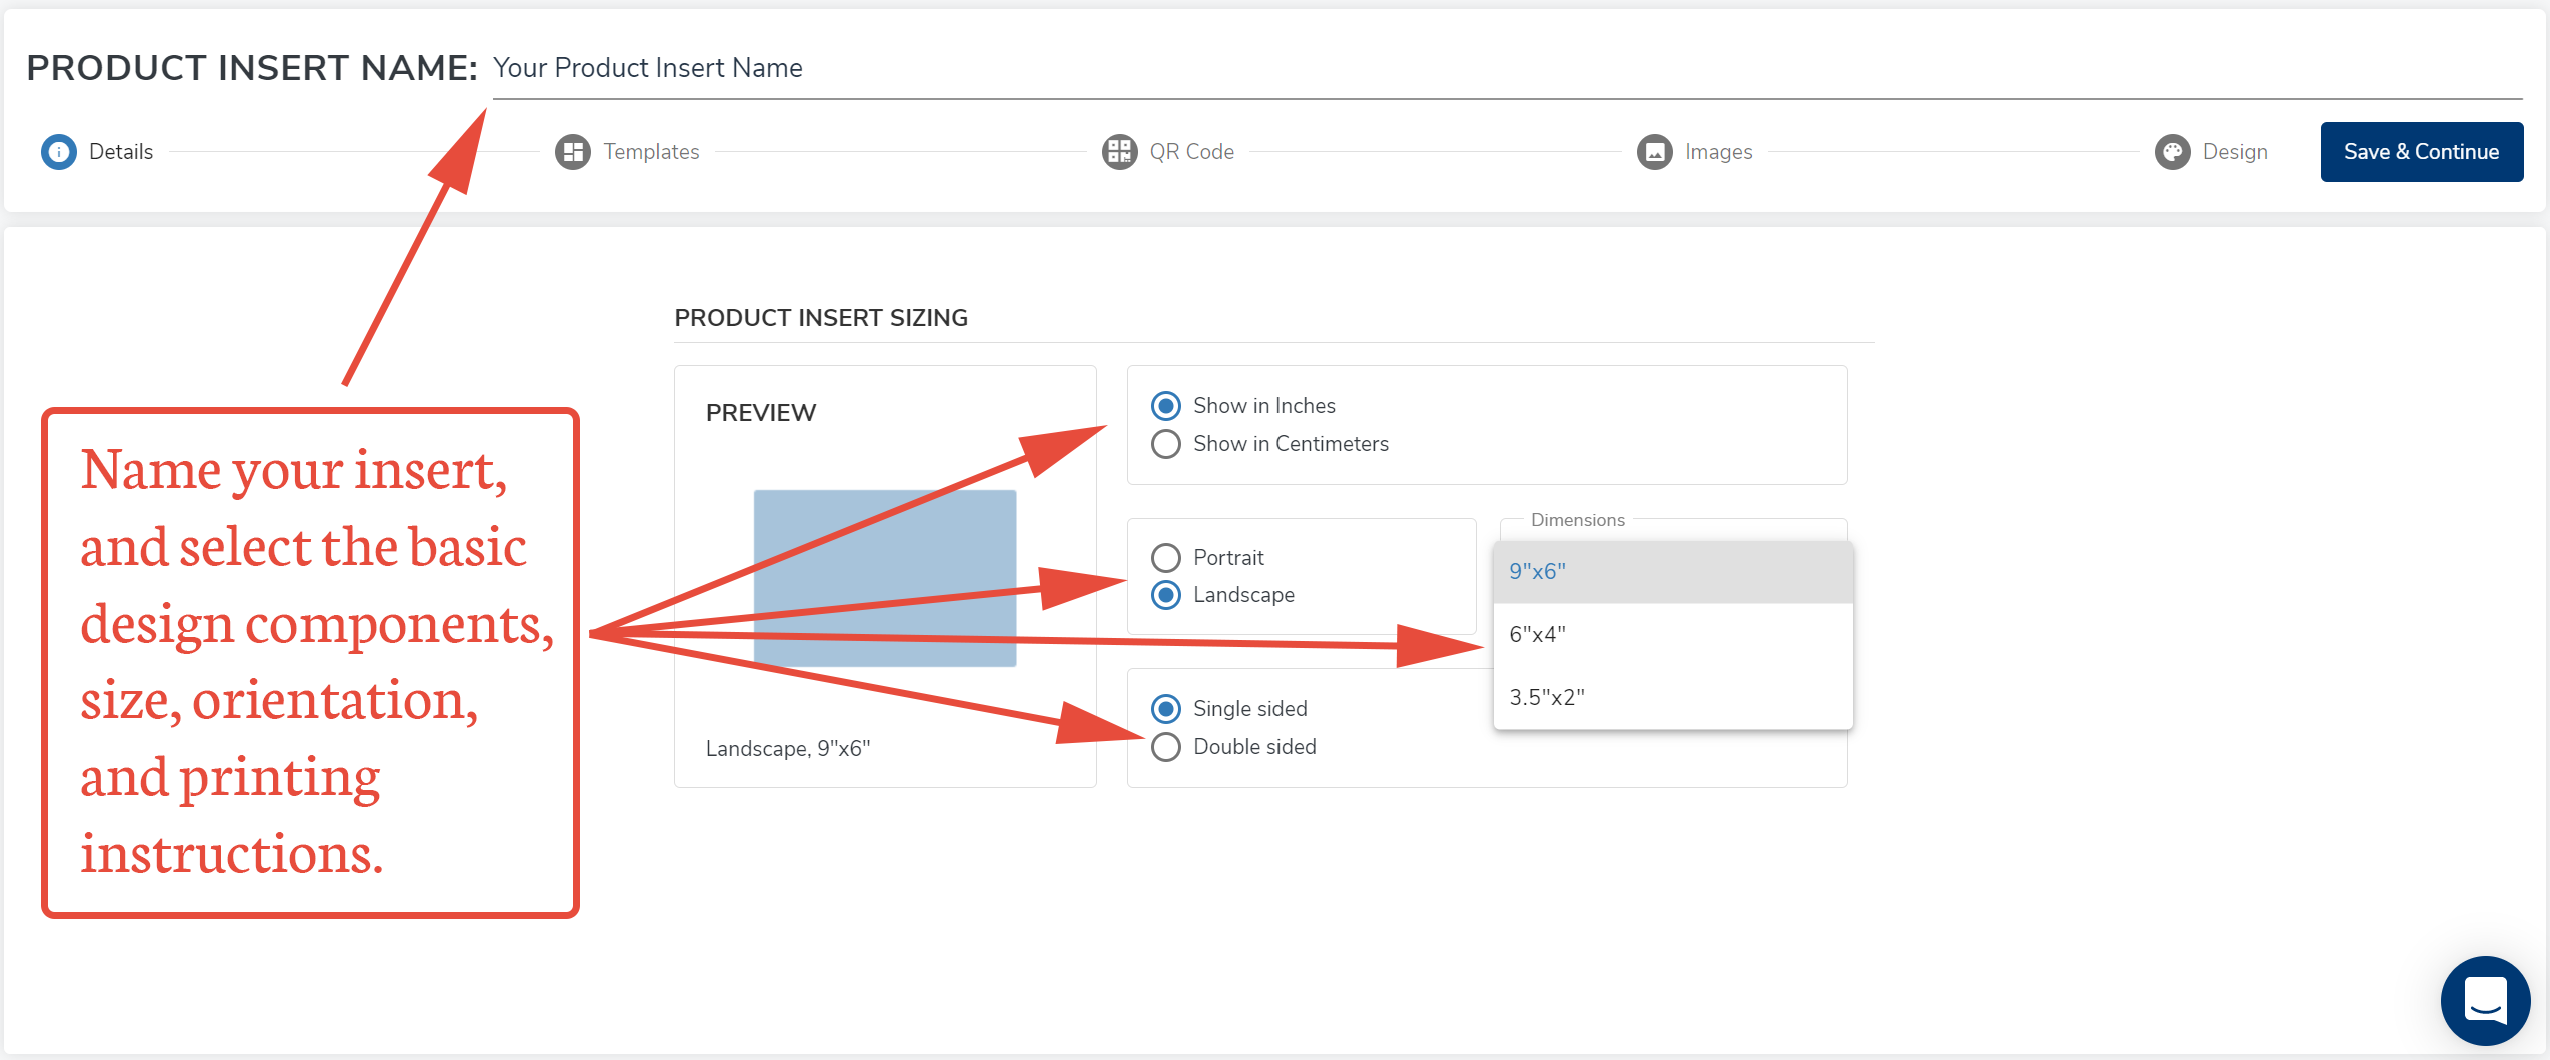
5. If you choose this option, you will be guided through the process of choosing a basic layout--size, orientation, and single or double sided. Make your choices and click Save & Continue.
6. On the next screen, you will find several design options. You can preview each design before making a choice.
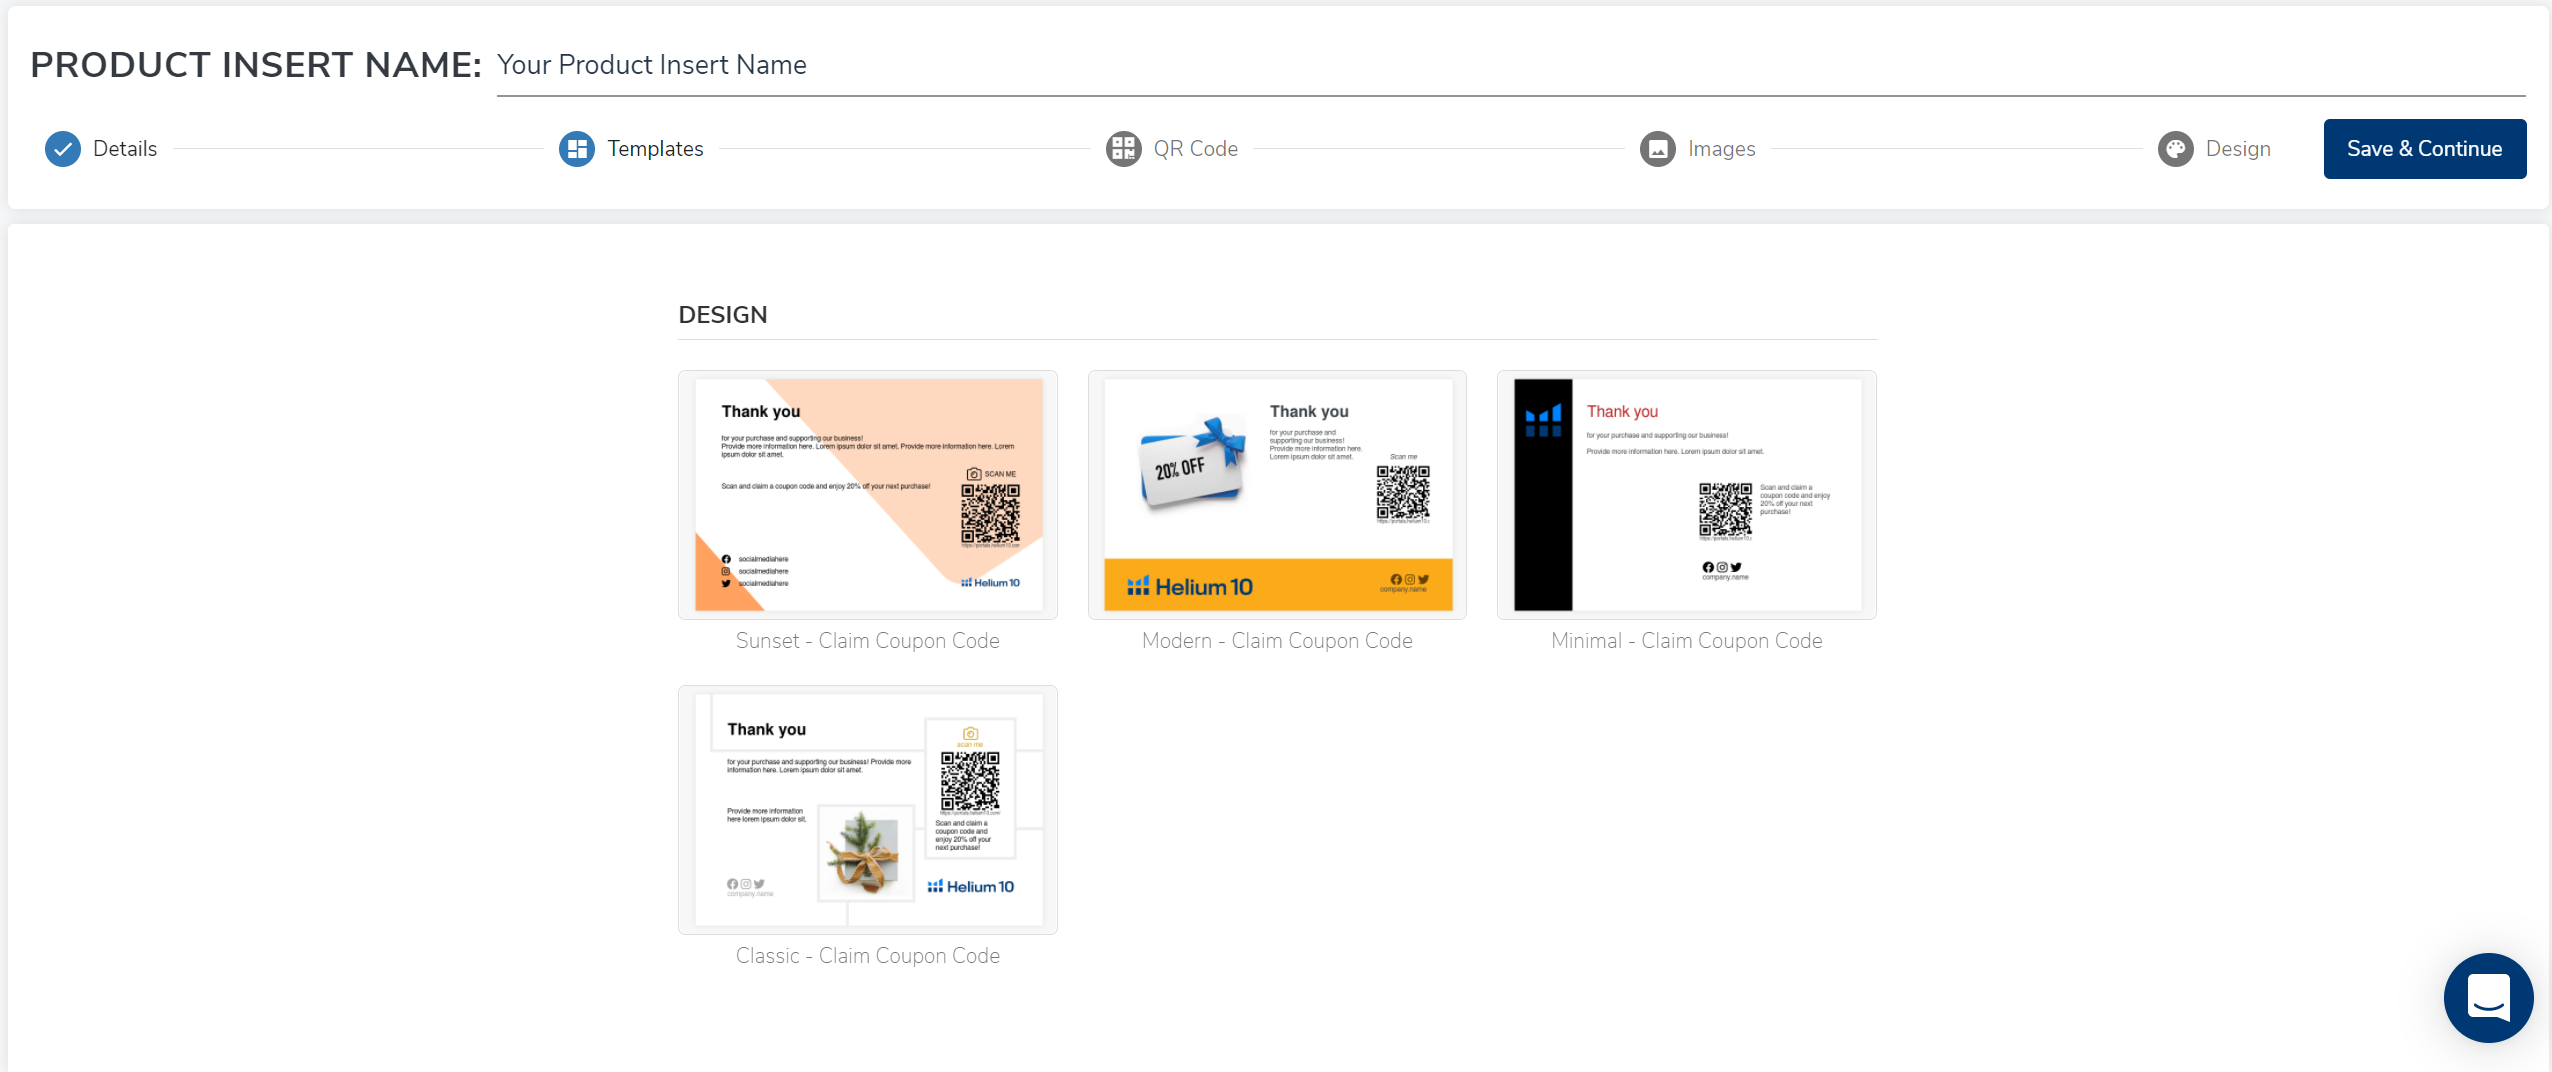
7. To preview a design, hover your mouse over the design and click on the magnifying glass.
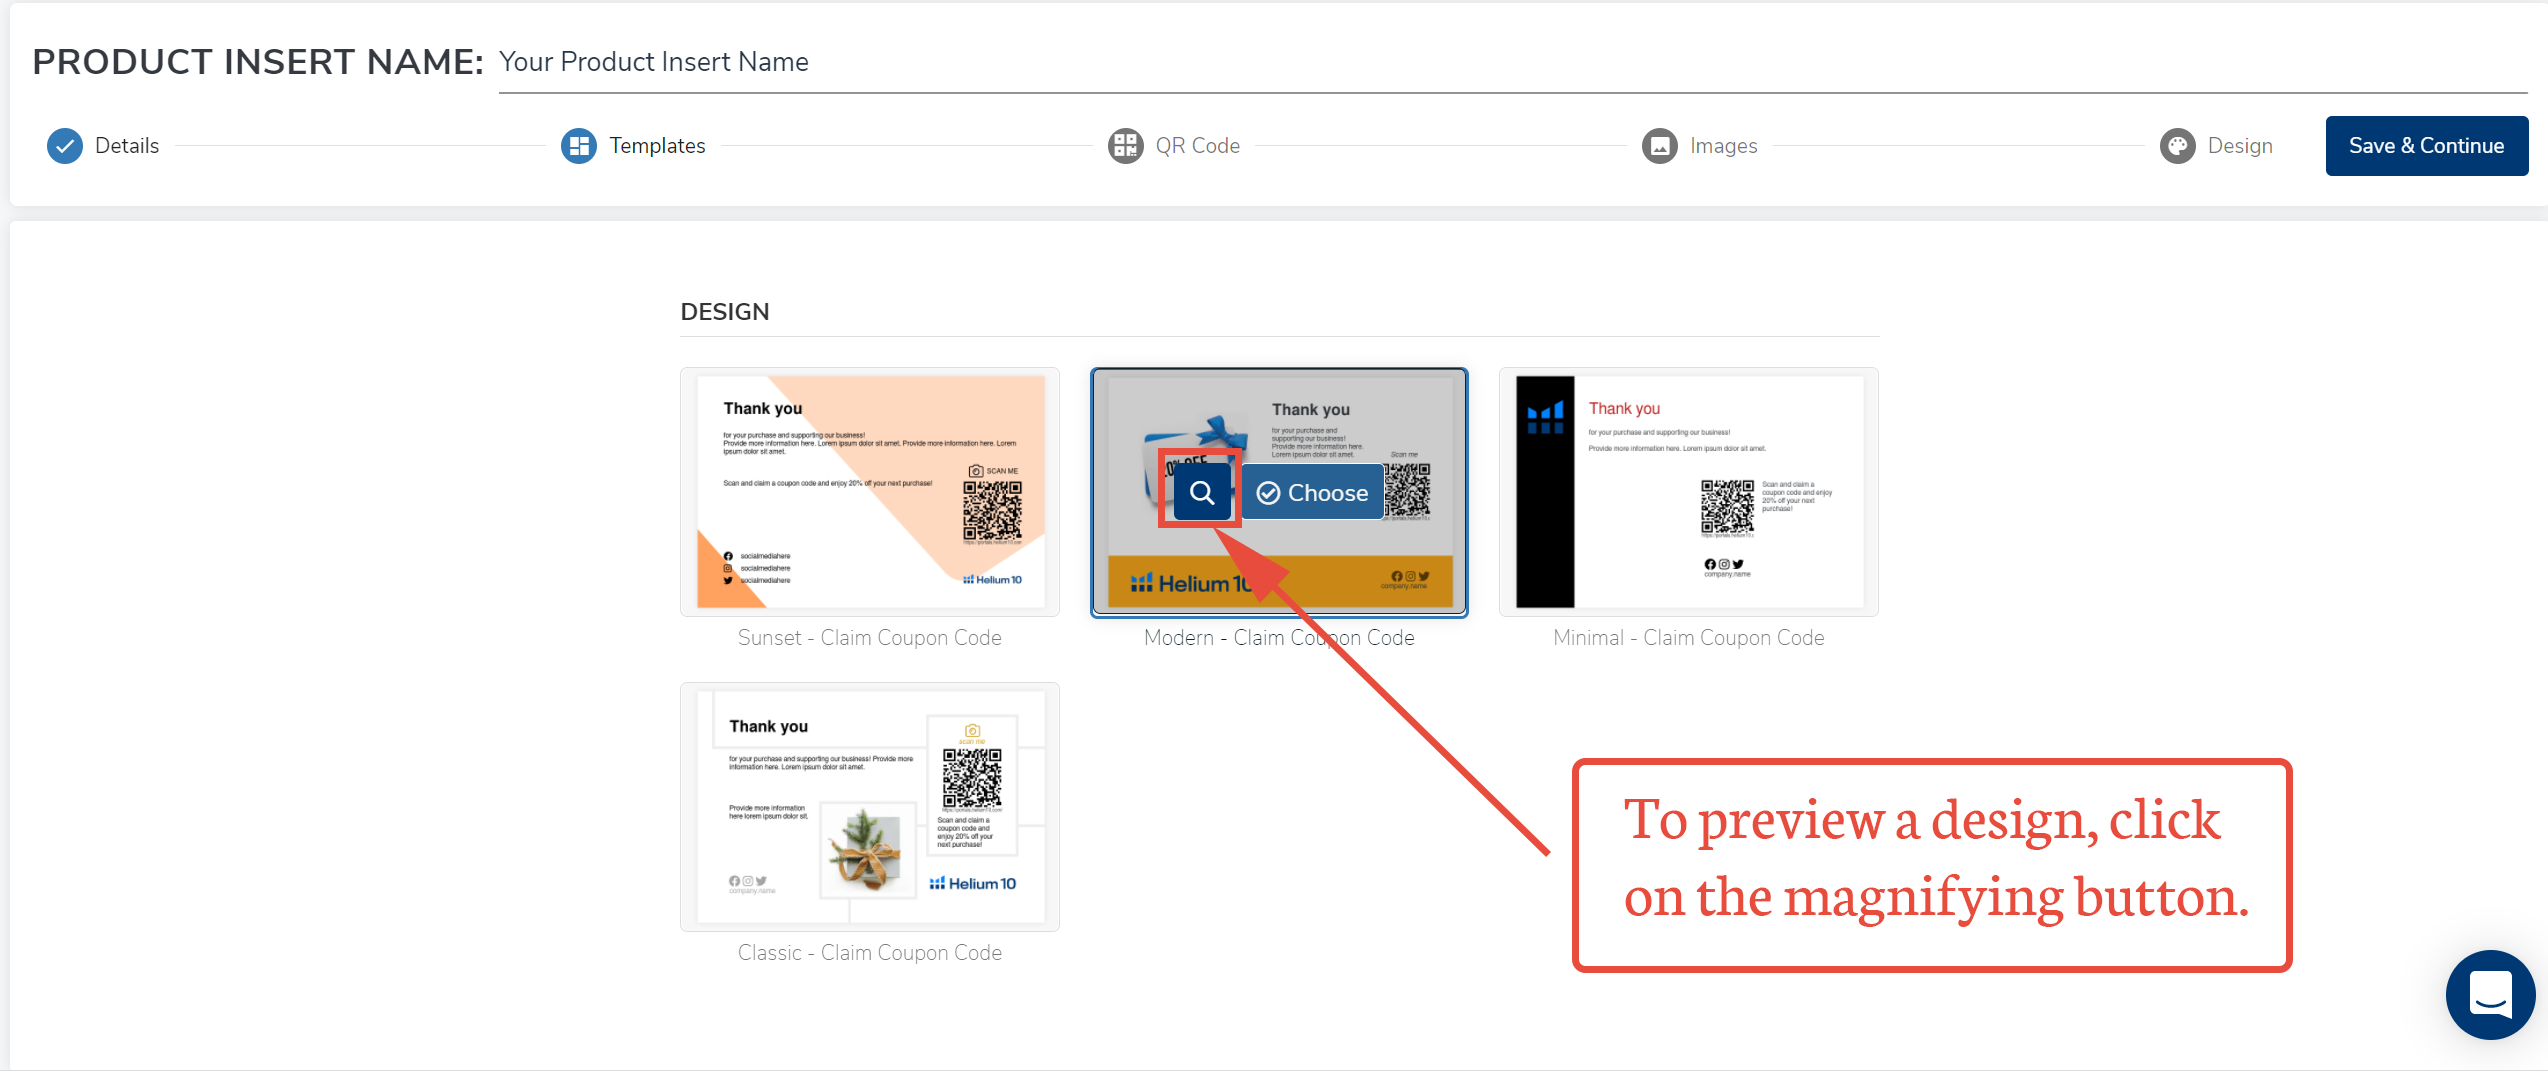
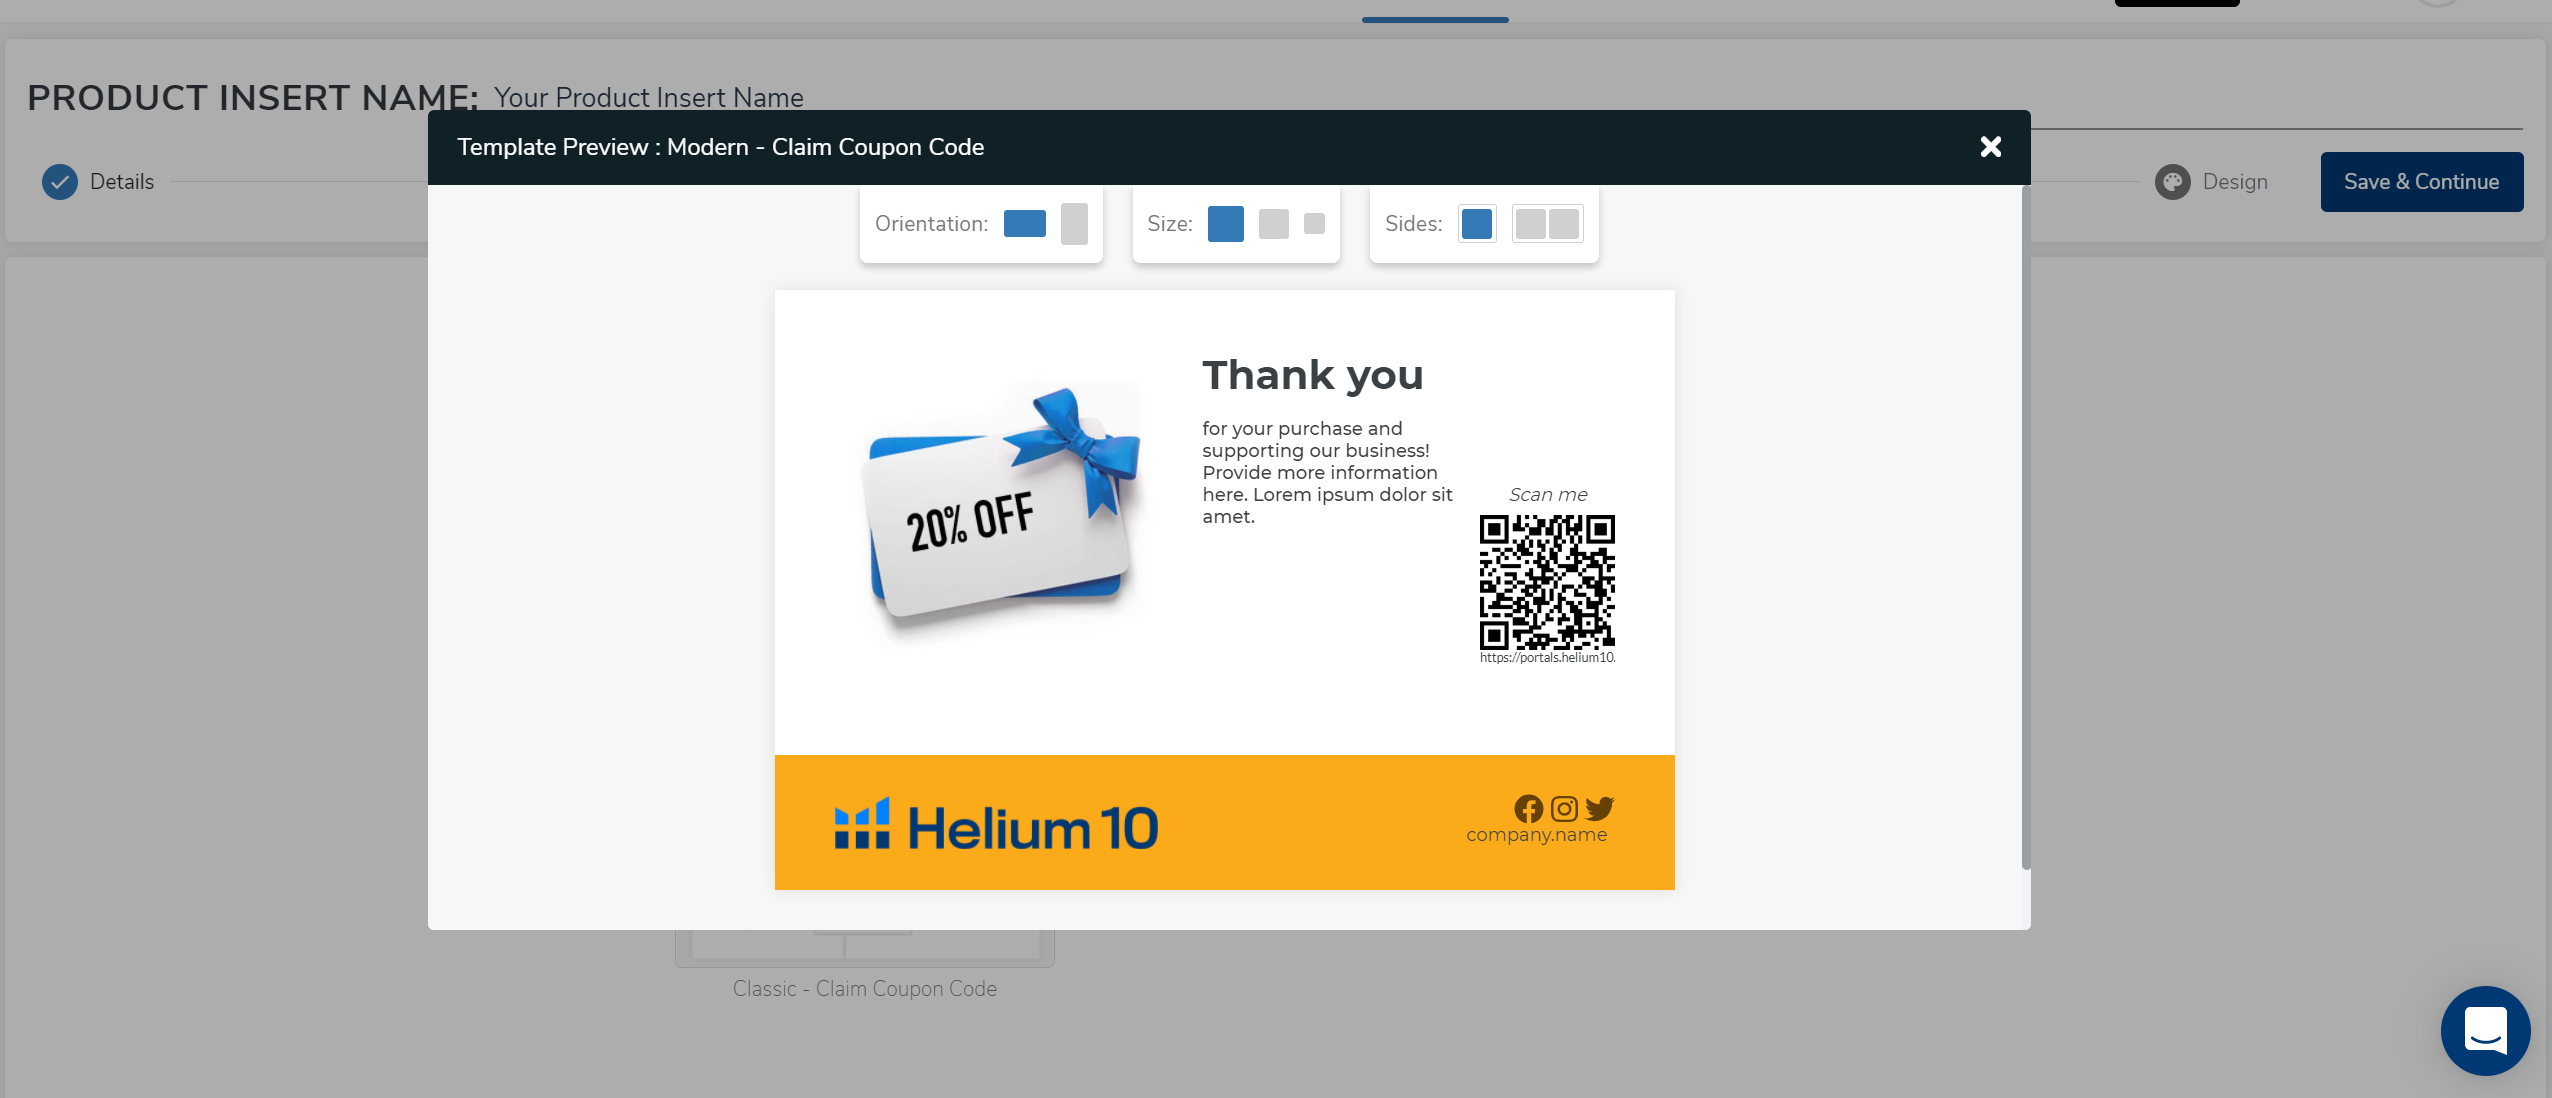
To exit, click the X in the top right corner of the expanded image window.
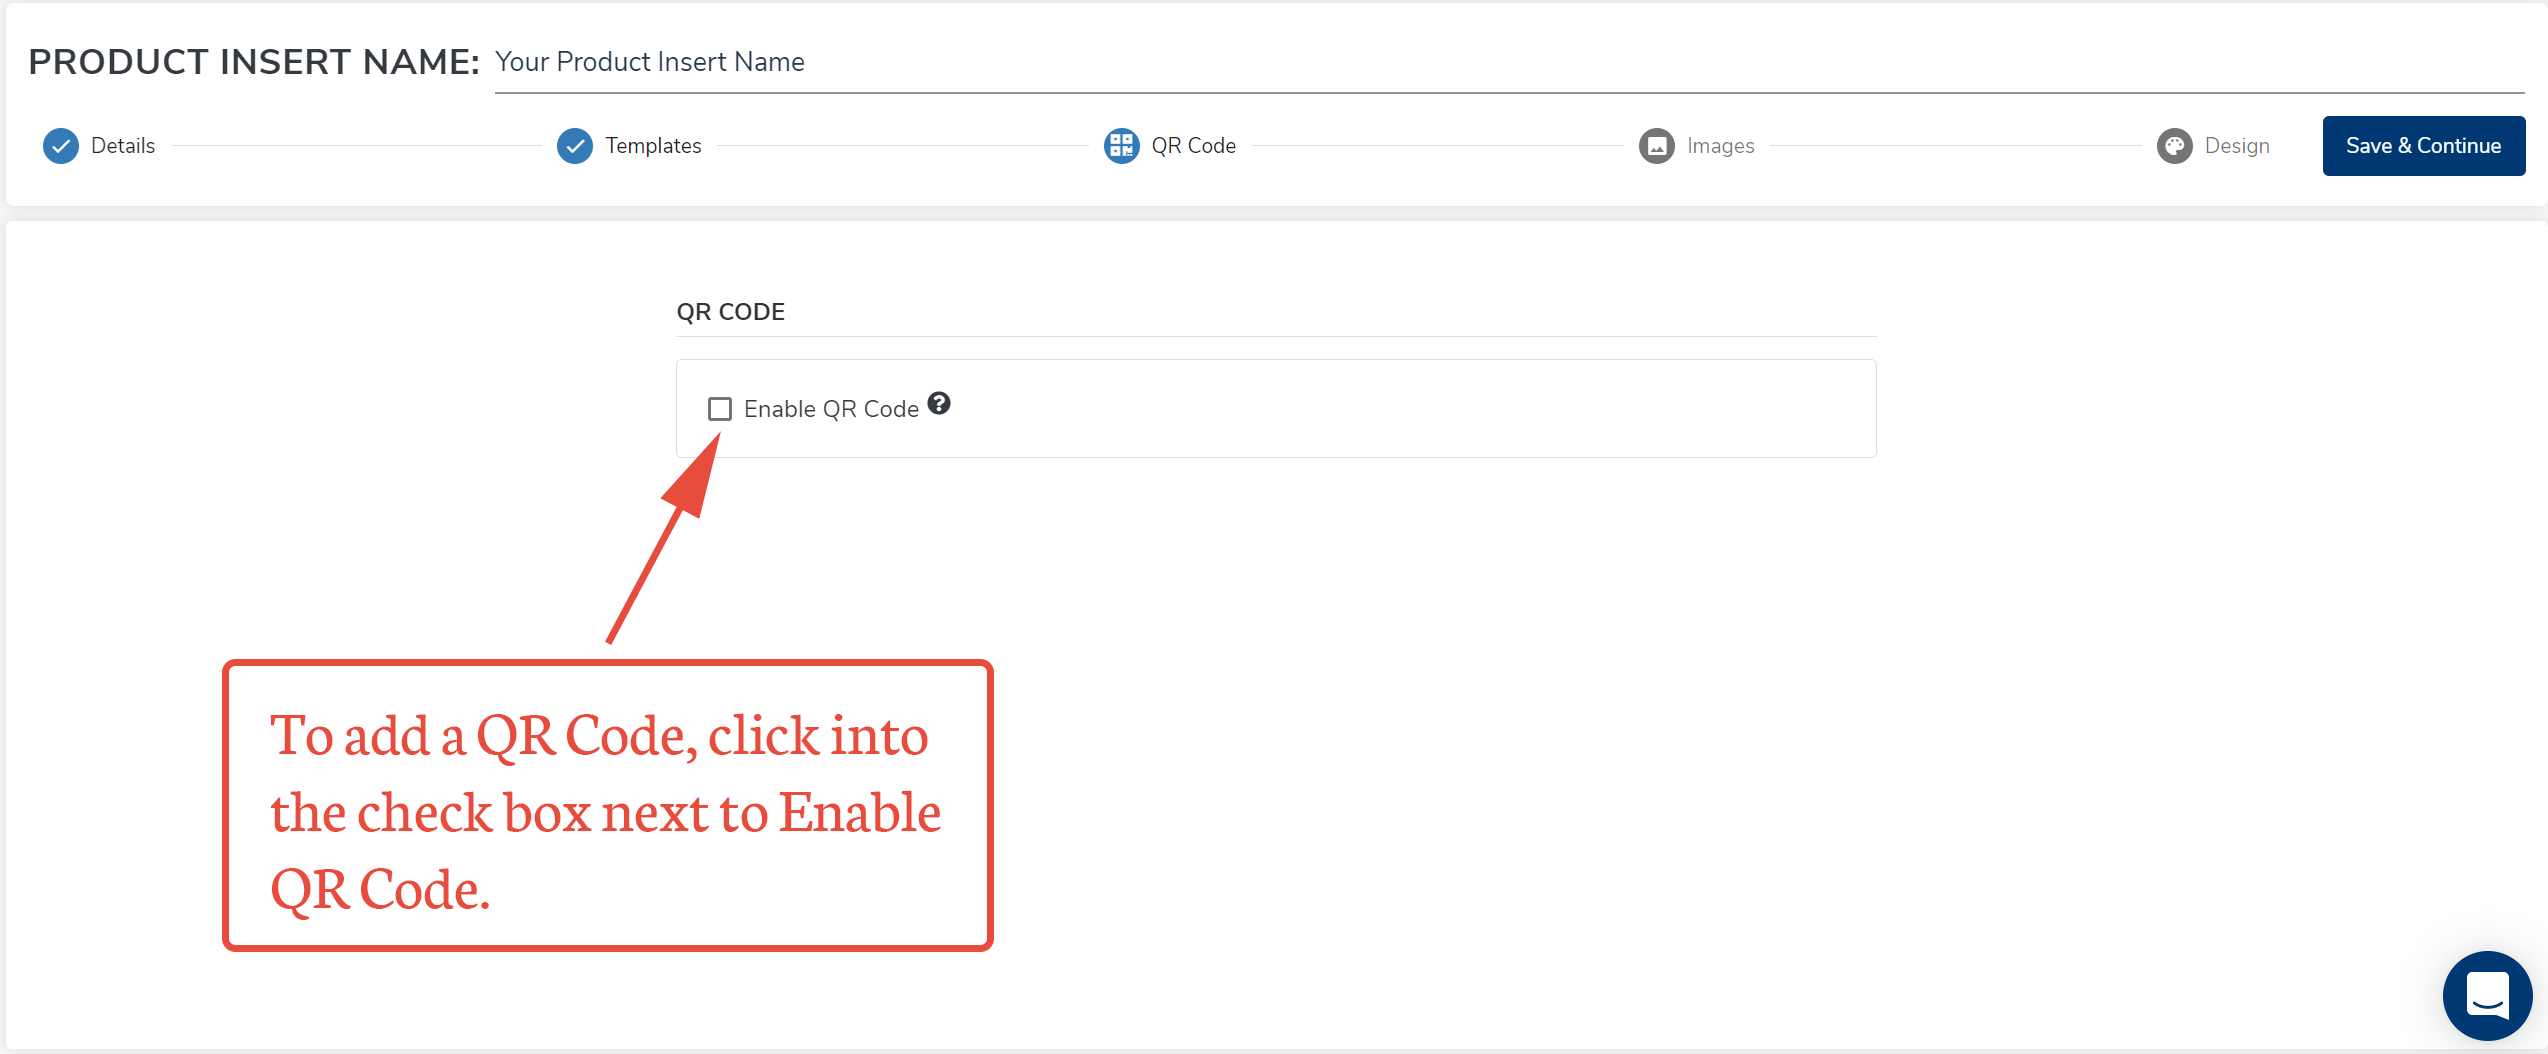
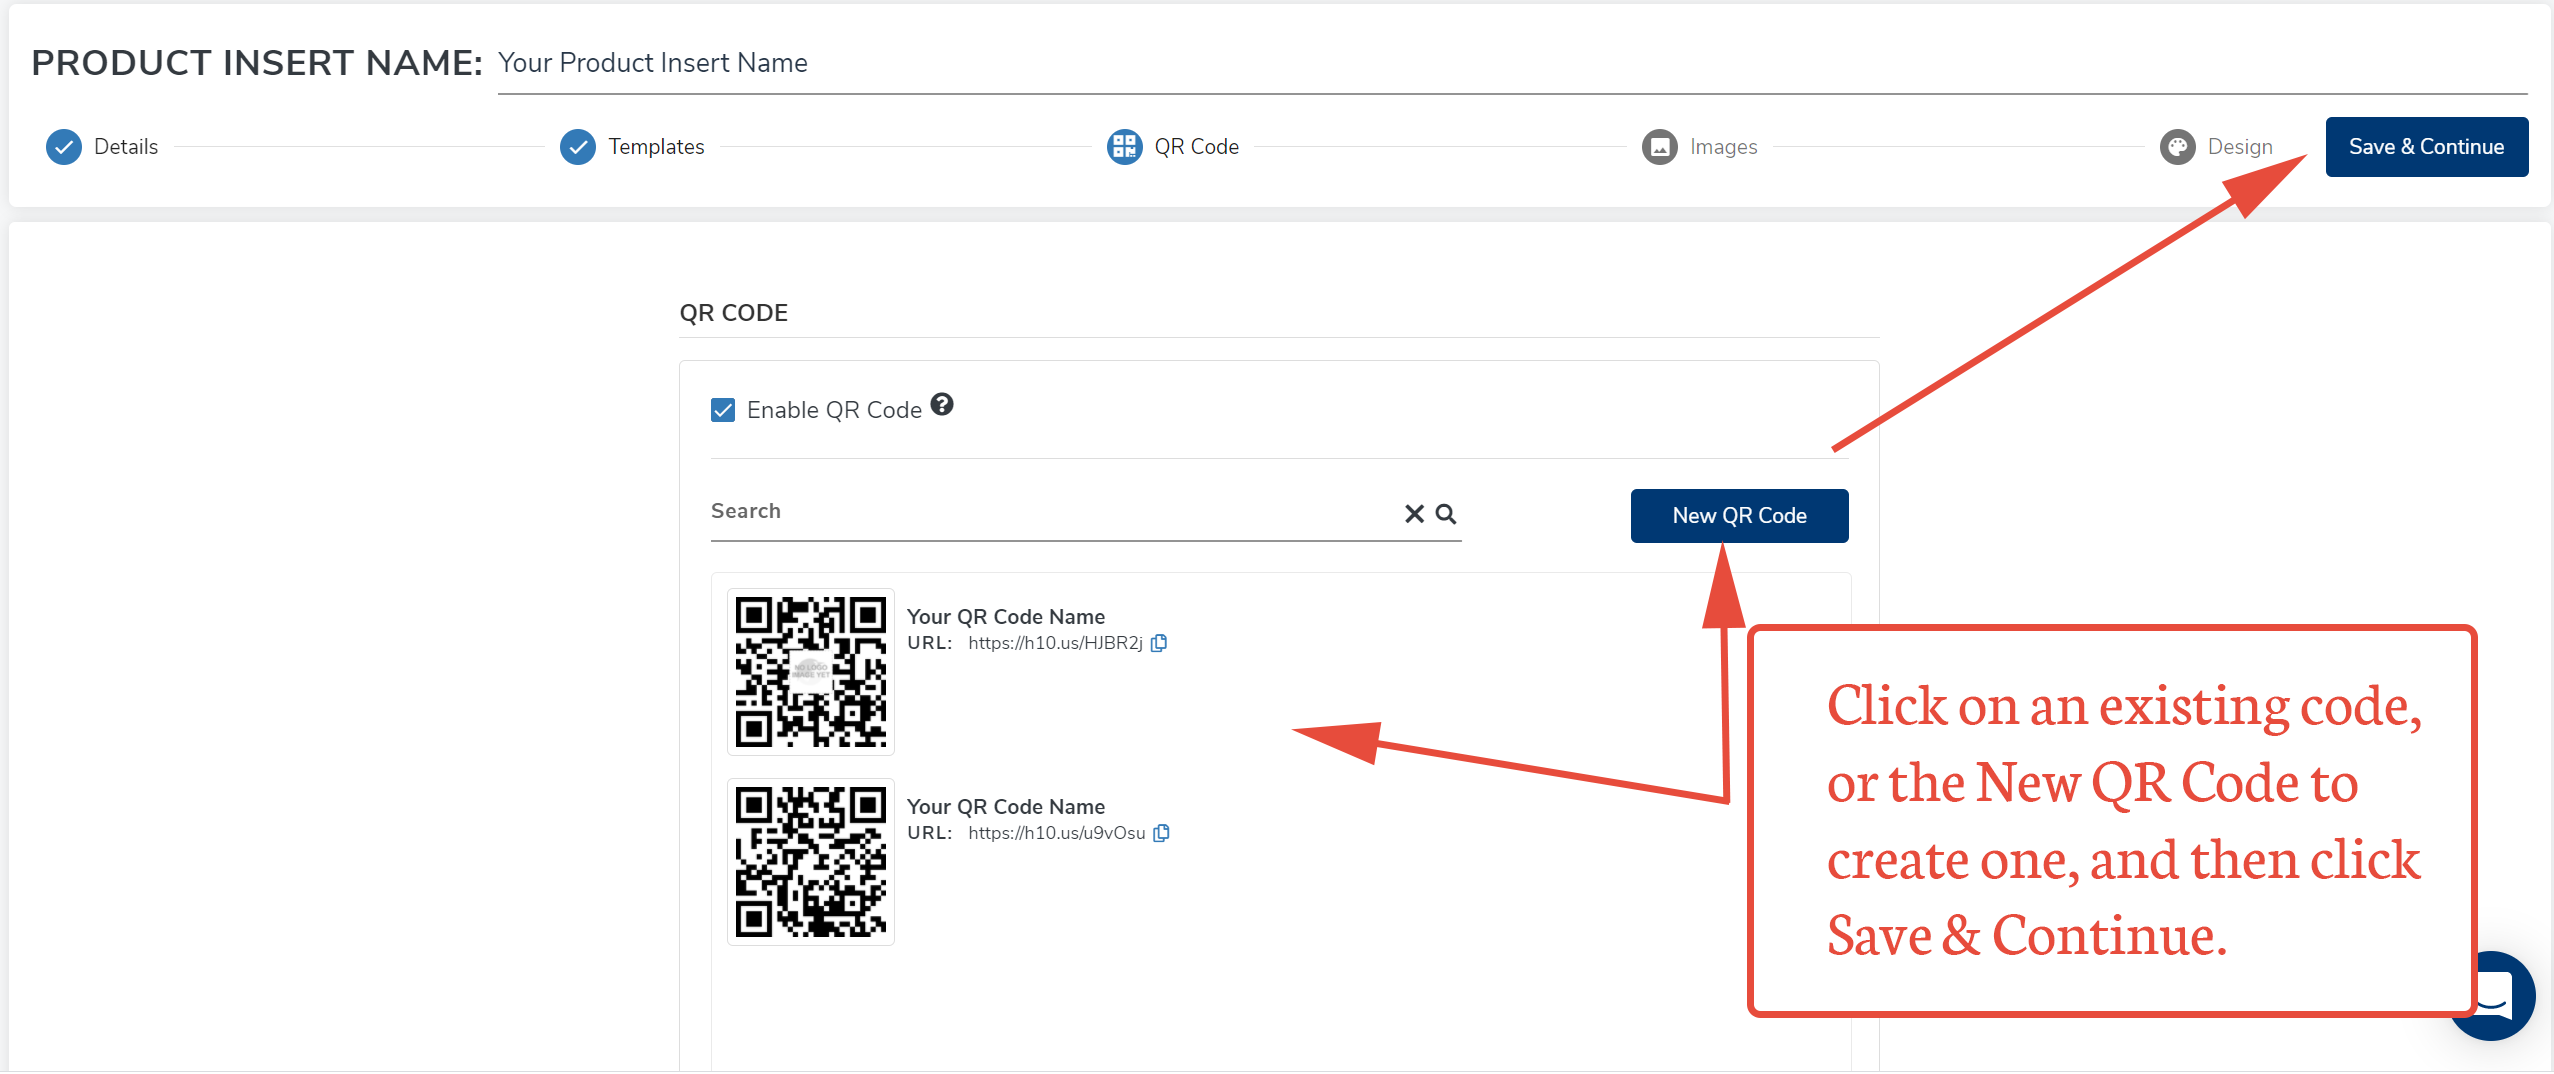
8. To choose a design, click on the Choose button. The next screen will allow you to add a QR Code to your insert, if you want. If you do want to add a QR Code, click the Enable the QR Code check box.
 9. Portals will open up your list of previously created QR Codes. On this screen you can choose one, or make a new one. When you have selected a QR Code, click the Save & Continue button.
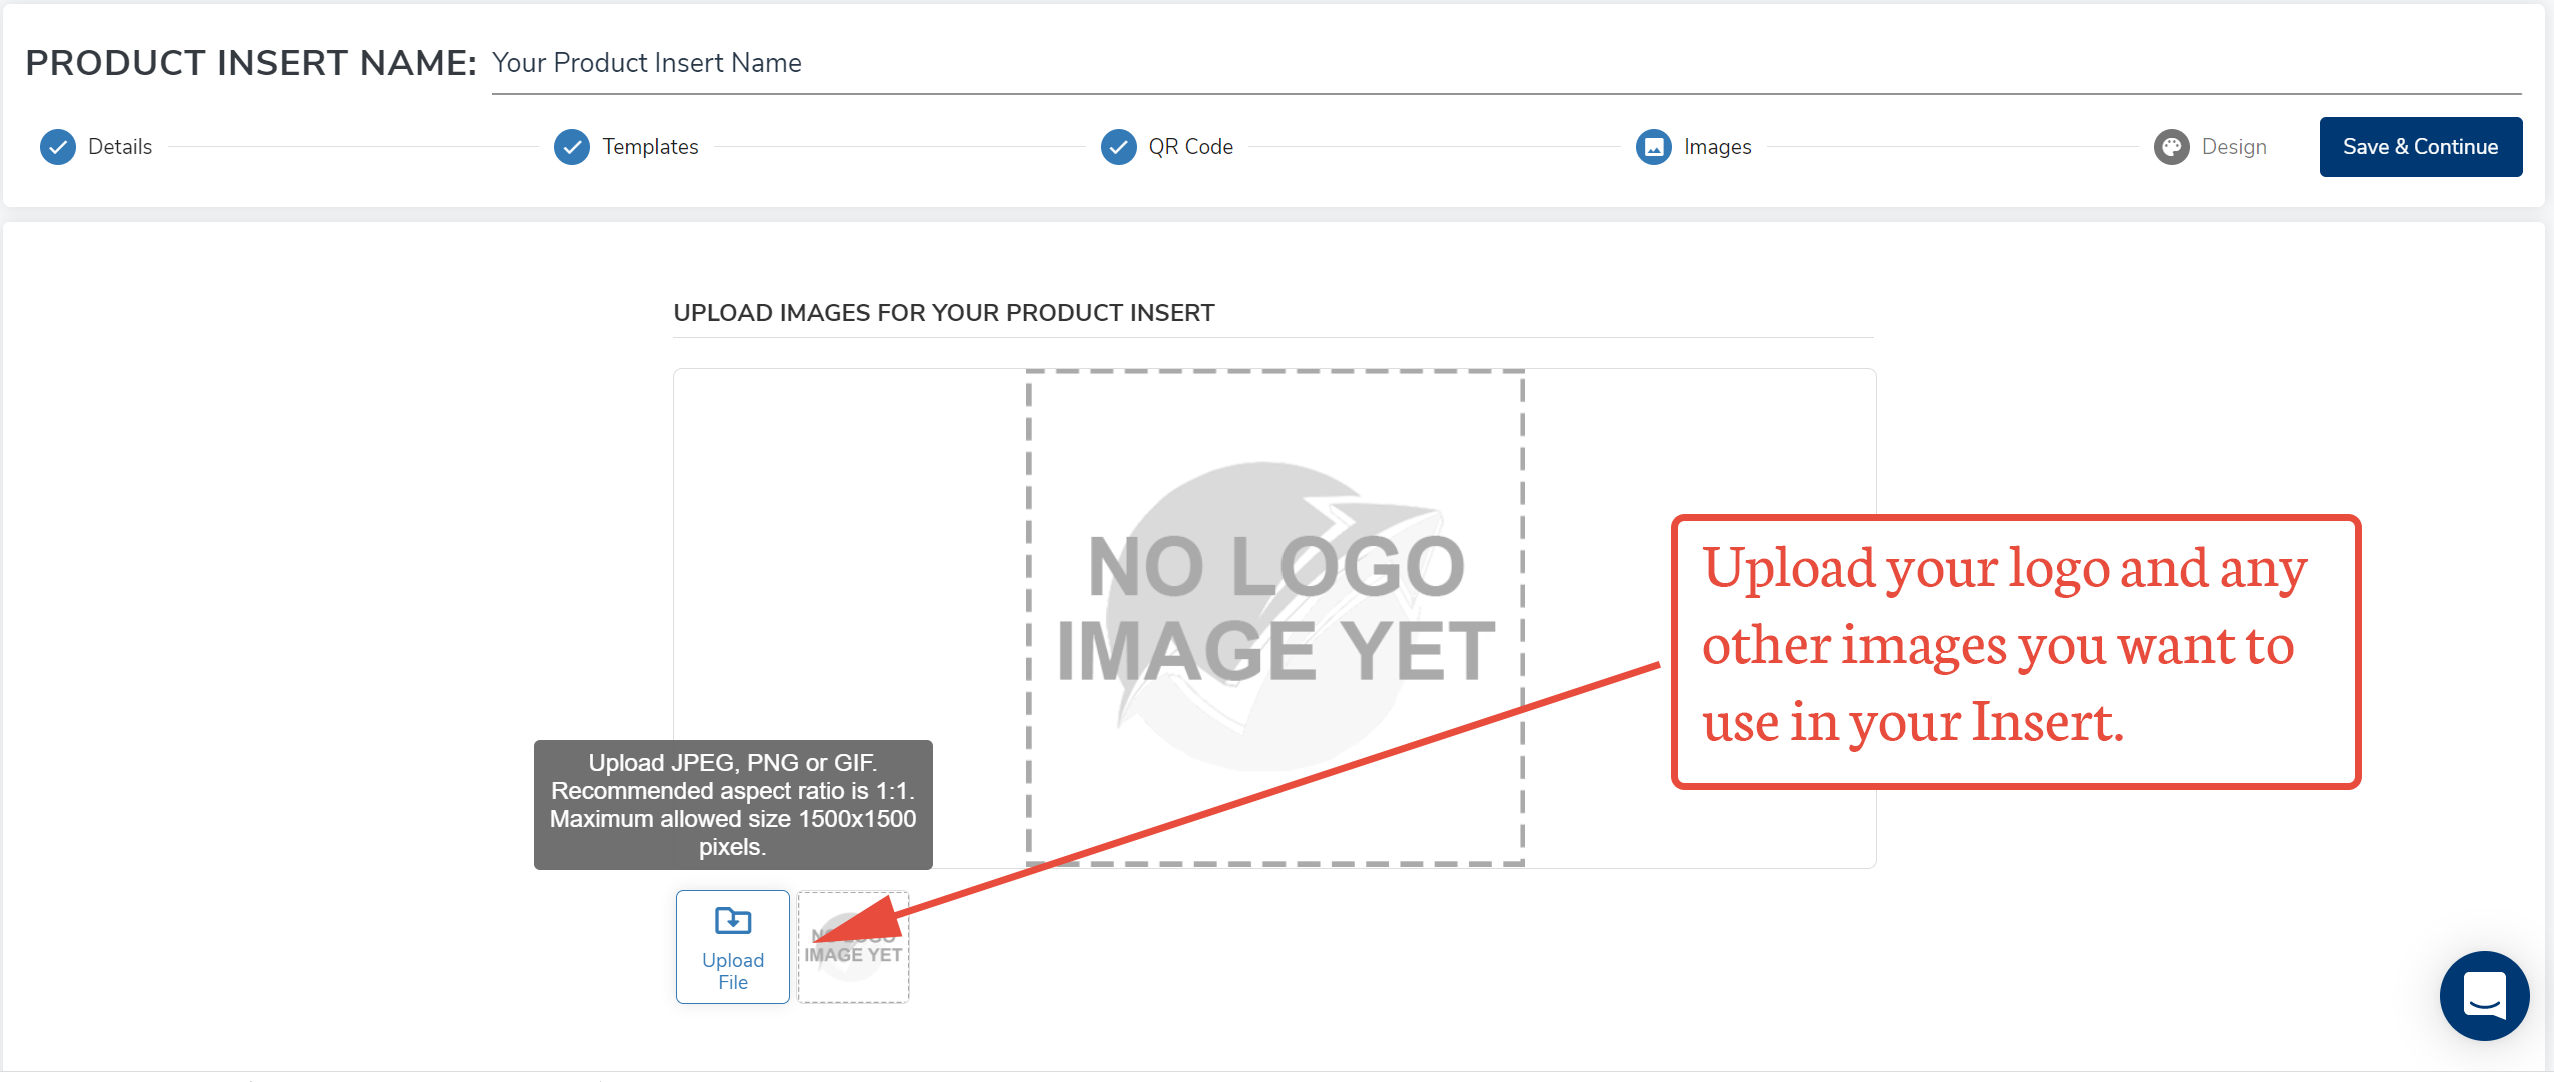
10. Portals will advance you to the Images screen. To upload the images you want to use in your Insert, click on the Upload File button. Portals software supports both JPEG and PNG files. Images with an aspect ratio of 1:1 create the best results. Files should not exceed 1500 x 1500 pixels.
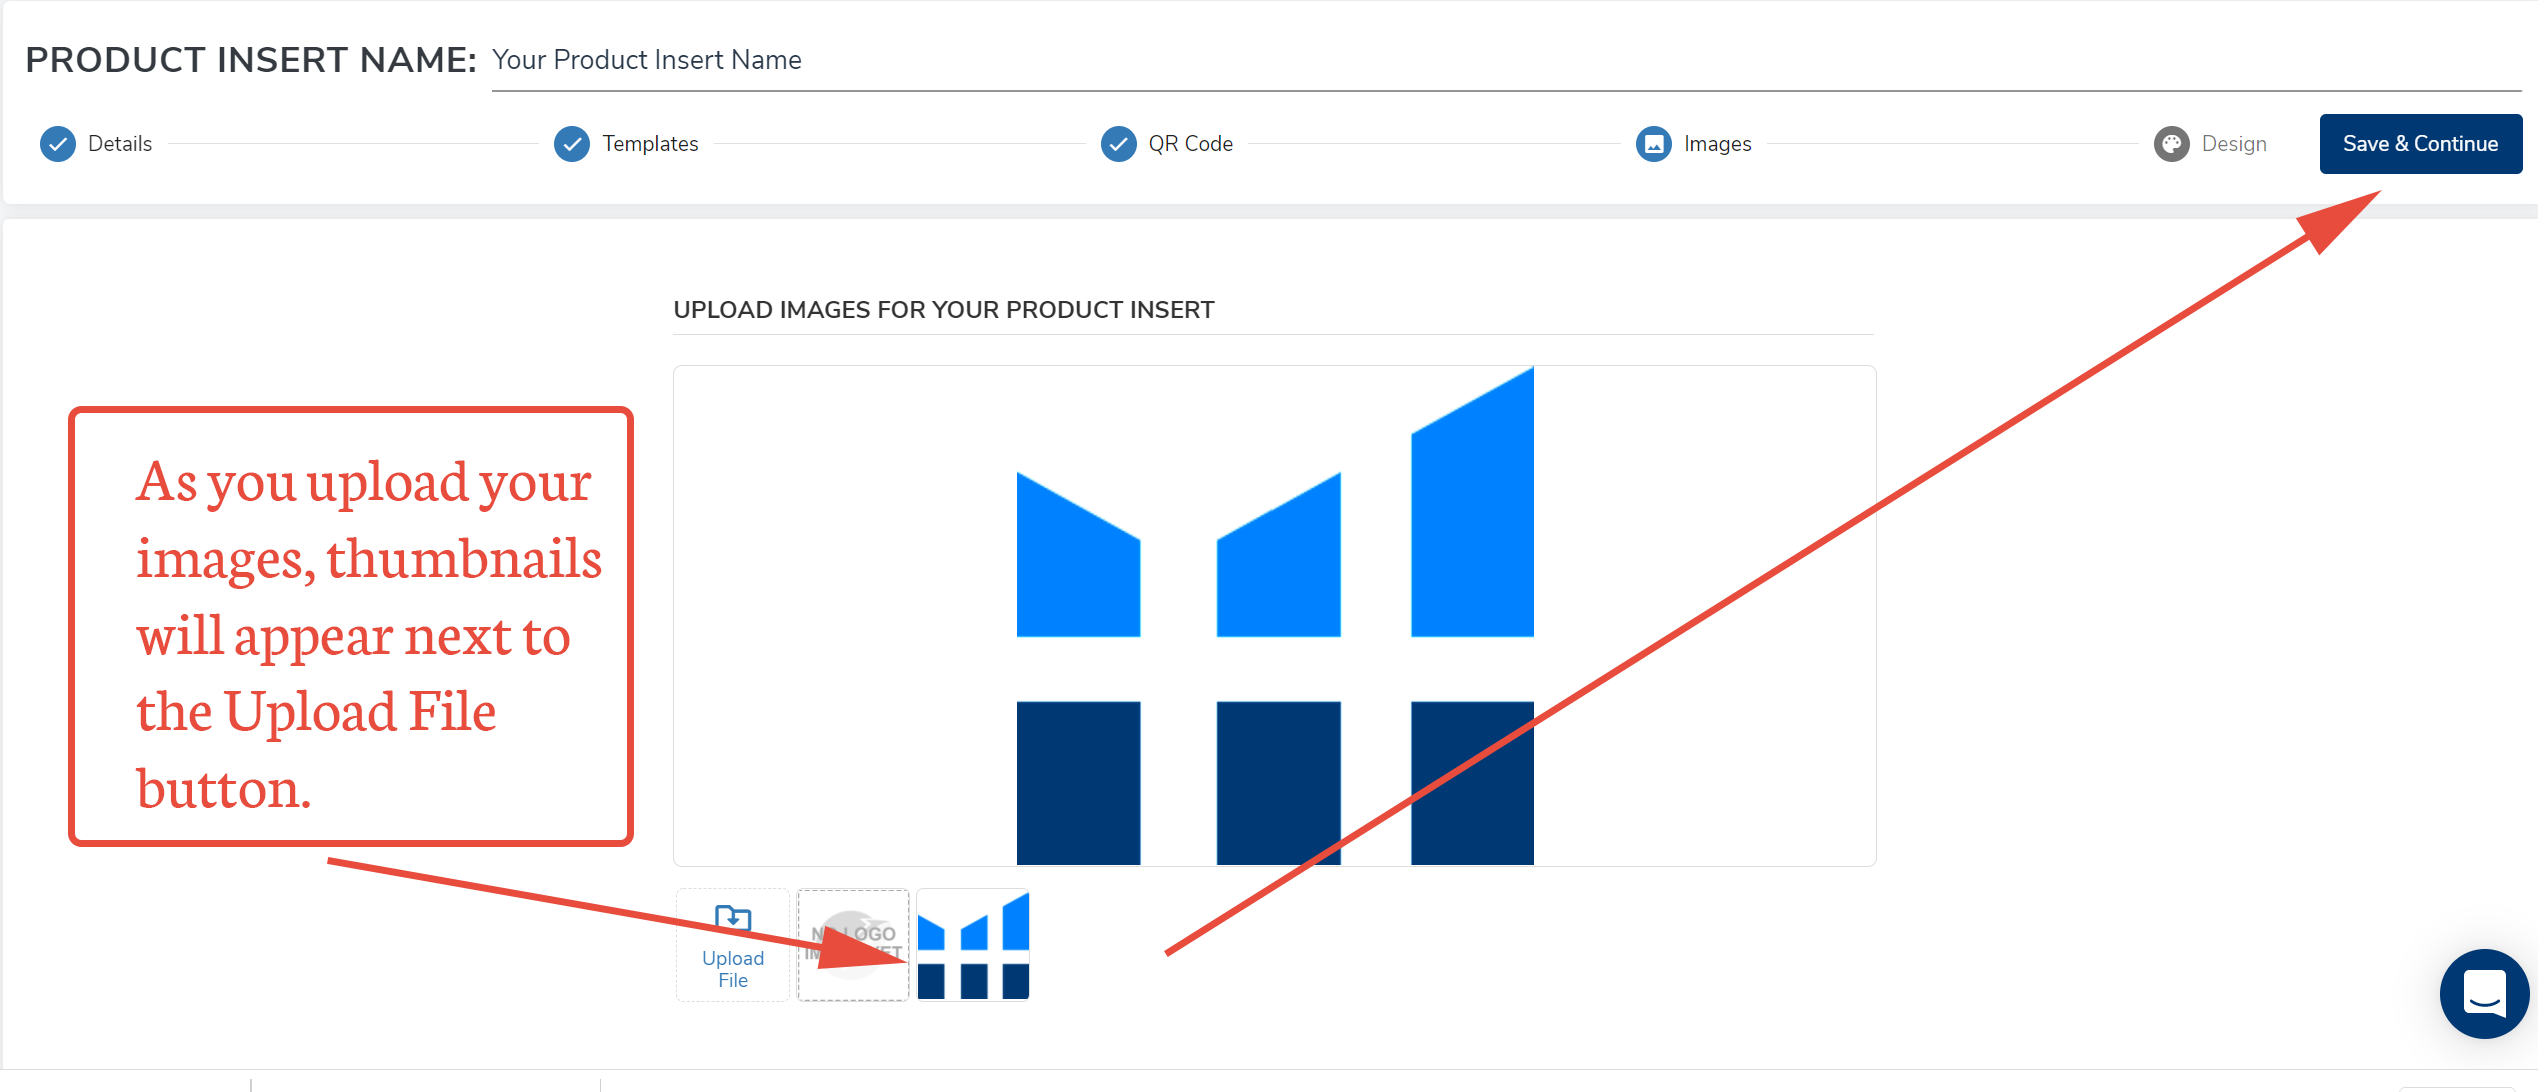
11. Your uploaded images will line up next to the Upload File button. You can always return to this screen to change or add images at a later time, as well. When you have loaded up all your images, click the Save & Continue button.
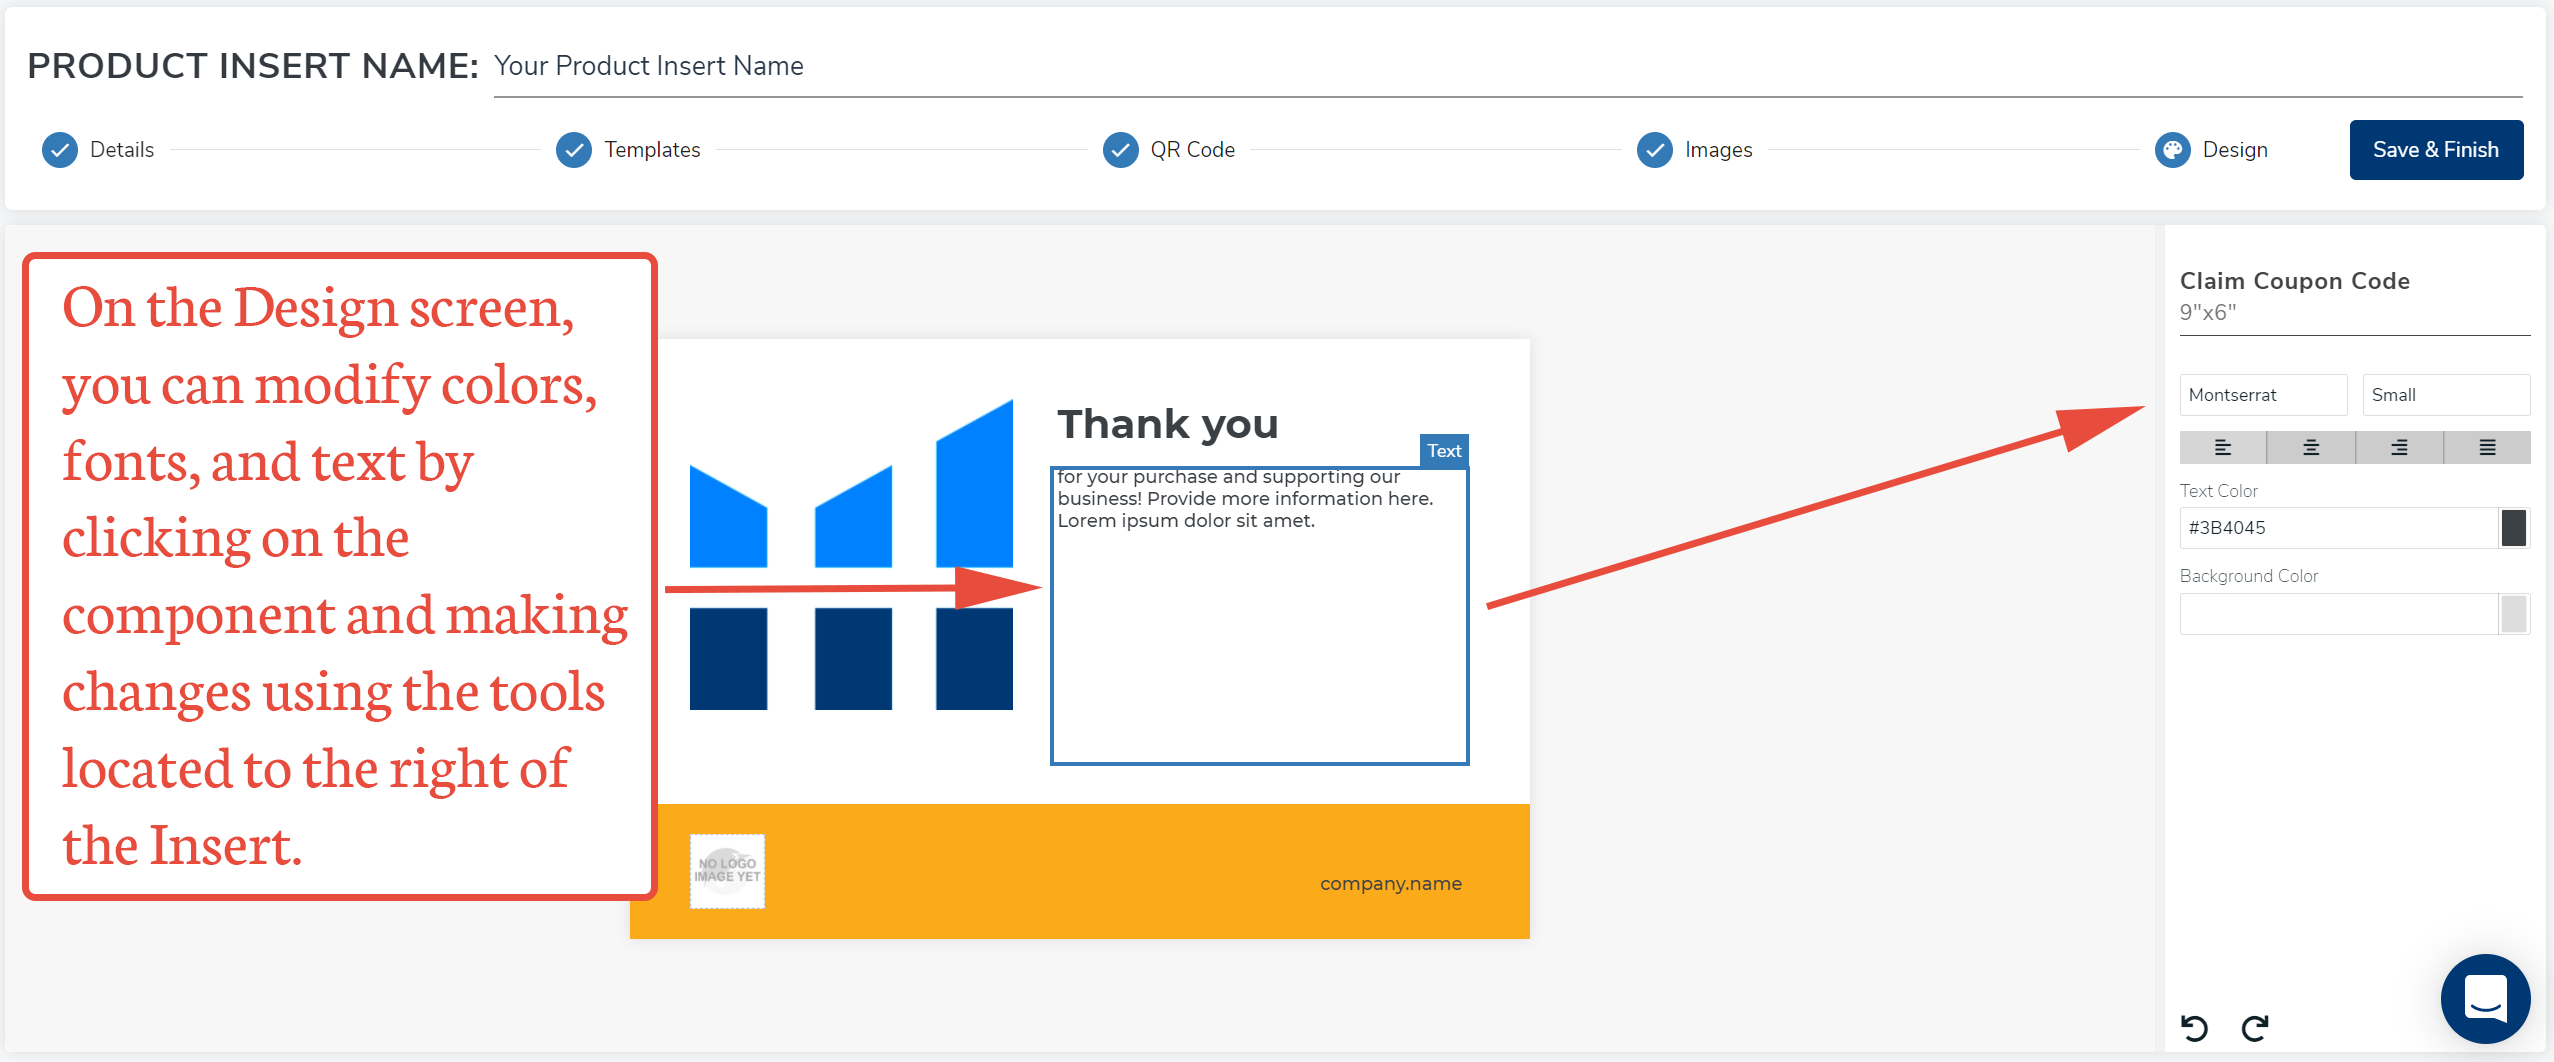
12. To edit and modify your Insert to coordinate with your brand, use the tools located on the right side of the Design screen. Click on the item in the template that you want to change, then use the tools to make the changes. When you are satisfied with your design, click the Save & Finish button.
The steps are similar for all of the different templates. As mentioned above, in addition to the Claim Coupon Code template, Portals has a Social Media Engagement template, a Warranty Activation template and an Instructions template.
13. Your Inserts are stored and appear on the Product Inserts window. You can download the finished Insert by clicking on the Download button.

14. If you want to modify an existing insert, check the box next to the insert you want to delete or edit. Click the trash can to delete, or click on the bread crumbs (ellipsis) to view, edit or copy the insert.

Create a Free Helium 10 Account Today!
Start with the free extension: Download the Helium 10 Chrome Extension.
Comments
Article is closed for comments.