
A useful feature in Portals allows you to create QR Codes for your Portals, your product inserts, or digital ads. Let’s create a QR Code.
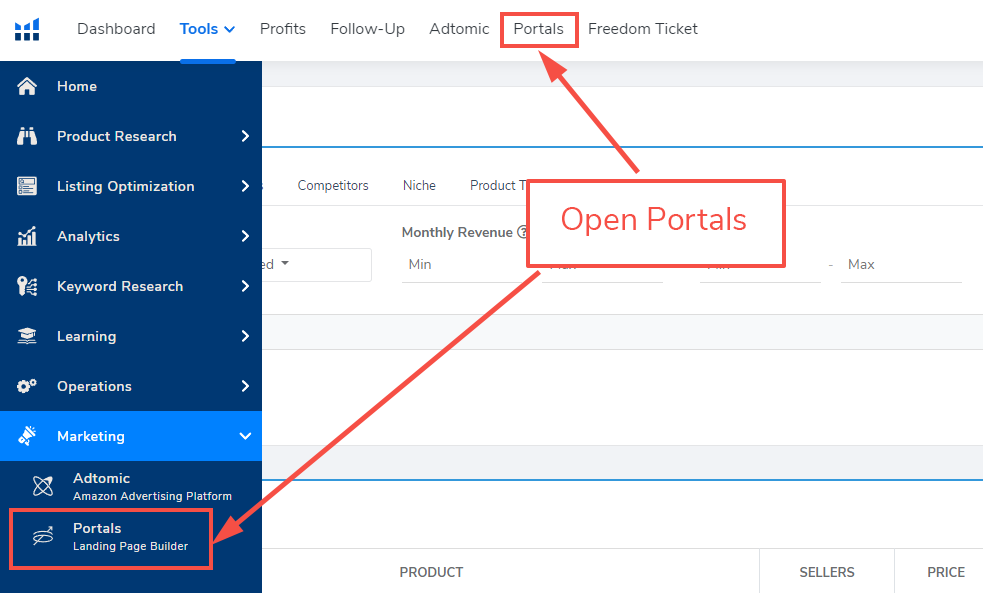
1. From the Helium 10 Dashboard, you can open Portals by selecting the Portals tab at the top of the screen or under the Marketing tab in the left side menu.
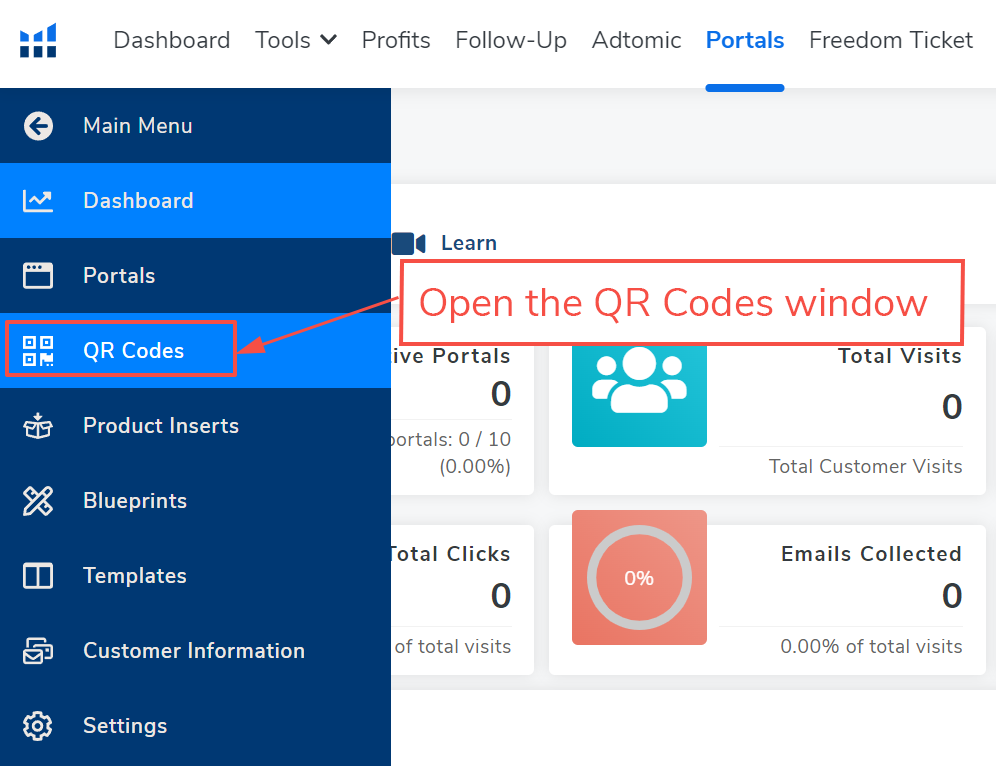
2. In Portals, use the left menu link to open the QR Codes window.
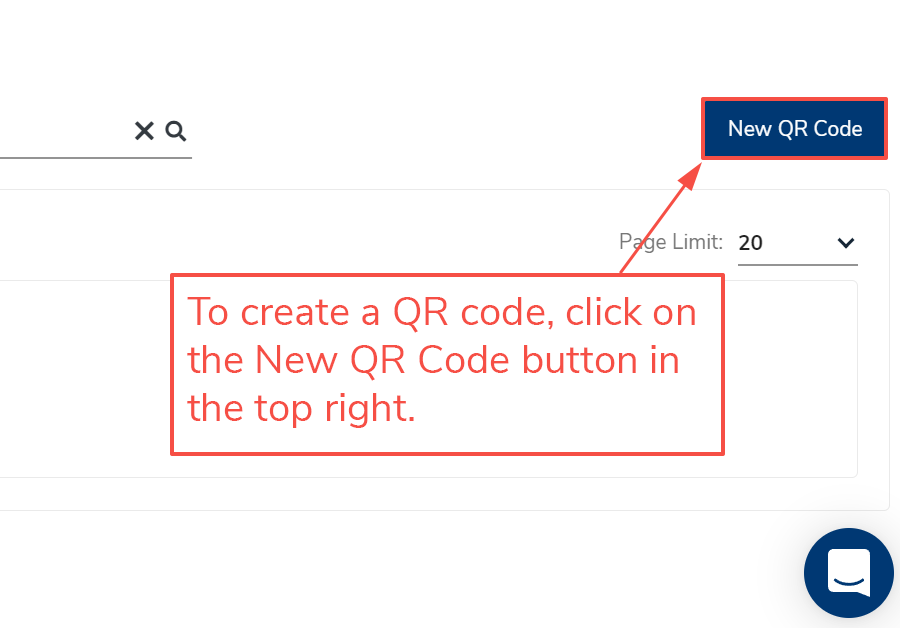
3. To create a QR Code, click on the New QR Code button.
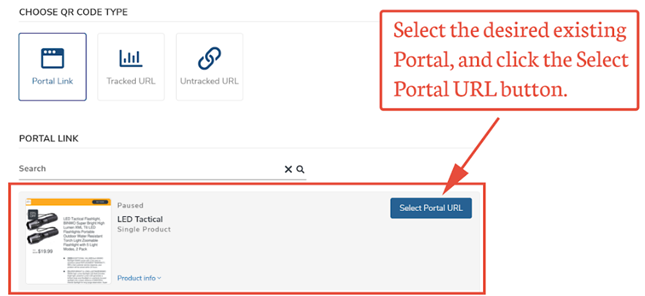
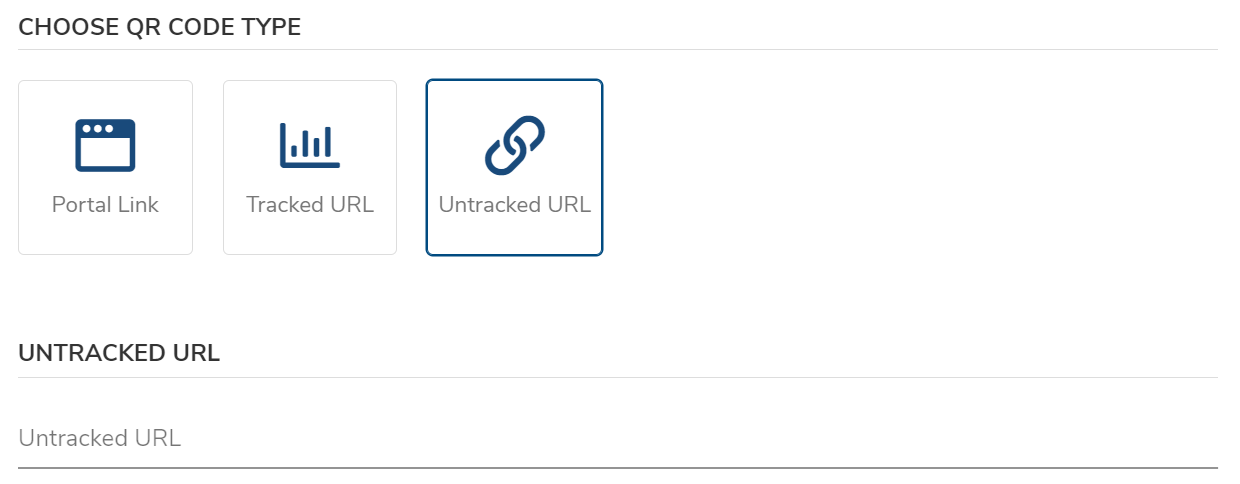
4. To create a new QR code, start by naming it using the QR CODE NAME field at the top of the screen. We recommend naming your QR code based on the URL so it’s easier to find later. After you’ve decided on a name, choose a QR code type. Your options for QR code types are Portal Link, Tracked URL, or Untracked URL. See detailed descriptions below.

- Portal Link: This will link to an already existing Portal webpage. Select an existing Portal from your library of Portals. Click on the Portal for which you want to make a QR Code, and then click the Select Portal URL button. After you have finalized your options, click the Save & Continue button. Proceed to step 5 to continue.
- Tracked URL: Portals will keep track of QR code scans, shortened URL statistics, scanned devices, and locations. Select the appropriate URL type and click the Add button. The next screen will depend on the URL type you select and will show you mandatory and optional fields to fill out before selecting the Add URL button to proceed. After you have finalized your options, click the Save & Continue button.
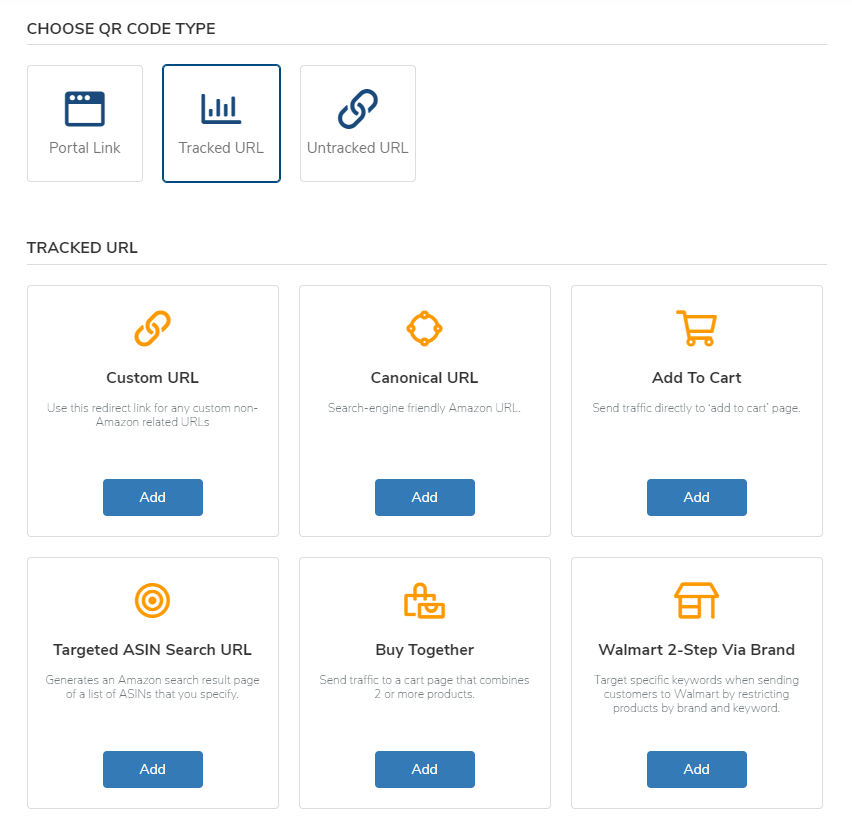
- Untracked URL: Portals will not keep track of QR code scans and shortened URL statistics. Enter the URL into the field Untracked URL. Click the Save & Continue button to continue to the next step.
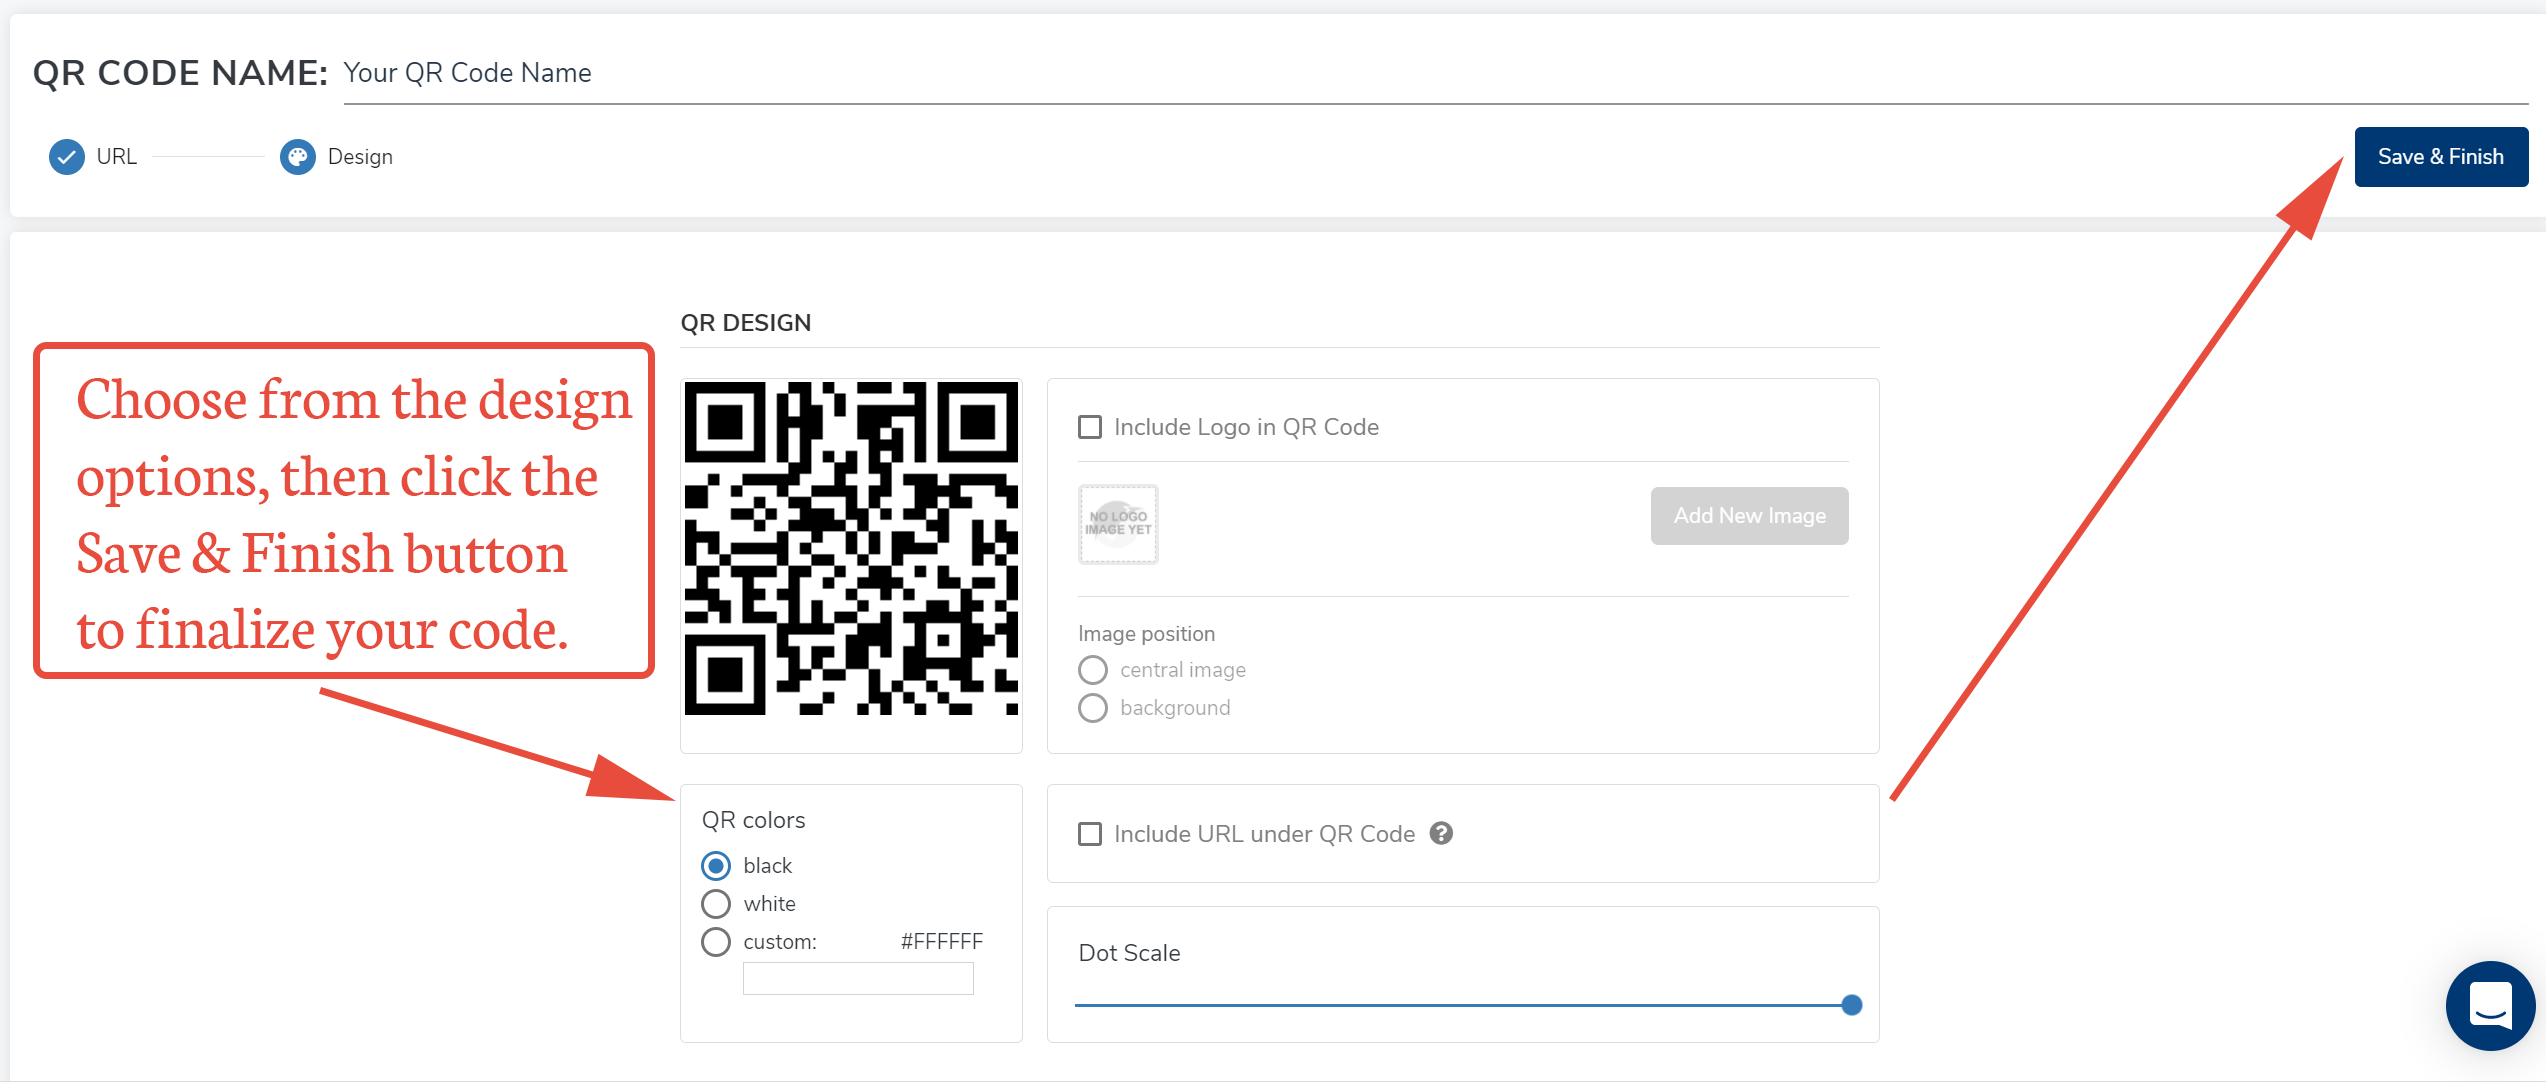
5. The final step of the QR code creation process is the QR Design page. On this page, you can add your logo, add a new image, position the image, change the color of the code, add the URL under the QR Code, and adjust the Dot Scale. These design steps are optional. Once you have modified the QR Code to your preferences, click the Save & Finish button.
6. When you’re finished, the new QR Code will appear in your list on the QR Code main web page.
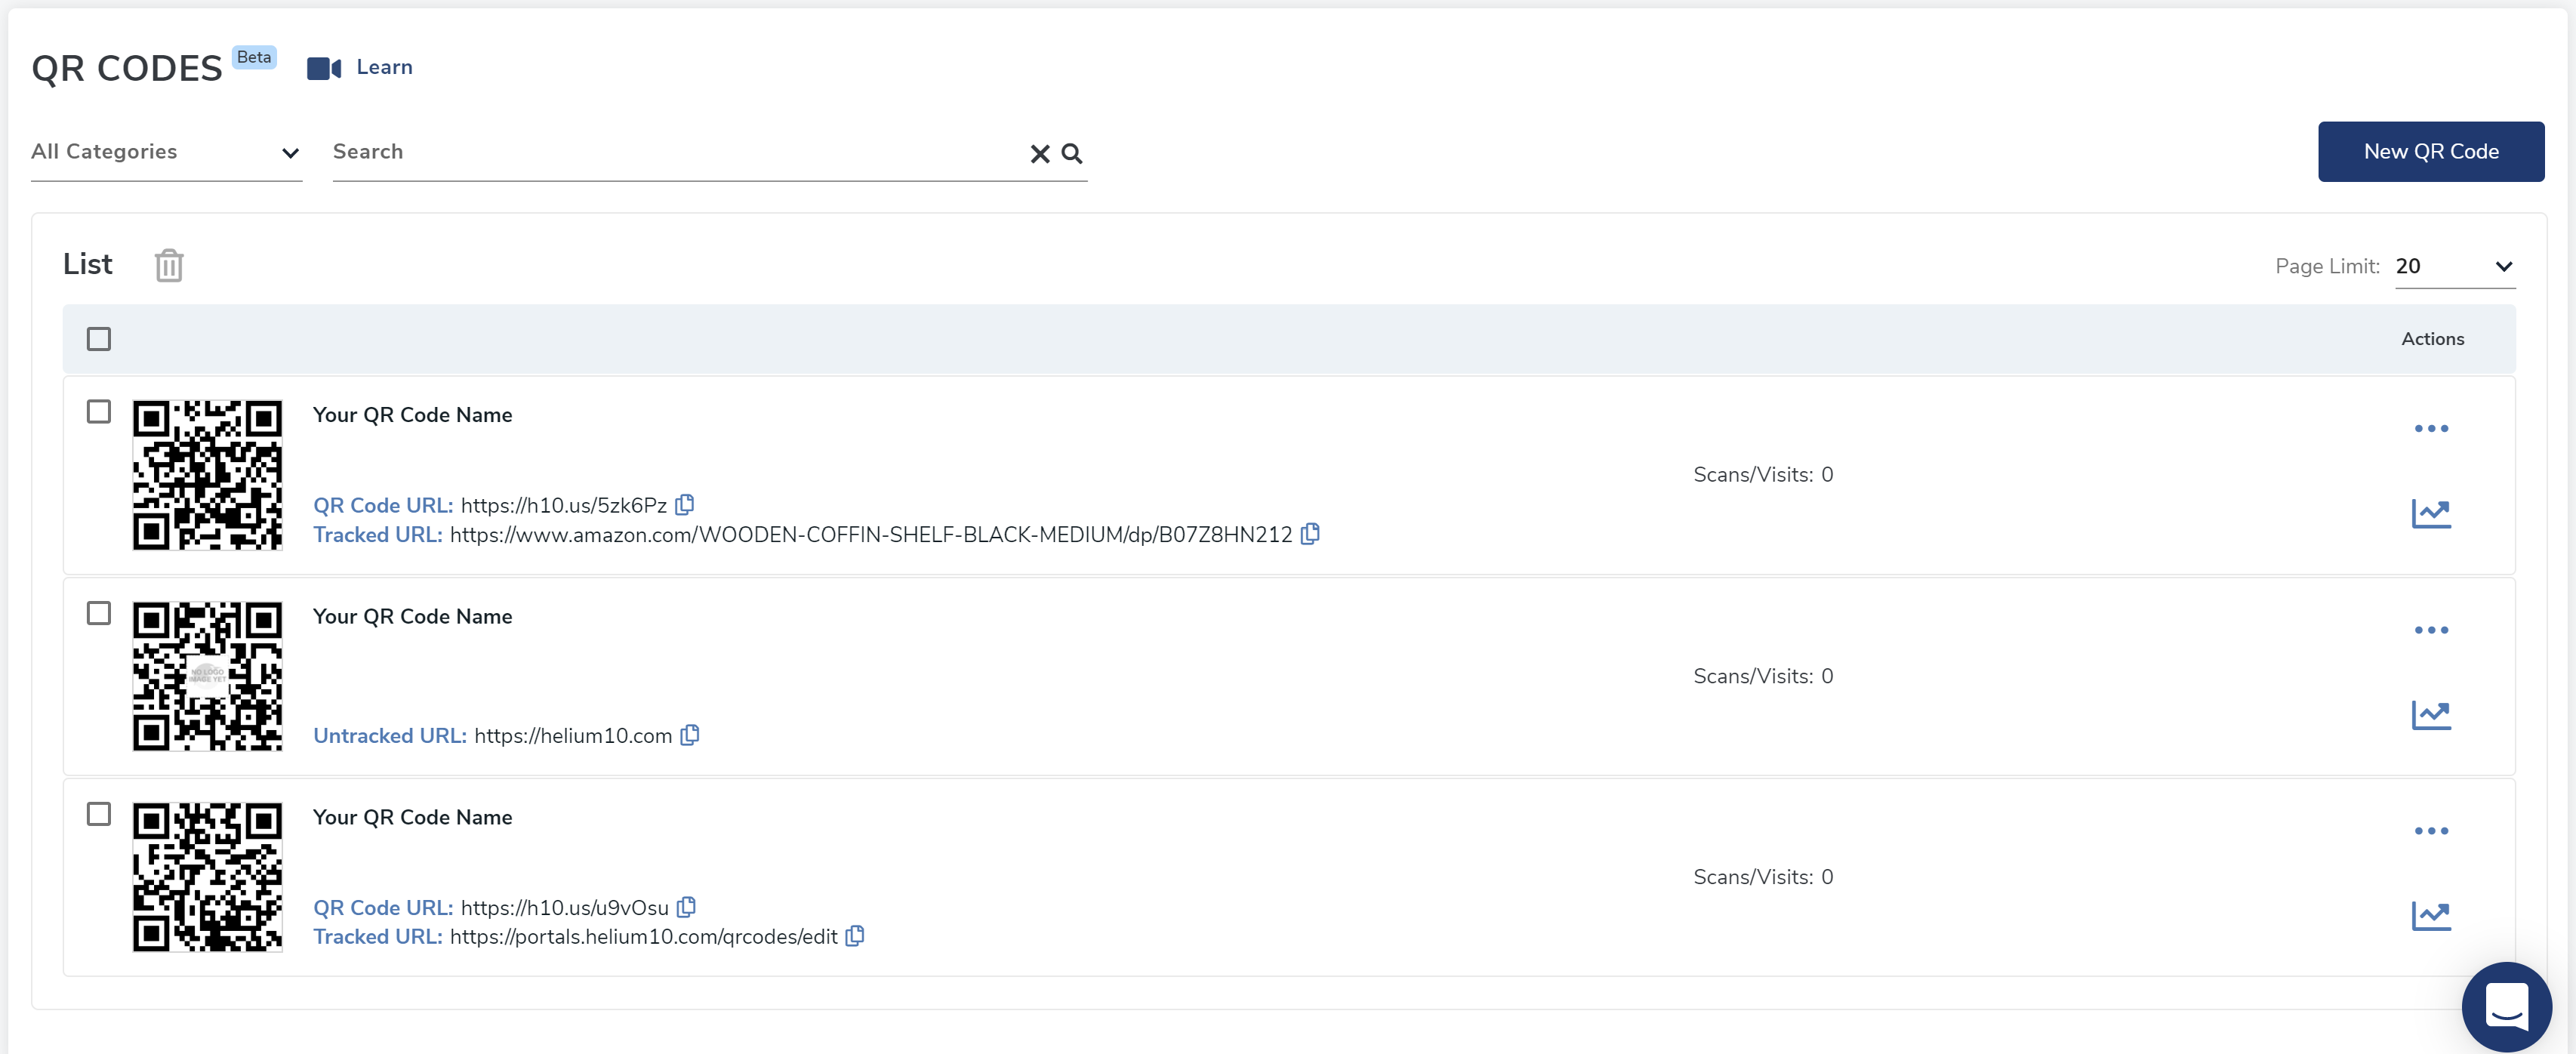
Important: Do not forget to test your QR Code. If you added background images or reduced the dot scale, the QR Code may not scan properly. If this occurs, you can edit your QR code by selecting the actions (three dots) icon in the Actions column and selecting the edit icon.
Create a Free Helium 10 Account Today!
Start with the free extension: Download the Helium 10 Chrome Extension.
Comments
Article is closed for comments.